

Homemade Gluten Free Bread for Sandwiches – No eggs, no dairy!
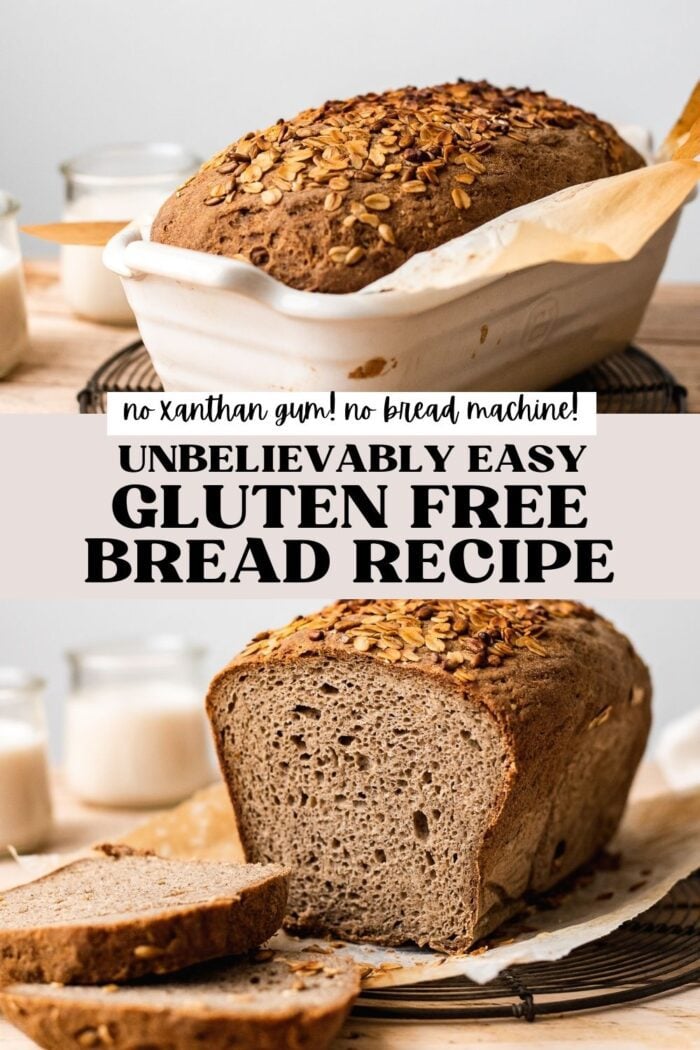
This jaw dropping gluten free bread recipe is the best gluten free bread on the internet!! Super easy (no bread machine!), no xanthan gum, and tastes JUST LIKE classic sandwich bread! Use for sandwiches, toast, gluten-free French toast, and more!

You’ll also love my gluten free vegan focaccia bread and my easy gluten free artisan loaf!
You NEED to try this gluten free bread recipe
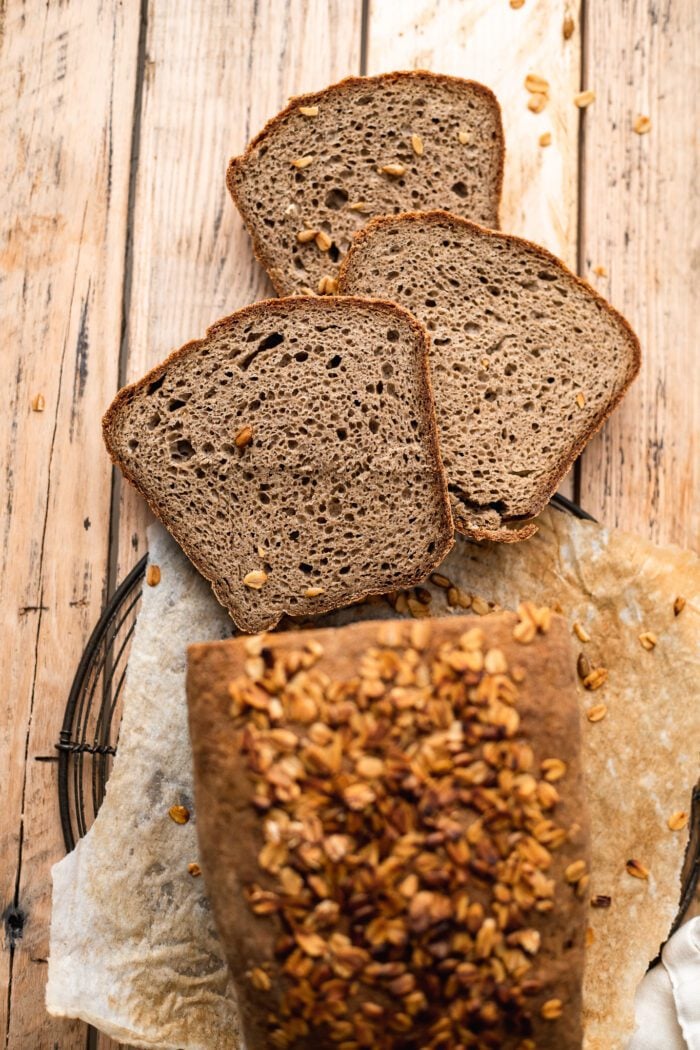
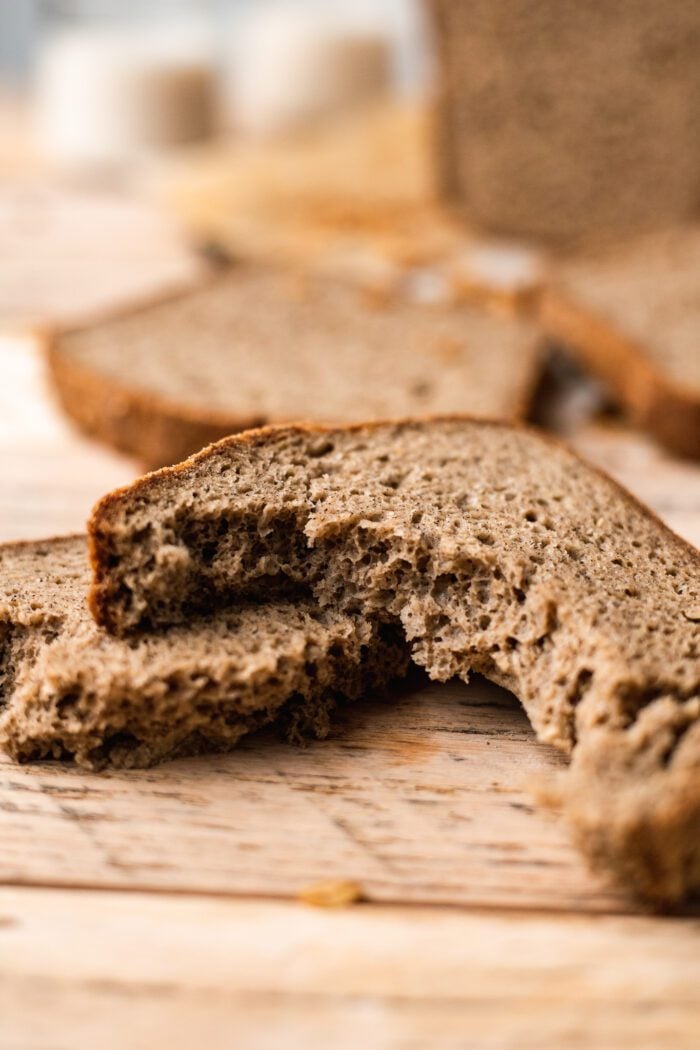
Drop everything you’re doing and go make this gluten free bread. I’m serious, this is THE ultimate gluten free sandwich bread. It’s got the perfect open crumb, soft, squishy, and stretchy texture of sandwich bread, all while being naturally gluten free.
This is truly the best gluten-free bread for a few reasons:
- This bread is super easy to make! NO bread machine, and you can even make this gluten free bread by hand too.
- The texture is absolutely perfect: NO grittiness, nor sweet flavor (gluten free eaters, you know what I’m talking about!), and the most perfect open crumb, soft and squishy texture that pulls and stretches just like bread!
- It’s one of the fastest gluten free bread doughs around: No need to proof the dough overnight!
- The dough acts, looks, and feels like regular dough: I’m serious! The dough is such a dream to work with, as it behaves just like your regular sandwich bread dough. You’d never know it’s gluten free!
- No xanthan gum: Nor rice flour, nor corn starch. There’s also no dairy, no eggs, nor any nuts either, and it’s naturally vegan! This gluten free bread is super allergy friendly!
- This gluten free bread is perfect for: sandwiches, vegan French toast, French toast casserole, toast, garlic bread, and more!
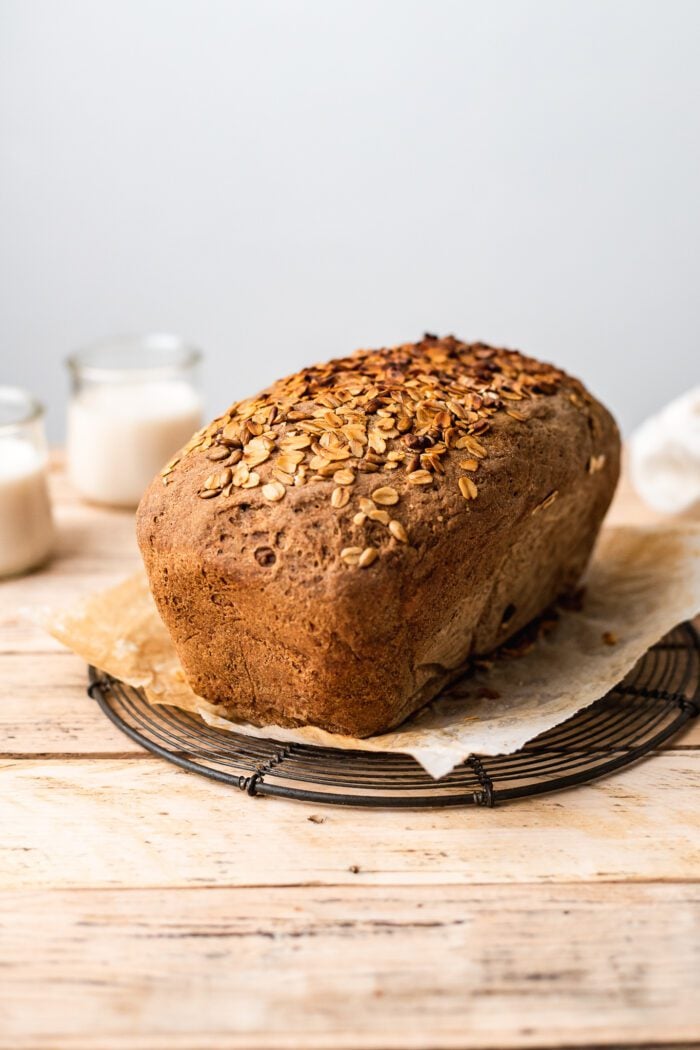
Even regular bread eaters will just absolutely love this gluten free vegan bread. It’s my absolute favorite gluten free recipe to make, and with a pat of vegan cream cheese, it’s delicious.
It’s so easy and simple to make, you’re going to be making it weekly! FINALLY, a gluten free bread everyone will love!
Gluten free bread ingredients & substitutions:
Millet Flour: Millet flour is such a wonderful gluten-free flour to bake with. It’s high in protein, which actually helps to yield a really tall and fluffy gluten-free sandwich bread. This is why I tend to prefer to bake gluten-free bread with millet flour (and then sorghum flour!). If you don’t have millet flour, you can also substitute in sorghum flour. However, I prefer millet!
Tapioca Flour: Sometimes, tapioca flour is referred to as tapioca starch. Bob’s Red Mill has both, and they are identical, so you can use either interchangeably. This helps our gluten free bread to have a soft texture; it’s really quite amazing! You can substitute in arrowroot starch if you can’t find tapioca, but the best results will be with tapioca.
Buckwheat Flour: This helps to not only provide a bit more structure to our gluten free sandwich bread recipe, but to also add a depth of flavor. Buckwheat has a slightly “nutty” flavor without containing any nuts, and the result tastes almost like a hearty rustic sandwich bread. You can also substitute in more millet flour; this would be especially good for making vegan French toast!
Psyllium Husk Powder: Because we’re not using xanthan gum, we’ll have to substitute in something else. That’s why we’re using psyllium husk powder to turn into a psyllium husk gel! Psyllium husk is a wonderful fiber that helps to create the stretch and pull of gluten-free bread so that it acts much like the gluten strands of traditional sandwich bread. I recommend using the powder form (I always have only used the powder!) over the rough husk form.
Instant Dry Yeast: I strongly recommend using instant dry yeast over dry active yeast. The reason being is that your gluten free dough will rise so much faster than using dry active yeast. Not only will you be able to make your gluten-free bread recipe faster, but you’ll also know whether or not the yeast is actually working with the gluten free flour blend!
Salt: You can use salt or sea salt.
Maple Syrup: If you prefer, you can use granulated sugar or coconut sugar. Just make sure that the sugar is completely dissolved into the water or simply whisk it into the dry ingredients.
Water: No need for dairy free or non-dairy milk here. Simply use water!
Apple Cider Vinegar: This helps the gluten free vegan bread to maintain strong air bubbles in the bread when baking to give the bread that classic sandwich bread look!
Olive oil: A little fat helps to add flavor and soften the texture of the sandwich bread.
Pro Tip: How to Measure Gluten-Free Flour
As with all baking, I recommend using a kitchen scale to properly measure your gluten free flour. This is because using US cup measurements, while I’ve provided those measurements, is just not as accurate.
Even measuring the flour properly using the spoon and level method can still not be as accurate as using a kitchen scale. This will ensure that you get the same gluten free bread over and over again. I’ve personally made this recipe upwards of 10 times with the same results each time.
You can purchase a kitchen scale via Amazon for just $10. I’ve used a $10 one for years before punching my OXO kitchen scale (which is about $40). You’ll use it over and over again for all of your baking needs. Plus, no need to clean tons of measuring cups!
Overview: How to make gluten free sandwich bread
The full recipe for this easy gluten-free bread loaf is found down below in the recipe card. However, here’s an overview of steps along with photos to help you make this simple and quick gluten free loaf!
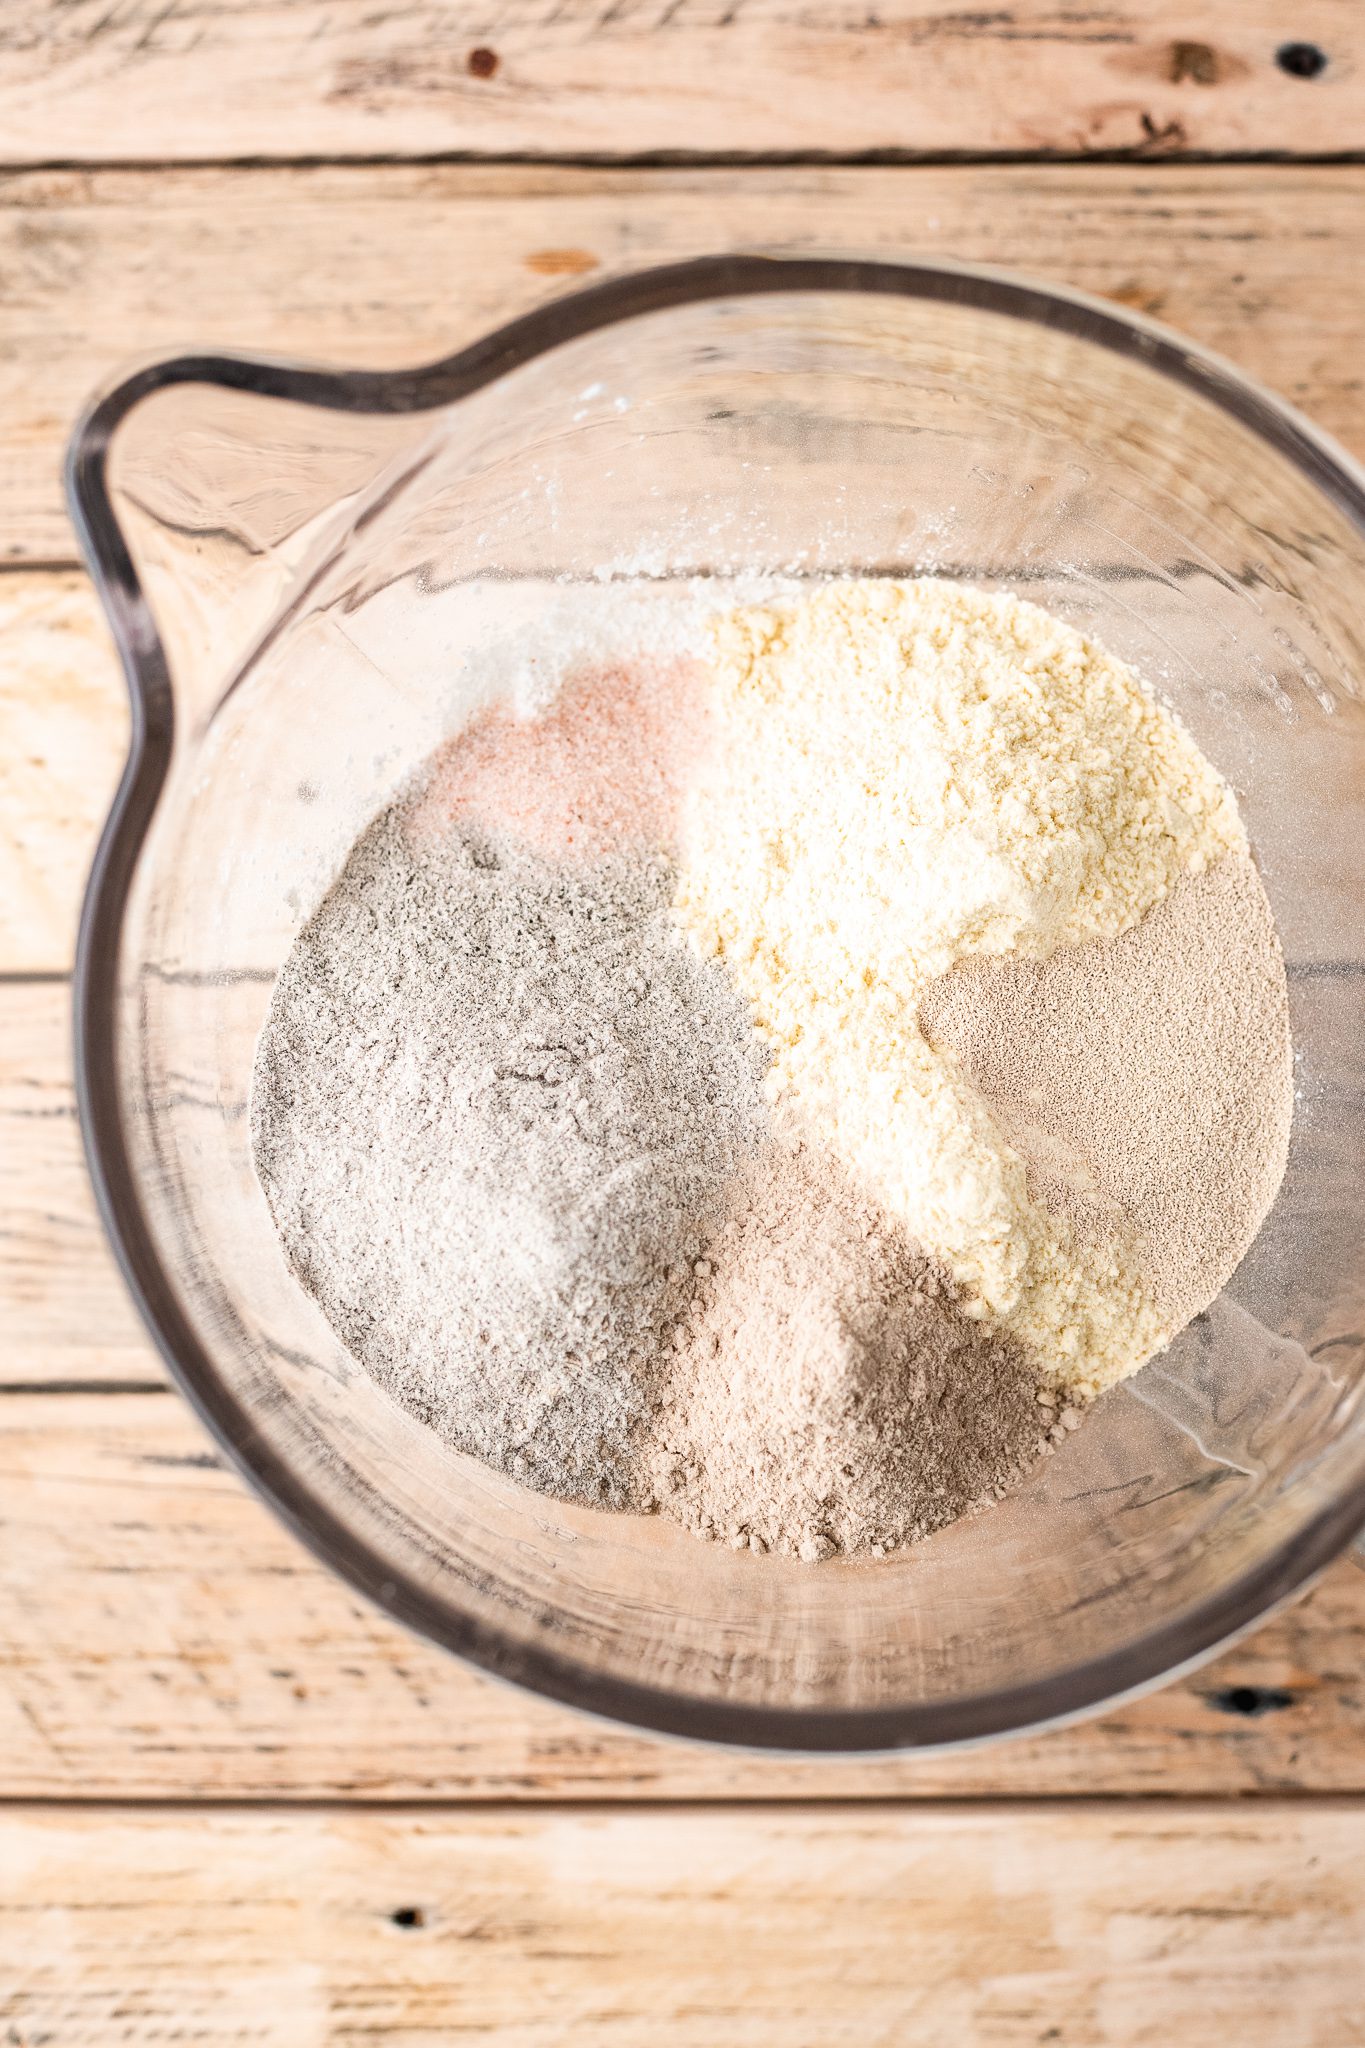
- Whisk: You’ll first start by whisking together all of the dry ingredients, including the yeast.
- Mix: Add the wet ingredients to the dry ingredients, and either use a stand mixer with a dough hook attachment (NOT the paddle attachment) or mix by hand. This will take about 5-7 minutes in the stand mixer or about 10 minutes if you’re mixing in a large bowl with a wooden spoon.
- First proof: This is the bulk fermentation proof. You’ll proof the bread until it’s doubled in size.
- Shape & second proof: After the dough has risen for the first time, shape it into a loaf form and place the dough into your loaf pan to rise again while the oven preheats.
- Top: If you’d like, you can top your gluten-free sandwich bread with toppings! Simply brush a mixture of maple syrup and diary free milk on top of the risen loaf, and sprinkle your toppings on top.
- Bake: This next step moves quickly! We’re creating a steam bath to help create a crusty bread loaf. You’ll place a square baking pan on the lowest rack, and the middle rack will be for the loaf. Place the loaf onto the middle rack, and then quickly (and carefully) pour the boiling water into the square baking pan on the lower rack. Close the oven and let the bread bake!


A note: The oven is SUPER hot so when you open it, hot air might rush out. It is imperative that you avoid facing directly into the oven door crack where the hot air will rush out. Be careful while opening the oven door and look away if possible. This will help protect your eyes and face!
Once your gluten-free sandwich bread has baked, allow it to cool completely before slicing!
Pro Tips for Baking Gluten-Free Bread:
- Use a kitchen scale to weigh your ingredients: As I mentioned above, this is the most accurate way to ensure that you’re using the right measurements for your gluten free bread dough.
- Fully cool the bread before slicing: It’s SUPER important to allow the sandwich bread to fully cool before slicing. I give the bread at least 1 hour cooling in the pan. If you don’t, the bread will be gummy.
- Proof the dough in a warm place of at least 85F: Yeast really likes warmth, so placing your dough in a warm area, such as outside if it’s warm enough, or in your oven with the oven off but the oven light on, will help your dough rise much more quickly.
- Bake the bread on the middle rack: This will help prevent any burning of the top of the loaf, as well as underbaking the loaf if you’ve baked it on a lower rack.
- Don’t forget the steam bath! This is crucial for creating a tough, crusty top of the sandwich bread.
- Use a serrated knife to slice the bread: This is just easiest when slicing through a thick crust.
- Top the gluten free sandwich bread with whatever toppings you’d like! Oats, chia seeds, poppy seeds, sunflower seeds, pumpkin seeds, etc. are all great on top of the sandwich bread dough.
- Please do not swap in any flours that have not been recommended: Of course, you actually can, but then I cannot guarantee that the recipe will turn out. Almond flour will not work, nor will a gluten-free flour blend, as the recipe has not been written for that.
Products I recommend for Gluten-Free Bread Baking:
For flours: I recommend Arrowhead Mills or Bob’s Red Mill. I’ve tested this gluten free bread with both brands (both just the brand and a mix of the two) with great success.
For psyllium husk powder: I use Kate Naturals Organic Psyllium Husk Powder.
For olive oil: My absolute favorite olive oil is Jovial Foods. The flavor is so lovely, and really tastes incredible in the bread!
Pro tip: How to store gluten-free bread:
After you’ve baked, cooled, and sliced your sandwich bread, it’s time to store it for later use! You can wrap the loaf tightly in plastic wrap (I know- I’m not a fan of single use plastic, but this does help to keep the gluten free bread at its optimal consistency) and in the fridge for up to 4 days.
Alternatively, you can freeze the loaf (wrapped tightly and placed into an airtight bag or container) for up to 3 months. Simply toast as you would normal frozen bread!

Want to save this recipe for later? Add it to your favorite recipe board on Pinterest!
🌟MADE THIS RECIPE & LOVED IT?🌟I’d love it if you’d like a comment and a rating ⭐️⭐️⭐️⭐️⭐️ below! This helps others to find the recipes! As always, I absolutely love to see your beautiful creations on Instagram and Pinterest, so be sure to tag me there as well!
Print
Homemade Gluten Free Bread for Sandwiches – No eggs, no dairy!
- Prep Time: 15
- Cook Time: 75
- Total Time: 1 hour 30 minutes
- Yield: 16 1x
- Category: Bread
- Method: Baking
- Cuisine: American
- Diet: Gluten Free
Description
This jaw dropping gluten free bread recipe is the best gluten free bread on the internet!! Super easy (no bread machine!), no xanthan gum, and tastes JUST LIKE classic sandwich bread! Use for sandwiches, toast, gluten-free French toast, and more!
Ingredients
- 2.5 cups (600 mL) water
- 1 tbsp maple syrup
- 2 cups (272 g) millet flour or sorghum flour
- 1 1/4 cup (150 g) tapioca starch/flour
- 1 cup (120 g) buckwheat flour or millet flour or sorghum flour
- 1 tsp finely ground sea salt
- 3 tbsp (30 g) psyllium husk powder (note: NOT rough husk form)
- 2 packets (14 g) instant dry yeast*
- 1 tbsp apple cider vinegar
- 2 tbsp olive oil
- Optional toppings: 1/2 cup rolled oats, 1/2 cup sunflower seeds, 1/2 cup poppy seeds or a mix of all three (use 1 tbsp maple syrup + 1 tbsp soy milk as the “egg wash” to help the toppings stick)
- Water for boiling
Instructions
- Prep: Measure out all ingredients. Make sure to use a kitchen scale, as that will yield the most accurate results. Grease a medium bowl with oil and set aside. Then grease and line a 9″ loaf pan with parchment paper, and set aside.
- Whisk: In the bowl of a stand mixer or in a large bowl, whisk together the dry ingredients: millet flour, tapioca starch, buckwheat flour, salt, psyllium husk powder, and instant dry yeast. Set aside.
- Heat: Microwave or heat the water to be lukewarm. Stir in the maple syrup until dissolved.
- Make the dough: Attach the stand mixer bowl to the stand mixer with dough attachment or use a wooden spoon, and pour the warm water, along with apple cider vinegar and olive oil, into the middle of the dry ingredients. Mix on medium speed or with your wooden spoon until a slightly tacky dough forms. This will take about 5-7 minutes in the stand mixer or 10 minutes in the bowl. At first the dough will seem too loose, but as the psyllium husk powder activates, the dough will thicken.
- First proof: Place the dough ball into the greased bowl, cover, and let the dough rest in a warm area (ideally 85F) for at least an hour until it doubles in size.
- Shape: After the dough has risen, place the dough onto a lightly floured surface using millet flour or tapioca flour. Gently knead and shape the dough into a loaf form, about 9″ long.
- Second proof: Place the dough into your prepared loaf pan, and cover again to rest until doubled in size. While the dough is resting, make sure one oven rack is in the middle to lower middle (any higher, and your bread will burN) and another on the very bottom for the water bath. Place a square baking pan onto the bottom lowest rack, and preheat the oven to 475F. Bring 1 cup of water to a boil.
- Bake: When ready to bake, brush the top of the loaf with the vegan ‘egg’ wash and sprinkle with desired toppings if you want, or just bake the sandwich bread loaf plain. The next part moves quickly, and please make sure you’re aware that oven air can rush out when it’s that hot, so be careful and stand partially back/away from where the air will rush. Make sure the water is boiling. Open the oven door and carefully place the loaf onto the middle rack. Close the oven door, then open it again to pour the boiling water onto the bottom pan to create a steam bath. Quickly close the oven.
- Baking times: Allow the loaf to bake at 475F for 15 minutes. Then without opening the oven door, lower the temperature to 430F and allow the bread to bake for another 50-60 minutes. The loaf will have formed a hard crust on top.
- Cool: Turn off the oven, and remove the sandwich bread loaf from the oven (being careful about the hot air once more). Allow the gluten free bread to cool in the pan for at least 1 hour.
- Slice and serve! Transfer the sandwich bread to a cutting board, and slice. Use as sandwich bread, toast, or for vegan French toast, French toast casserole, or vegan bread pudding!
- Storage: Store any leftovers in an airtight ziplock bag, and in the fridge for up to 4 days, or in the freezer for up to 3 months.
Notes
Please read the blog post for all tips and tricks, including all ingredient swaps.
Instant dry yeast: I recommend using quick rise yeast over active dry yeast for gluten-free bread recipes. This recipe is specifically written for quick rise yeast/instant yeast, so please stick to that. The method would be different if using active dry yeast.
More Gluten Free Bread Recipes:
Best Vegan Gluten Free Cinnamon Rolls


Made this today and came out awesome. Used sorghum flour in place of buckwheat. Weighed ingredients and in all was pretty easy
Oh this is awesome!! So so happy the sorghum swap worked 🙂 Enjoy!! Thank you for the review!
I’m really excited to try this recipe as I’ve been gf for many years and am just now making my own breads. My question is, if I want to have a sweeter taste, can I add more honey or will that mess up ratios? I’m going for a honey nut type flavor.
Oh you actually could!! I wouldn’t add too much, maybe 2-3 tbsp but you definitely could!
I just recently found out my son is gluten, dairy, and egg intolerant. I’m so glad I found your recipe. For the second proof, how long should I allow it to proof?
Hi Naomi, let it proof until the loaf has doubled in size!
O my goodness!! I have been trying for YEARS to make a good GF bread without egg, or dairy or granulated sugar. It is SO hard to find a good recipe, too, that doesn’t use an expensive GF preblended mix or tons of DF products. I literally stumbled across this recipe because we ran out of coconut sugar and I needed something to sweeten with maple syrup…. AND had everything we already have. My husband raved about this saying it is the best GF bread I’ve ever made and wants me to make another loaf today! I have developed a wheat allergy 4 years ago so we haven’t had real tasting bread for a while!! I had memories of eating sandwiches with my mom who has passed that were wheat topped with oats just from eating this bread. Thank you!! In case anyone needs to know, Azure Standard millet(120g), sorghum(272g) tapioca, GF rolled oats, and psyllium husk powder works great!! The only really expensive ingredient for us is the powder because of Azure soooo we are very very very grateful we get to save money from our last bread recipe and have better quality now!! I’ve wanted french toast for a long time!! (still need to find an eggless french toast recipe, but this is the best bread for it) This will become our new staple for years!! Thank you, thank you, thank you! I’ll wow my in-laws and help my family/little kids grow with this one!! 💛 You’re doing great things, Britt. 🤗
Hi Alexandria! This is SO AMAZING and seriously so sweet of you to share! Thank you SO much for being here! 🙂
Thank you for the quality article! It feels like you put your heart into your publications. This is truly valuable and important.
Hi,
I am in the process of making this now and my dough is super thin. I added an additional 1/2 – 3/4 cup of millet flour and it didn’t change much. I went ahead and put it in a bowl to proof but I don’t have much hope that it will stiffen up and that I will be able to knead it as instructed to shape. Do you have any tips on what went wrong or what I can do to save it?
Thank you,
Danita
Hi Danita! Oh no! Did you make sure to add in the psyllium husk powder? It’s an easy one to miss but SO crucial even though it’s a small amount- it’s what helps the dough form into a more dough-like feeling/texture!
The bread is really good! I am new to GF bread baking specifically (long time sourdough and other bread baker but recent health changes are requiring a GF diet) and with using a kitchen scale, the texture turned out wonderful, so I think overall the recipe is great. Personally, there is a strong flavor coming from one of the flours (I don’t really know which one) that bothers me a bit. I mostly taste it when I’m eating the bread totally plain. When I ate it as avocado toast I couldn’t taste it at all, so I think it will just take some getting used to. I really love the texture and overall am happy. The recipe is easy too.
Just a note that I honestly wouldn’t even put if it wasn’t something that ended up causing me so much frustration. I use my phone often when I’m following recipes in the kitchen because it’s the easiest way to see it, and this website is extremely frustrating because of all the ads and pop-ups. I’ve used a ton of blog recipes before and this has never happened, but my page would not stay put. It kept bouncing around, I couldn’t get it to hold on the recipe when I was trying to read instructions, and the pop-ups would constantly get in the way. I had to refresh SEVERAL times. It was to the point where I would have avoided using this entirely but I was already mid-recipe by the time I got this frustrated. I did take screenshots of the printed recipe for future use, and I completely understand having ads to make money from these sites (as you deserve for putting so much work into this beautiful recipe and sharing it for free), but I think there has got to be a way to fix how glitchy the site is. Just a point of feedback as I’m sure if it caused me this much frustration, it’s probably caused others some as well!
To wrap up, overall I really did love this bread and will likely continue using this for my weekly toast and sandwich bread recipe 🙂 I also immensely appreciate that it is GF and vegan, AND there are no gums. It’s soo hard to find recipes this clean (and delicious) and my body thanks you for it!!
This has been our best gluten-free bread yet. I used one regular recipe in a large pullman pan and it came out like almost like a baguette with a great firm crust. It’s been a year since I’ve had gluten bread, but this tastes really similar to what I remember. It also blew my mind that the dough was actually dough and not batter, with two rises like regular wheat bread. I’m definitely trying this again and doubling the recipe in that large pan to see how it comes out. Thank you for such a great recipe!
I’m so glad to hear this!! Enjoy!! It’s really so good in the gluten free vegan stuffing recipe 🙂 I make it every year!!
Hi!! I have been making this bread as I am gluten intolerant, just wanted to know if 30gm of psyllium husk is correct as 3tbsp does not equal to that quantity in gms, and I tried powdering my husk but I couldnt, so should I reduce the quantity? Could you please guide me? I am from India. Thank you!!
Hi Vidya! Oh sure I can help you! So it sound like you’re using the psyllium in husk form not powder correct? So then a tbsp of psyllium husk NOT in powder form will be less than what it is in powder form! So the recipe calls for 30 g of psyllium husk powder, you can use about 35 g of whole husk psyllium (1 tbsp of psyllium husk powder is about 10 g!)!