Easy Vegan Rainbow Cake Recipe (Natural Colors!)
This super easy homemade rainbow cake is the perfect celebration cake for Pride Month, birthdays, and more! And guess what?! It’s naturally VEGAN, eggless, dairy free, and only uses natural colors, yet you’d never know by the taste. Just a delicious rainbow cake
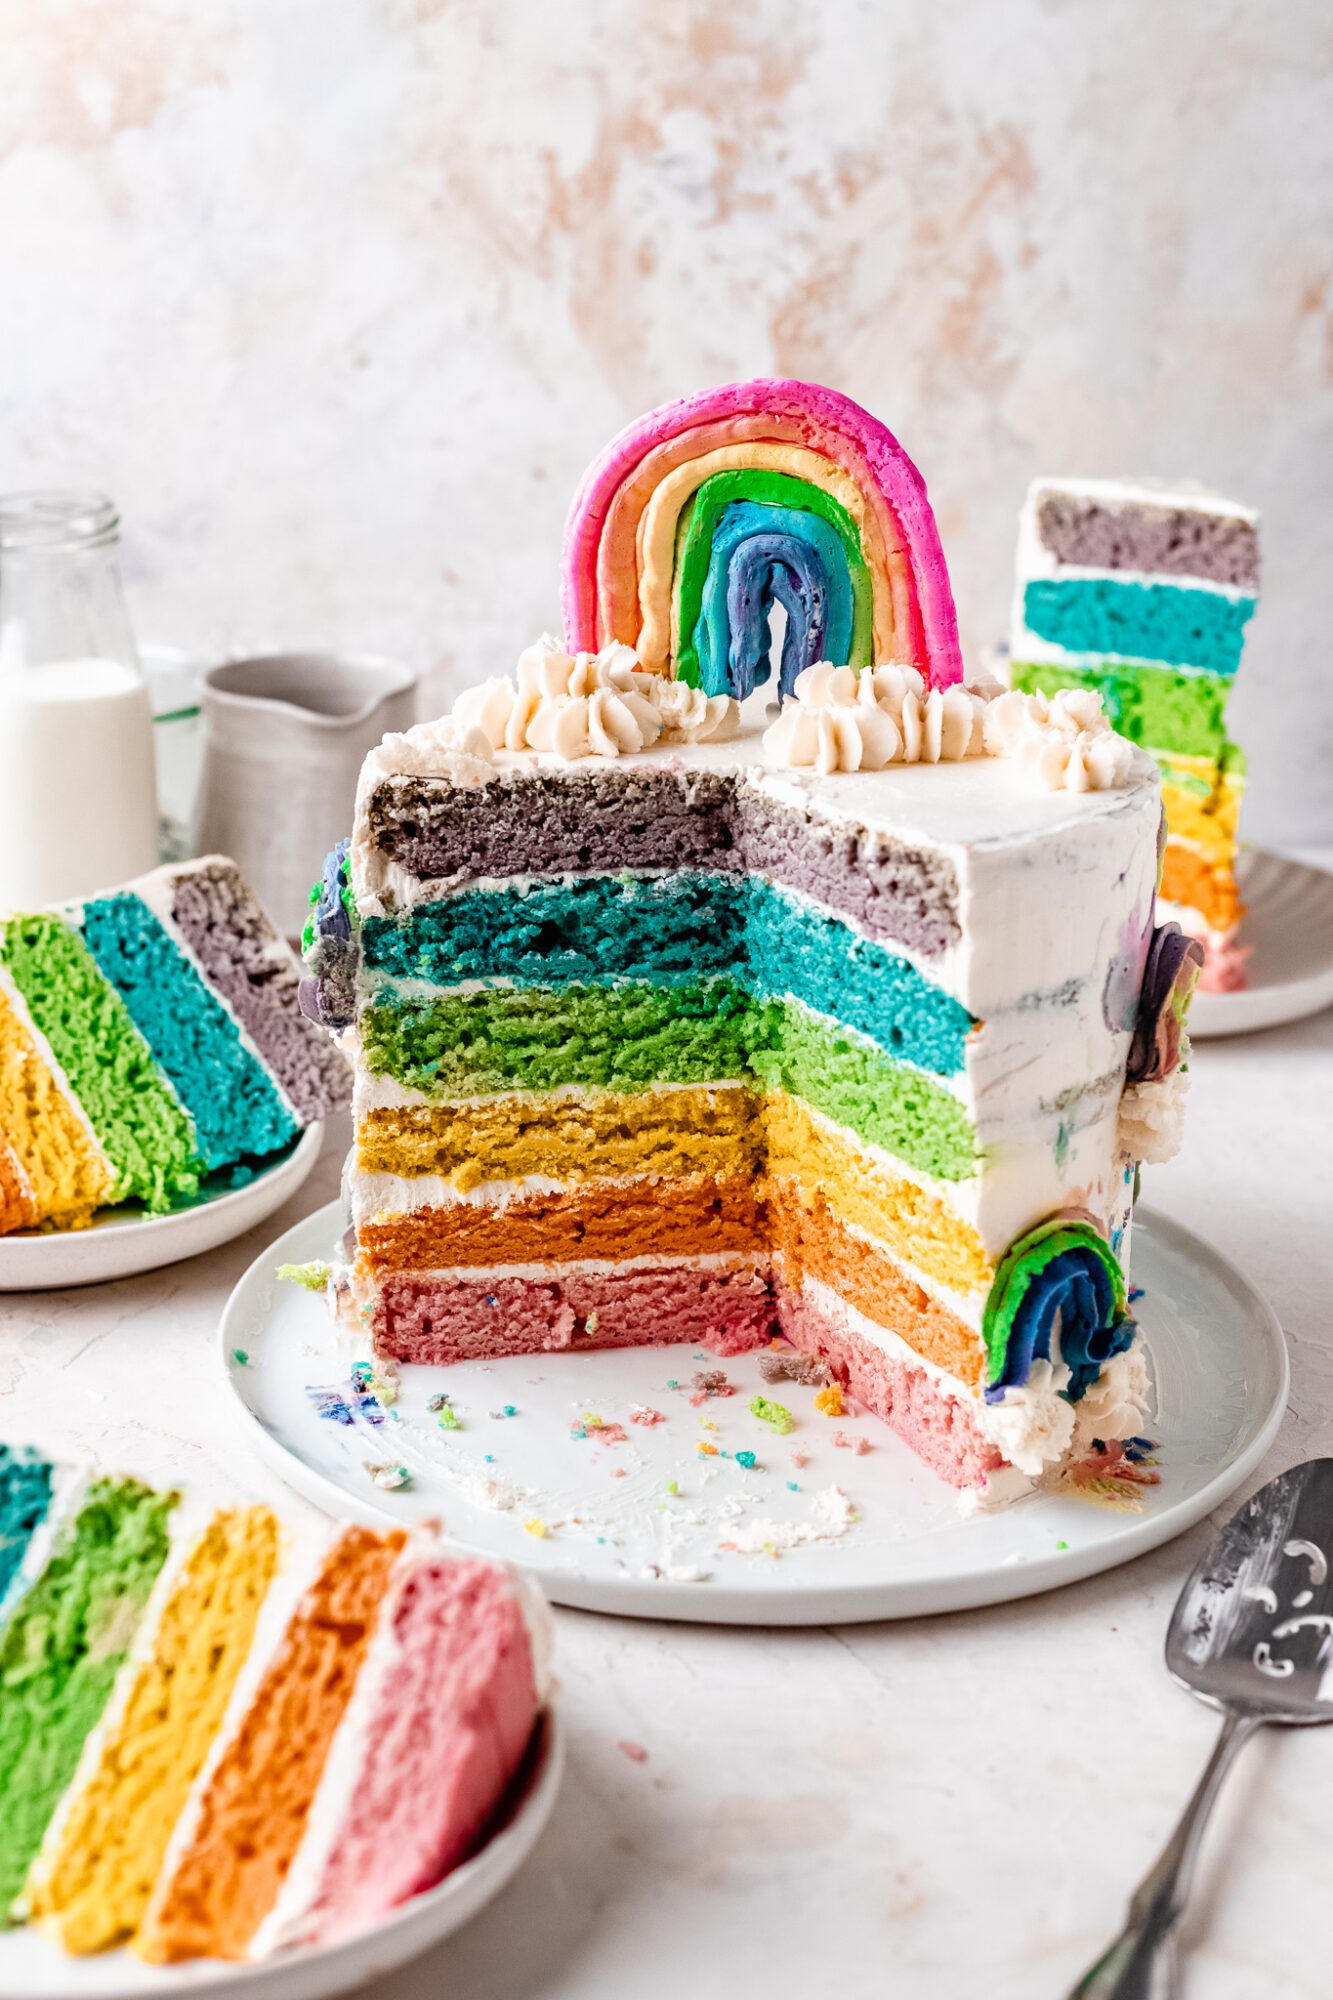
The ultimate homemade rainbow cake recipe made VEGAN:
One of the most beautiful and colorful cakes around, this easy rainbow cake is an absolute dream to enjoy and actually so much fun to make!
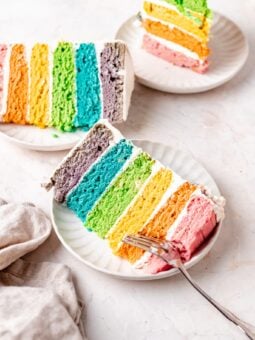
With layers of beautiful rainbow colors, all created naturally from vegan food coloring powder, you won’t believe that this vegan rainbow cake is actually eggless and dairy free. Especially since the texture is so lovely, velvety, and tender!
This cake was made in honor of Pride Month, a month dedicated to uplifting and giving a platform to voices from the LGBTQIA+ community. For me, it’s also important to note the Trevor Project: a nonprofit organization founded to help LGBTQIA+ youth.
What flavor is rainbow cake?
Typically, a rainbow cake is made from a vanilla sponge cake or a white cake recipe. Since vegan vanilla cakes omit egg yolks naturally, this makes using a vegan cake recipe the perfect base for this homemade rainbow cake! The cake color is naturally lighter, which allows the colors to really shine through.
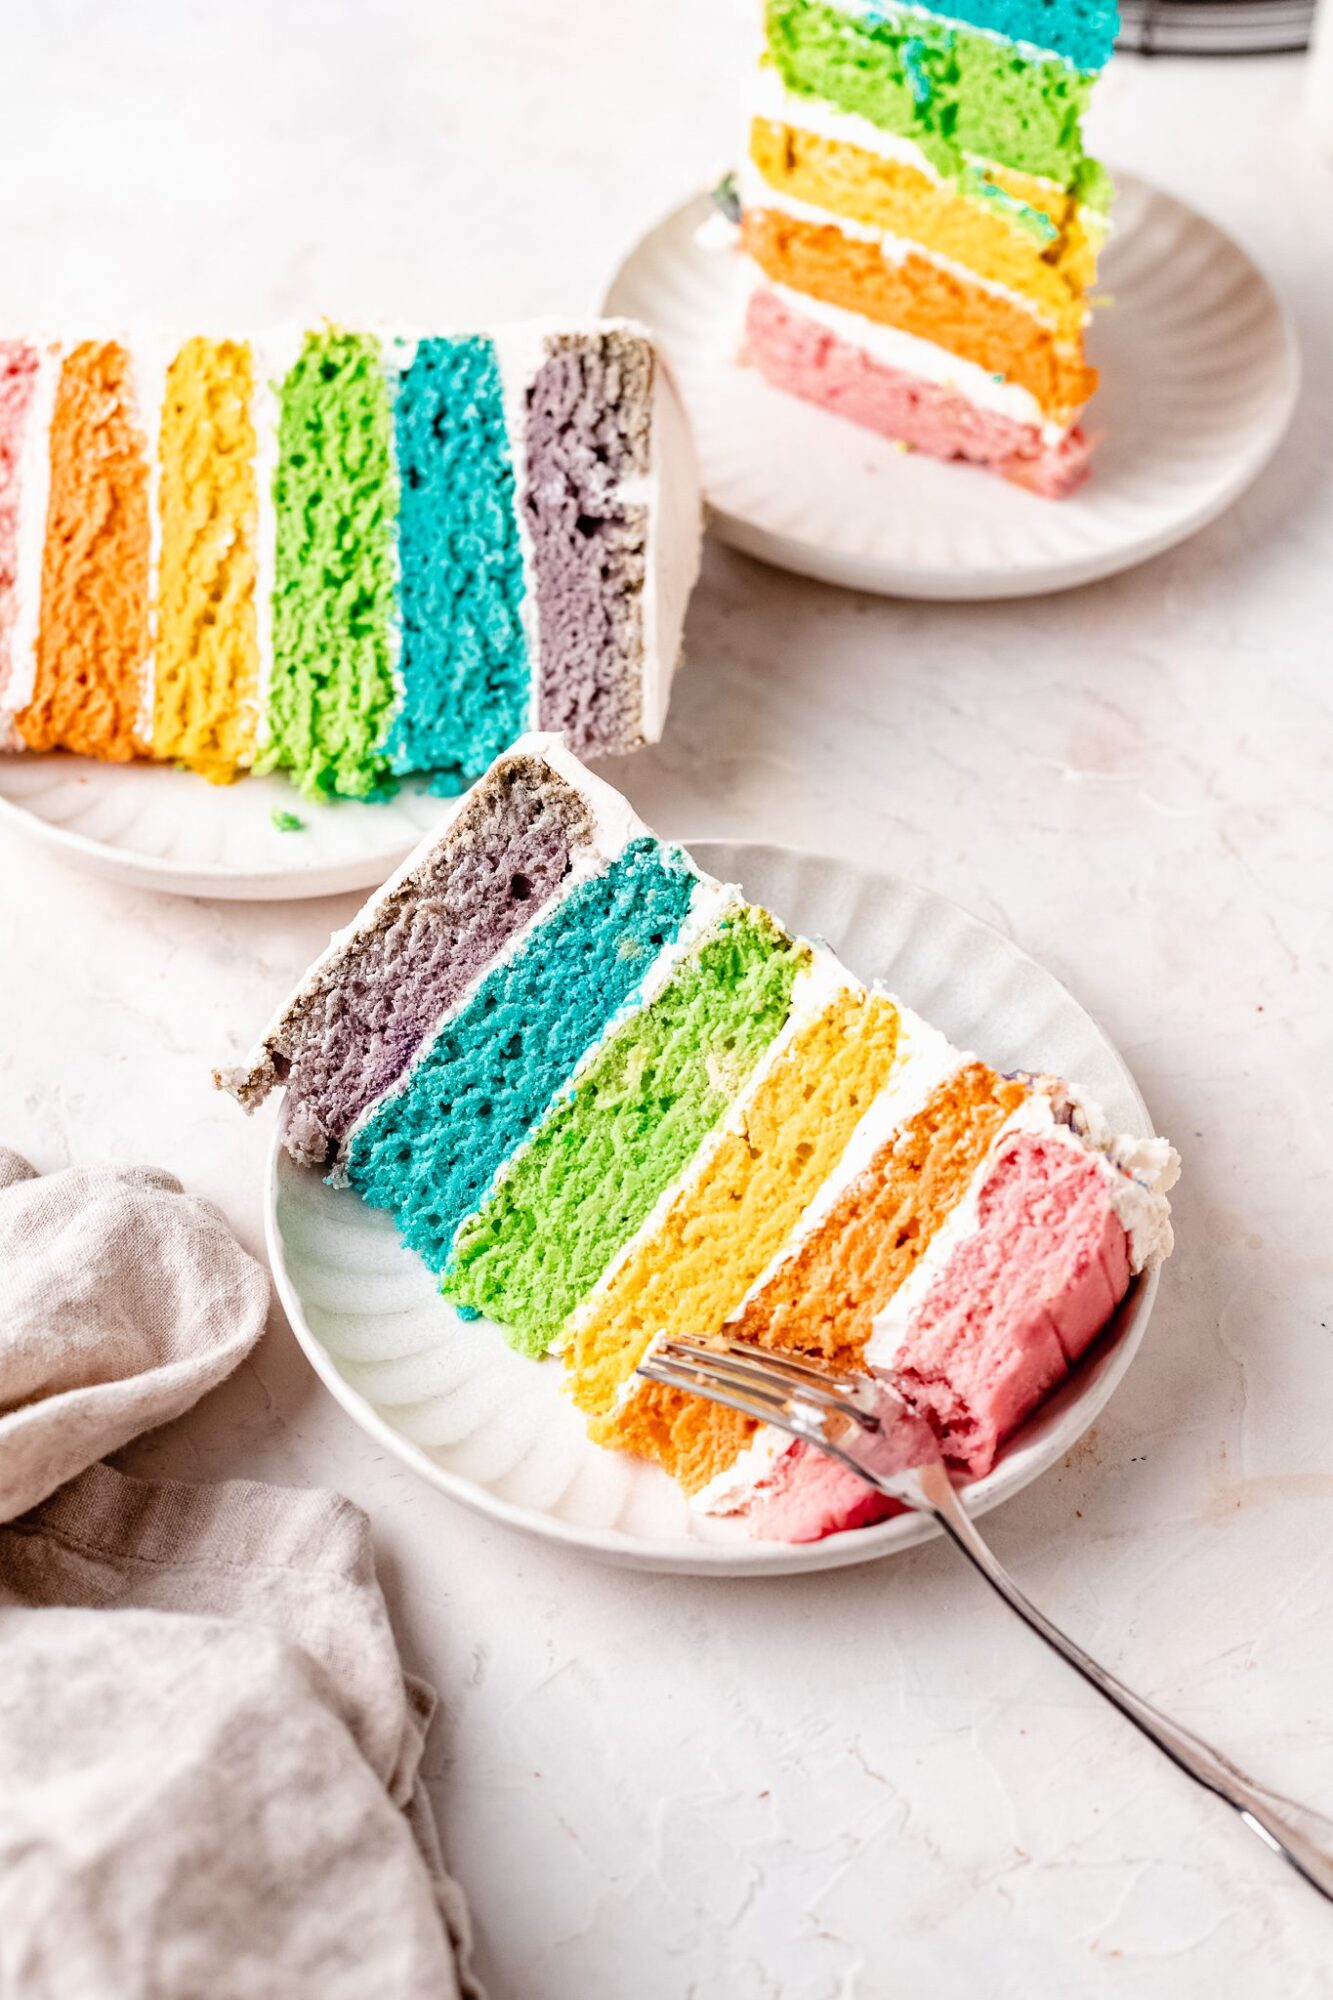
You can, however, flavor your cake recipe however you’d like by adding in flavored extracts, such as almond, coconut, orange, etc. I wouldn’t recommend adding any stir-in flavor additions, such as fruit, chocolate chips, etc. This will interfere with the colors of the rainbow cake.
How do you make a rainbow cake from scratch?
For the full written instructions and ingredient measurements, see the bottom of this post in the recipe card. You can also hit the “jump to recipe” button at the top of this post! Here, we’ll go over a brief overview of the steps, along with providing visuals for a better understanding of the recipe.
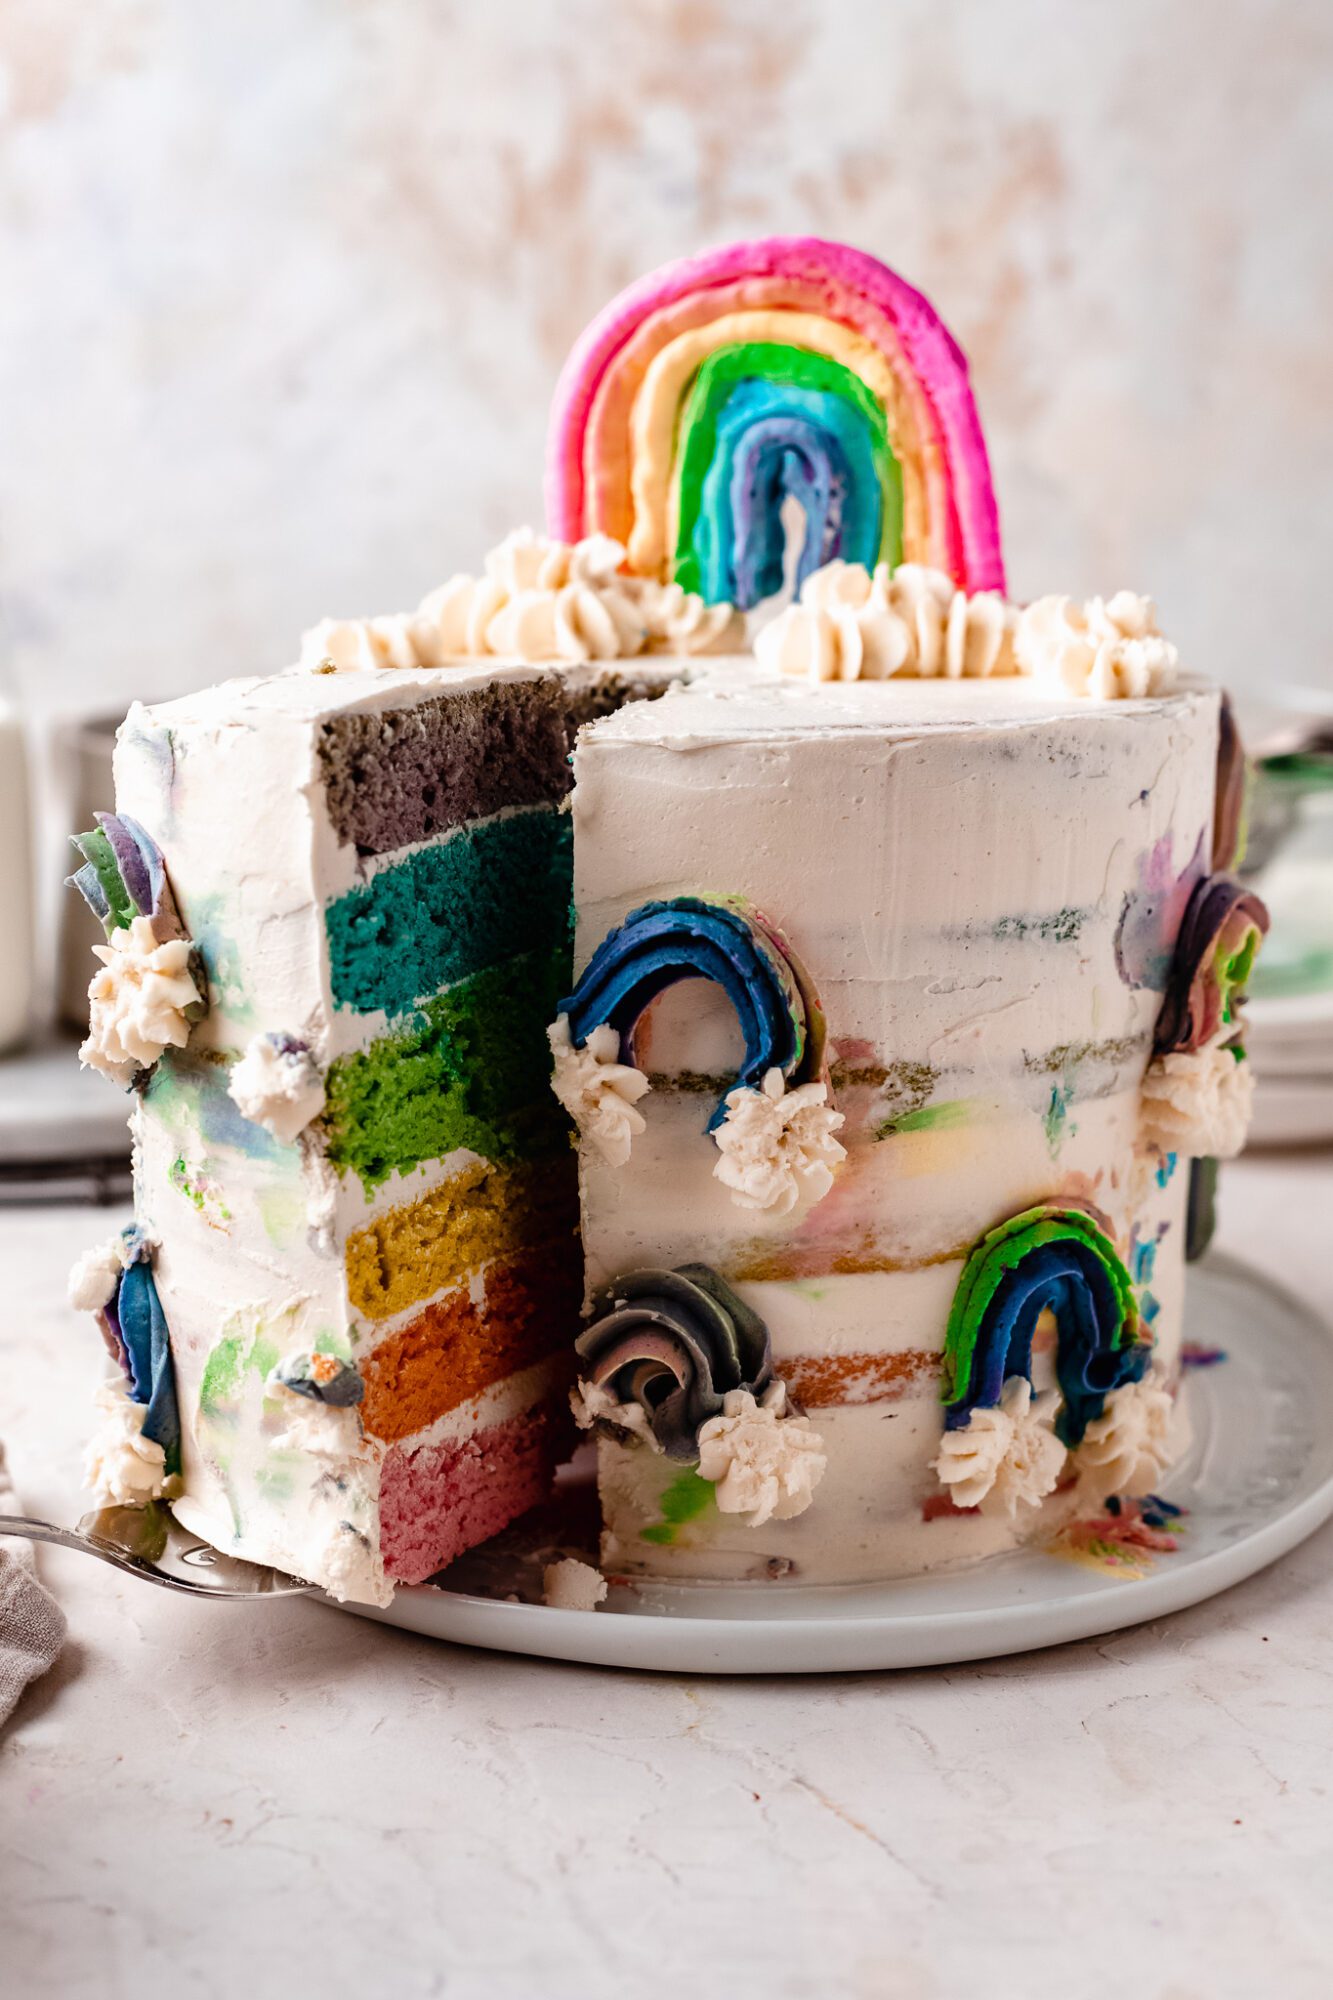
While this homemade vegan rainbow cake is definitely easy, there are some steps to creating this beautiful multicolored layered masterpiece. Patience is definitely required! But don’t worry, it is actually quite fun to make.
You’ll start off by making the cake batter first. We’ve based this recipe off of my classic vegan vanilla cake, which is very similar to a white cake recipe, and will yield beautiful results for when the colors are added.
Once you’ve made the batter, you’ll divide the batter into 6 bowls. Here’s the only caveat: it’s best to have six 6″ cake pans. Most people have 2-3, which means you’ll actually need to bake this cake in two stages. Otherwise, you can purchase the additional cake pans.
If you’re baking this cake in two stages: simply make half the cake batter and divide it amongst three bowls. Choose your colors for the first batch (i.e. red, orange, yellow, or blue, green, purple), and bake the cake.
If you’re baking this cake in one stage: proceed with dividing the colors into bowls! Add the vegan food colors and mix the colors just until fully incorporated. Pour the batter into their respective cake pans, and bake.
Assembling a rainbow cake:
Once the cake layers are all baked, you’ll make the buttercream. I chose to use my vegan vanilla buttercream. After you’ve made the frosting, you’ll assemble the cake.
I applied a very thin layer of frosting between each layer. This is because this cake will weigh a lot when stacked one upon the other. This may cause the frosting to buckle and spill out if there was anymore than 1/3 cup of frosting between each layer.
Using less frosting here will also allow you more frosting for decoration!
Next, apply a crumb coat to encase the cake. This helps to keep the cake super moist while chilling the fridge to set.
Once the cake has set in the fridge, apply the final layer of frosting, and decorate!
What food colors to use that are natural and vegan:
More traditional rainbow cakes typically use artificial colors. While these can yield really beautiful colors, I like to go the more natural route that also ensures that minimal harm occurs both in the making of the colors and when we consume them! This is why this vegan rainbow cake is perfect on many levels 🙂
For natural vegan food colors, I recommend any colors by Suncore Foods. They’re a wonderful woman-founded and owned superfood company that actually specializes in creating vegan food colors in the forms of powders. Essentially, they take the whole food, such as a purple sweet potato or turmeric root, dehydrate it, and grind it into a powder. Then you can use in your baking recipes as needed!
You can also use liquid food colors, which are available vegan. Nomeca is a vegan-friendly brand available on Amazon, as well as Go Supernatural.
This rainbow birthday cake is perfect for:
- Pride Month and any Pride celebration!
- Birthdays
- Graduations
- Baby showers
- Summer parties
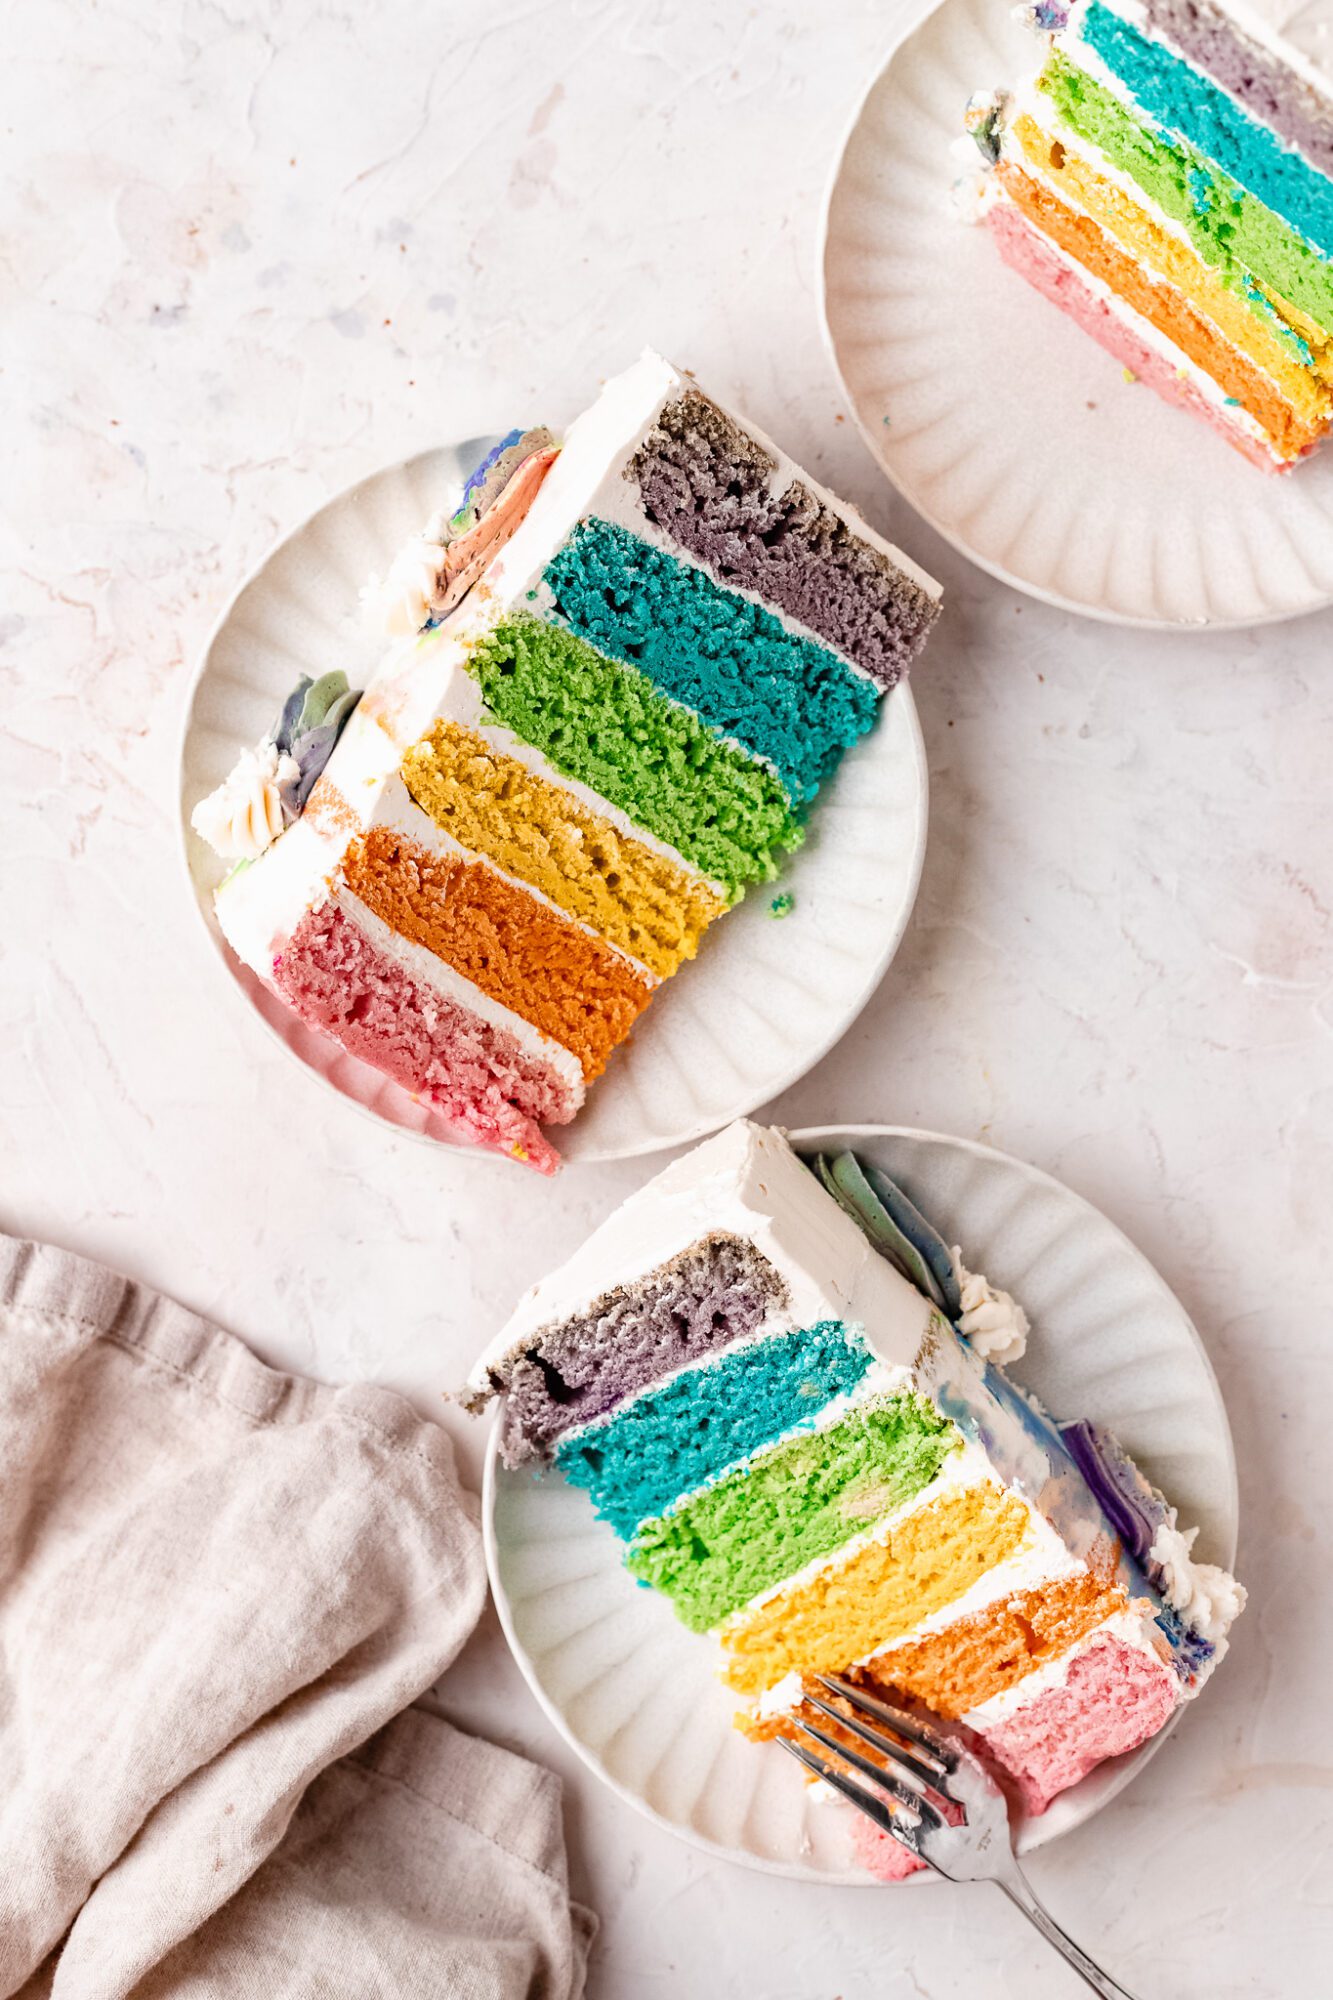
And more!
You are just going to absolutely love this vegan version of the classic rainbow cake! If you make this recipe, please be sure to leave a comment and a rating below ⭐️⭐️⭐️⭐️⭐️. This helps others find the recipe!
As always, I absolutely love to see your beautiful creations, so be sure to tag me on Instagram and Pinterest!
Happy rainbow cake baking!
More of our top vegan cakes you’ll love:
My Favorite Vanilla Cake (Made Vegan!)
Best Vegan Black Forest Gateau Cake
Want to save this recipe for later? Add it to your favorite recipe board on Pinterest!

Easy Vegan Rainbow Cake Recipe (Natural Colors!)
- Prep Time: 20
- Cook Time: 30
- Total Time: 50 minutes
- Yield: 20
- Category: Dessert
- Method: Baking
- Cuisine: American
- Diet: Vegan
Description
This super easy homemade rainbow cake is the perfect celebration cake for Pride Month, birthdays, and more! And guess what?! It’s naturally VEGAN, eggless, dairy free, and only uses natural colors, yet you’d never know by the taste. Just a delicious rainbow cake
Ingredients
Rainbow Cake:
- 1 1/4 cups (300 grams) unsweetened dairy free milk, room temperature
- 2 tsp apple cider vinegar (to be mixed with dairy free milk milk)
- 3 2/3 cups (460 grams) all-purpose flour or gluten free 1-to-1 baking flour, sifted
- 2 tsp baking powder
- 1 tsp baking soda
- 1 1/4 cup (250 grams) granulated sugar
- 3/4 cup (170 grams) salted Flora Plant Butter, room temperature
- 3/4 cup (190 grams) unsweetened applesauce, room temperature
- 2 tbsp vanilla extract
- Vegan red, orange, yellow, green, blue, and purple food colorings (liquid or powder)
Vegan Vanilla Buttercream:
- 2 cup salted Flora Plant Butter, softened
- 4 cups organic powdered sugar
- 1 tsp vanilla extract
- 2–4 tbsp unsweetened dairy free milk
Instructions
-
Preheat the oven to 350 F. Grease six 6″ cake pans with cooking oil, and line them with parchment paper. Set aside. If you only have three 6” cake pans, then you’ll need to divide the recipe in half, baking the first three colors in the first round, the second three colors the second round.
-
Prepare the vegan buttermilk. Combine the dairy free milk with the apple cider vinegar, and set aside to sit for 5-6 minutes. You can weigh and measure the remaining ingredients during this time.
-
In a medium bowl, whisk together the flour, baking powder, and baking soda. Set aside.
-
Make the batter: In a stand mixer with paddle attachment or a large bowl with hand mixer, cream together the Flora Plant Butter and sugar until fluffy, about 2-3 minutes. Scrape down the sides as needed. Then add in the applesauce and vanilla extract. Mix again on medium speed until combined, scraping down the sides and at the bottom of the bowl as needed. Add in about half of the dry mixture, along with half of the vegan buttermilk, and mix on medium speed until just combined. Add in the remaining dry mixture and vegan buttermilk, and mix on medium speed until there are just no more dry streaks. Make sure to scrape the bottom of the bowl as well as the sides.
-
Divide the batter into 6 bowls evenly (you should yield about 1260 grams of batter, so each cake should yield about 210 grams of batter). Add in the vegan plant based colors to each bowl, and mix just until the color is evenly distributed. Pour the batter into their respective cake pans, bake for 25-30 minutes in 6″ cake pans, or until the toothpick comes out clean. (for three 8″ cake pans, bake for 27-30)
-
Remove from the oven and allow the cakes to cool in their pans for 10 minutes, then transfer them to a cooling rack to cool completely. Once cooled completely (there is absolutely no warmth to the touch!), then you can prepare your buttercream.
Vegan Vanilla Buttercream:
-
When ready to frost the cakes, add Flora Plant Butter to a large bowl or stand mixer and cream for 2-3 minutes.
-
Add in 1 cup of powdered sugar at a time, continuing the beat the mixture until it’s a thick buttercream.
-
Add in vanilla and 2-4 tablespoons of coconut/almond milk and continue to beat until the desired texture is reached.
-
Frost cake and enjoy! You can decorate with more rainbow icing, flowers, etc.
Notes
Gluten free: swap in gluten free 1:1 baking flour, such as Bob’s Red Mill in the blue bag.
Refined sugar free: you can make this rainbow cake refined sugar free by using coconut sugar or a granulated sugar-free sweetener. However, the coconut sugar will alter the colors of the cake slightly, making them more caramel, and some granulated sugar-free sweeteners DO alter the texture of the cake, so please keep that in mind.
Vegan food colorings: I recommend using all natural vegan food coloring in the form of powders. Suncore Foods has an array of different rainbow colors, all derived from plants that have been dehydrated and ground into a powder. You can also use liquid food coloring, such as Nomeca, which is a vegan-friendly liquid food color.
Decorating: I used Wilton Tips, along with an offset spatula, cake turntable, and bench scraper.


Just did a practice round for my daughters upcoming birthday and this cake is amazing! I used coconut sugar and almond milk. You would absolutely never know it is vegan and gluten free! Great recipe and super easy to follow.
My question is, if I made the day before would it still be ok? What is best for storing? Out on counter or in fridge? Thanks for an amazing recipe!
Hi Marleigh! Aw how wonderful!! I’m so glad you loved it, and thank you for sharing which ingredients you used!! That helps other readers so much!!
For making it the day before, if you want to fully assemble the cake with frosting and all, you can place it into the freezer for about 10-15 minutes uncovered to allow the buttercream to harden. Then wrap it loosely in plastic wrapped store the cake in the fridge until you’re ready to serve! If you have a cake box, you can place it into the cake box as well, even better! The frosting already acts as a barrier to stop the cake from drying out, and the plastic wrap will act as a barrier from the frosting becoming crumbly overnight! Enjoy, and happy birthday to your daughter!
So a few details are missing. When you are beginning to cook, a few ingredients need to be room temperature. Make sure you do this first. Also, unless you have a cooking scale (most American kitchens do not), it would be helpful to list the recommended width dimension of the 6″ pans. I used water to figure out approximately how much would be “half” of the cake pan, but of course, water is a different density than cake batter. Additionally, I had to make half again the recipe for batter because the recipe did not specify how much batter per pan and the dimensions and I was short for the remaining 3 pans. Seems to taste alright so far, but more details are needed for measurement.
This does not take 50 minutes. Plan for a few hours (especially if you have limited cake pans)
Nomeca and Suncore foods colouring, are they available in Australia? And Flora plant butter too is it available in Australia or are they named different here?
What colors from Suncore did you use? And about how much of each? I am so happy to learn about these “dyes” from you, but am a bit overwhelmed! I’m making a rainbow cake for my upcoming 3 year old’s bday soon and your recipe is perfect for our lactose intolerant, artificial dye free, GF, and color loving house!
Oh wonderful!! I’m so happy you’re going to give it a try!! So I love the blue butterfly pea powder, purple sweet potato powder, red beet powder, turmeric (for the yellow, then I mix it with the beet powder to make orange), and for green, I think the green hue is more vibrant if you use something like moringa, but you CAN mix the blue butterfly pea powder and the turmeric to create green! However, Go Supernatural! just made really REALLY good plant based liquid colors, if you want to give those a try too for ease!
This is such a fantastic recipe – I had to go along and trust the process as a terrible baker but it turned out incredible and my 4 year old daughter was super impressed as were the guests at her party. Definitely one to make again!
This is so wonderful to hear!! Thank you so much for such a wonderful review 🙂 Enjoy!!
Hi I’ve just made this but the colours aren’t so vibrant and it’s come out flat. I want to redo it tonight as it’s my daughters party cake for tomorrow. Any ideas why it’s flat? I did double the recipe as using 8inch tins.
Thanks
Hi Jax! Which brand of food colors did you use? I recommend not using the Whole Foods 365 brand as it fades A LOT in the baking process (I believe I noted that in the post). For why it’s flat it could either be over mixing OR your baking powder isn’t good. You can test that the baking powder still works by adding some acid (vinegar, lemon juice, etc) to a tsp of it in a bowl and if it reacts, it’s good. If it doesn’t, you need a new baking powder!
Hi Brit, looking to make this cake for my girls 3rd birthday. Will be making it gluten free. As our plain flour in uk doesn’t contain xanthum gum shall I add 1tsp?
Also can I substitute the unsweetened apple sauce with natural yogurt?
Thanks
Aine
Hi Aine! That’s so wonderful to hear! So I will say that gluten free flour blends can really vary, and I haven’t baked with any from over in the UK- typically it’s about 1/4 tsp xanthan gum per 1 cup of flour, so for this recipe, I would almost want to do a heaping teaspoon! If you’ve baked with this blend a lot before and like the results then I think it should be okay!
For the applesauce sub, that’s perfect! You absolutely can 🙂 Enjoy! Let me know if you need any more help/how it comes out- and happy 3rd birthday to your daughter! 🙂
Xx,
Britt
Came out amazing
Hey, I made this at the weekend, I wish I could add a picture it was AMAZING. My customers feedback was very complimentary too. I wondered how I would adapt to cupcakes? X
Made this for my sons birthday and I love it. looks exactly the same for the sponge colours. I used chocolate butter icing and made a volcano to sit on the top. I added lava and left a space to see the lovely colours. I’ll definitely be using this again. thank you.
Okay this is EPIC!! Thank you so much for sharing!! Wow 🙂