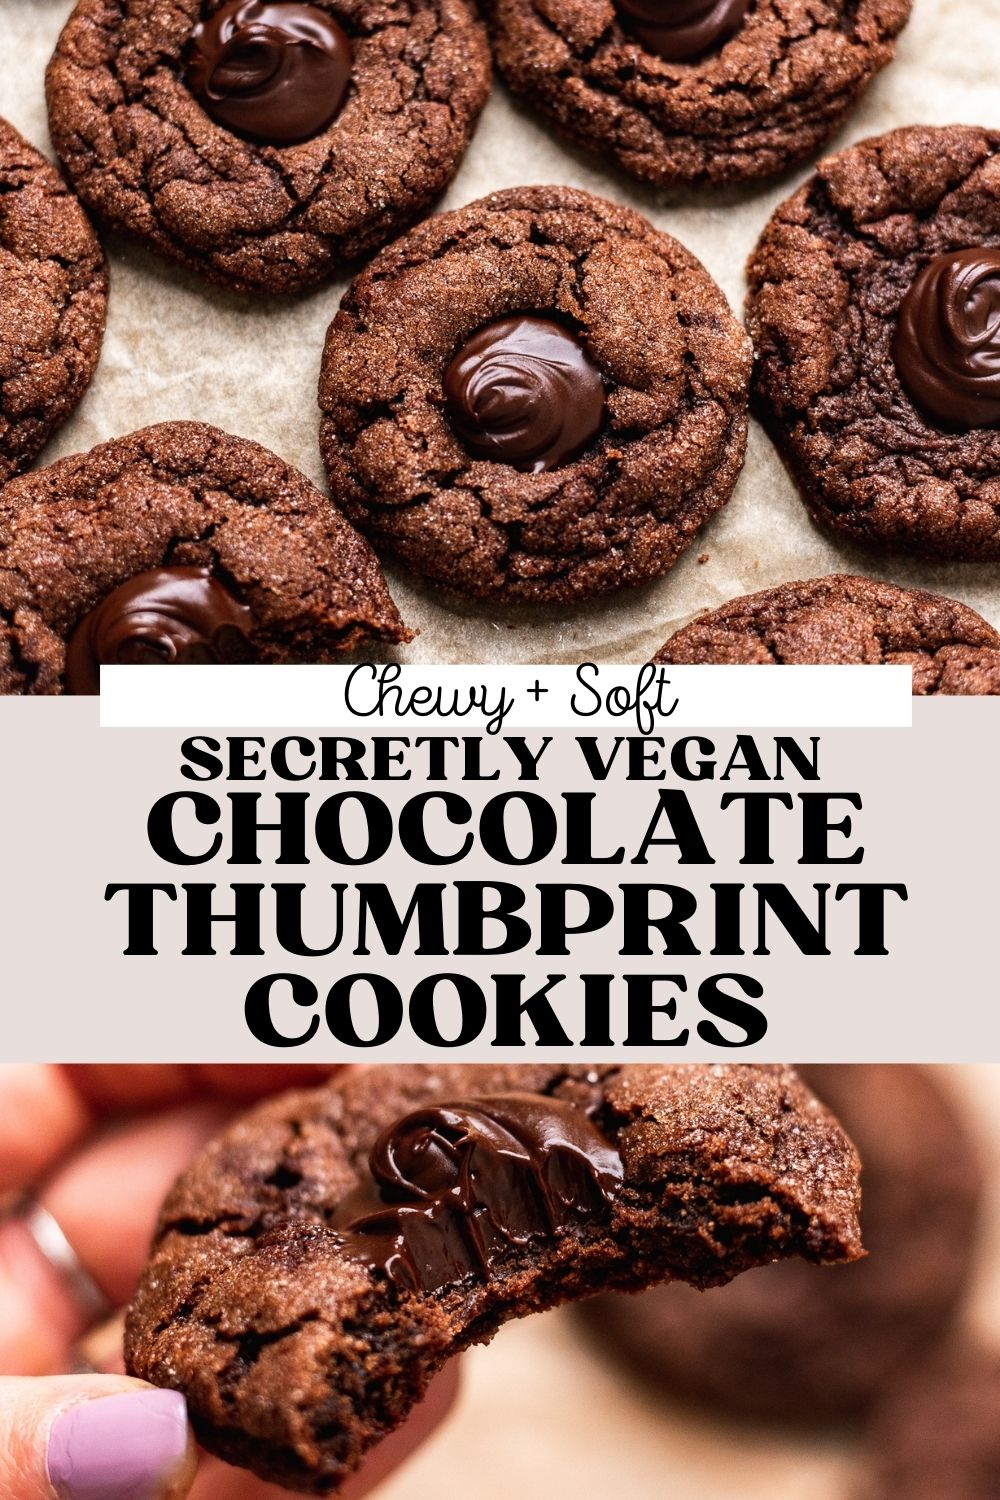
Easy Vegan Chocolate Thumbprint Cookies Recipe
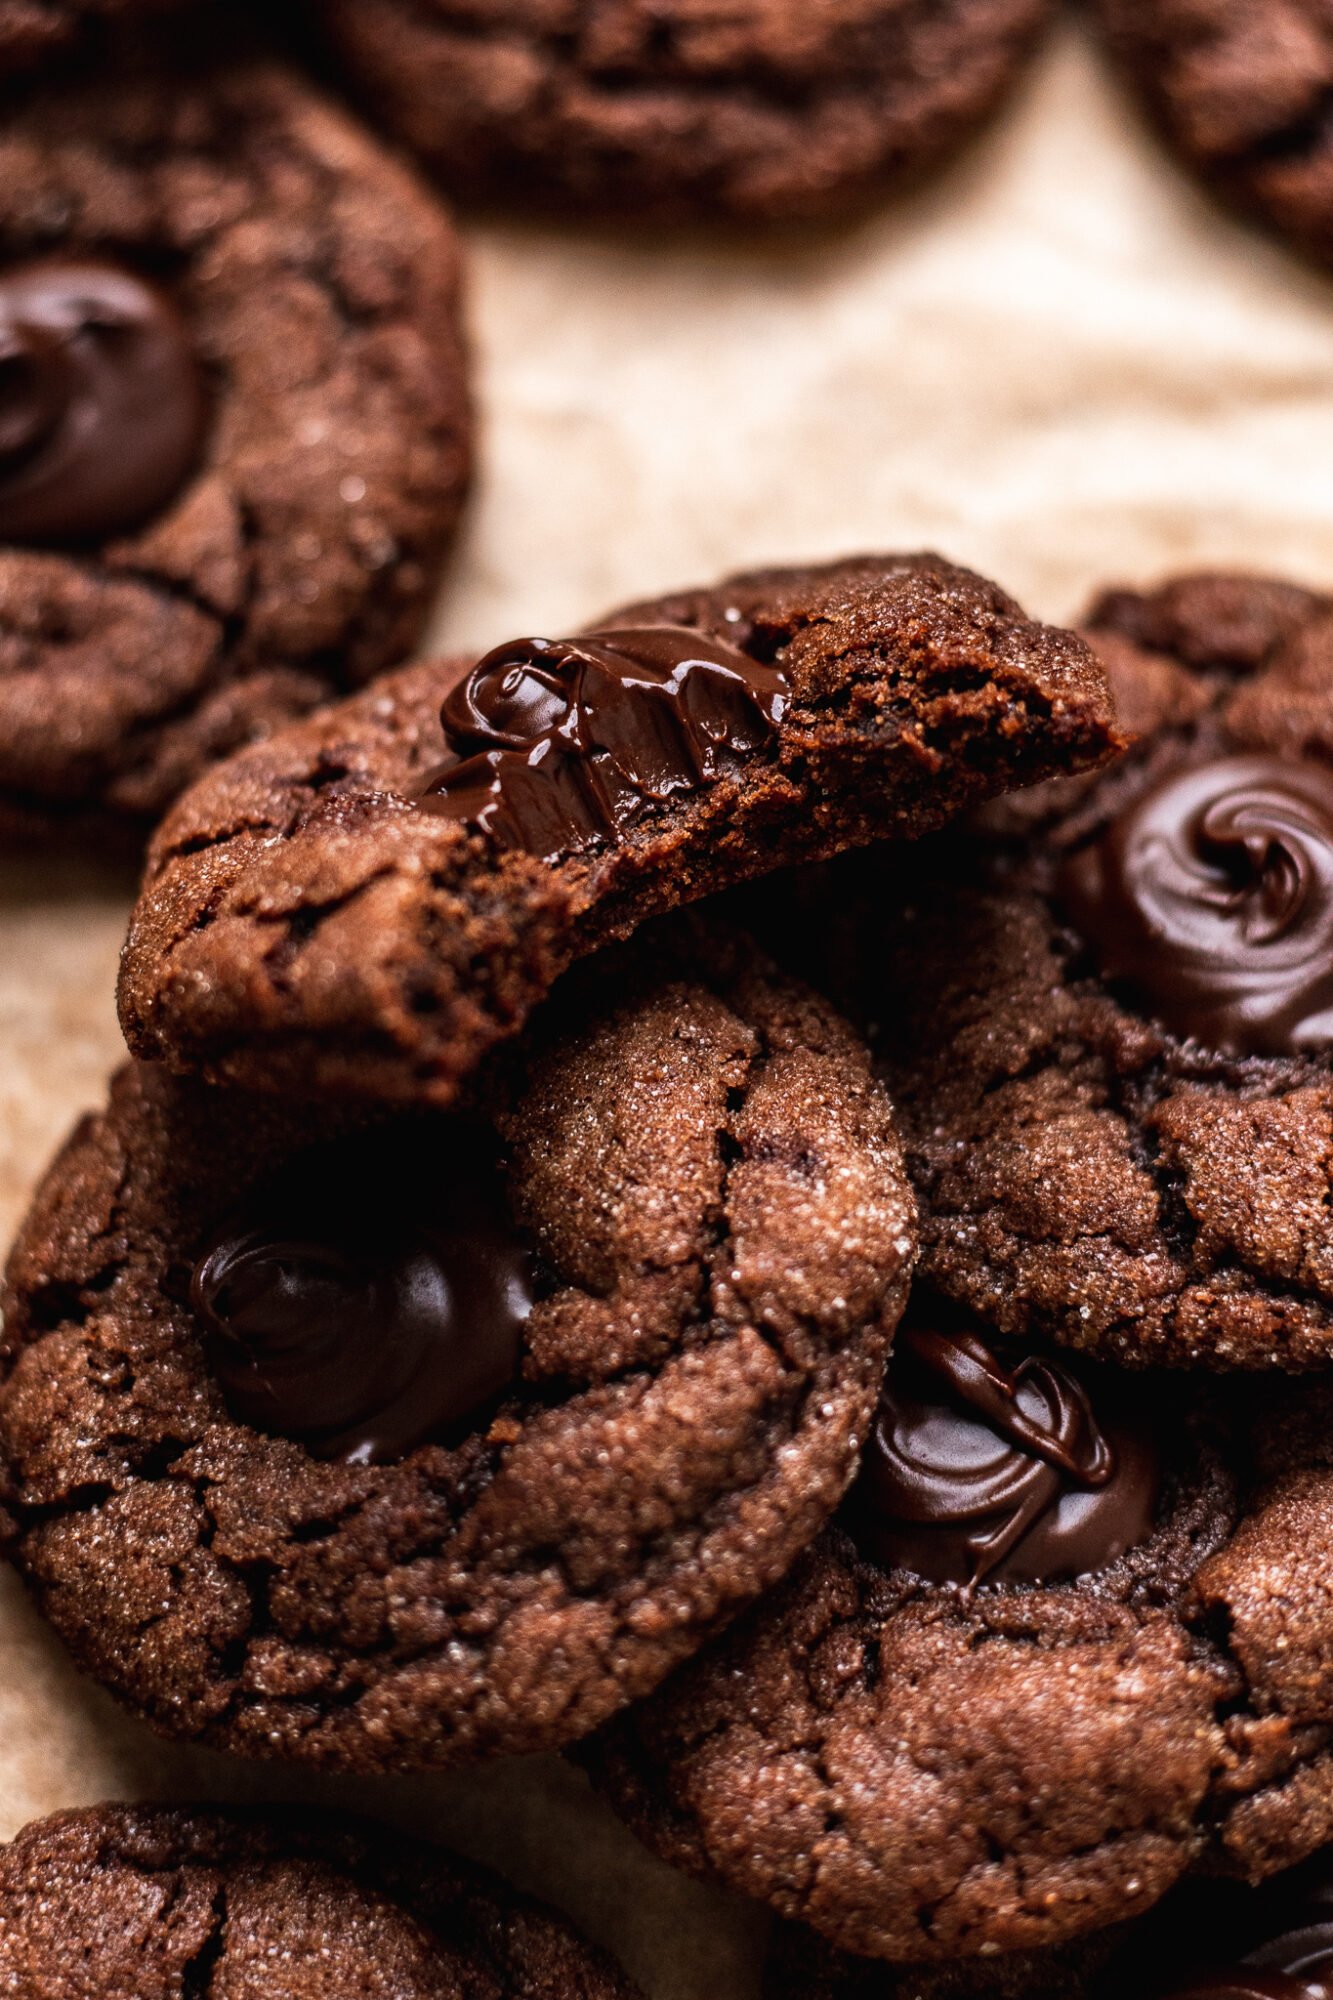
Secretly vegan chocolate thumbprint cookies are rich and decadent, and undetectably dairy free and eggless! Filled with a chocolate ganache for a deliciously chocolatey twist on the classic holiday cookie!

Why you need to try these easy chocolate thumbprint cookies:
One of the most loved classic Christmas cookies to make is of course the thumbprint cookies. They’re soft, light, sweet, and filled with jams, chocolate fillings, or even caramel!
Today, I wanted to offer a sort of twist on the classic with these decadently rich (yet somehow lighter and easy!) chocolate thumbprint cookies, made entirely vegan, dairy free, and eggless (yet you’d never know!).
The dough is so easy to make and only uses 7 ingredients, and is the perfect cookie to add a bit of richness with all of the lighter vanilla-flavored cookies!
I filled these vegan chocolate thumbprint cookies with a homemade dairy free ganache, but they’re also lovely with vegan Nutella or even a vegan caramel sauce! You’re just going to love them; they’re wonderful for cookie exchanges or even to leave out for Santa!
How to make vegan thumbprint cookies (overview)
For the full written instructions and ingredient measurements, see the bottom of this post in the recipe card. You can also hit the “jump to recipe” button at the top of this post! Here, we’ll go over a brief overview of the steps, along with providing visuals for a better understanding of the recipe.
You’ll just love how easy and simple this chocolate thumbprint cookie dough is to make! The process of making the dough is very similar to other cookie recipes you’ve probably made. We’ll go over how to make the dough briefly here, and discuss how to shape your thumbprint cookies in the following sections!
Here’s how to make these chocolate thumbprint cookies:
- Cream together the vegan butter and sugar.
You can use either a hand mixer or a stand mixer here. I’ve made these with both! Then you’ll add in the applesauce as well, and mix until combined.
- Add in the dry ingredients and fold into the dough.
This is your flour, cocoa powder, arrowroot, and leavening agents. I recommend using a silicone spatula to help you mix the dough more easily!
- Once you’ve made the dough, you can shape your thumbprint cookies!

How to indent thumbprint cookies
The key to a good thumbprint cookie is ensuring that you’re filling your cookies after you’ve baked them. But how do you get the uniform indent in each of the vegan cookies, and ensure they don’t lose their shape?
I have actually two tricks here. The first is *quite controversial* in the cookie world. I recommend indenting your vegan thumbprint cookies after they’ve baked. Why? Because the cookies lose their indented shape during the baking process, and thus you’ll also lose that wonderfully “puffed” look that’s associated with these chocolate thumbprint cookies.
The second trick is to use the end of a silicone spatula or wooden spoon- this will ensure that you have the perfect circular shape for your thumbprint cookies, and now your thumbs won’t be covered in cookie dough!
So here’s what I do to indent thumbprint cookies:
- Roll the cookie dough into uniform cookie dough balls.
- Then dip the cookie dough into granulated sugar and coat evenly.
- Bake the thumbprint cookies.
- Immediately after removing them from the oven, gently press the end of your wooden spoon or spatula into the middle of the cookie.
- Use the back of a spoon or a rounded cookie cutter to push the edges back together if they’ve spread too much (but the chocolate thumbprint cookies should hold their shape quite nicely!)
- Fill and enjoy!


Two thumbprint cookie fillings
Now let’s talk thumbprint cookie filling.
Make sure you’re filling your thumbprint cookies after baking, and NOT before!
There are two options that I just absolute adore for these chocolate thumbprint cookies.
- Vegan chocolate ganache
- Vegan Nutella

Both are so incredibly easy to make, and there are actually some delicious store bought chocolate hazelnut spreads that are dairy free!
You could even make these chocolate peppermint thumbprint cookies by adding in a 1/4 tsp of peppermint extract and sprinkling with vegan peppermint candies 🙂
How to keep thumbprint cookies from spreading
The key to making sure that these thumbprint cookies don’t spread in the oven while baking is ensuring that you’ve chilled the dough long enough! Make sure that you’re chilling the cookies for at least 45 minutes before baking. This will make sure that the cookies are set and won’t spread too much in the oven.
Another tip is using a darker colored baking sheet rather than lighter. Lighter baking sheets help cookies spread, while darker ones help them keep their shape. Make sure you’re also using a silicone mat or parchment paper!

You’re just going to absolutely adore these easy vegan chocolate thumbprint cookies! They’re so soft, molten, and deliciously chocolatey. And be sure to check back here for an updated list of all of the vegan Christmas cookies shared for Cookie Week of 2021!
More Vegan Christmas Cookies:
Best Vegan Gingerbread Cookies
Want to save this recipe for later? Add it to your favorite recipe board on Pinterest!
If you make this recipe, please be sure to leave a comment and a rating ⭐️⭐️⭐️⭐️⭐️ below. This helps others to find the recipes! As always, I absolutely love to see your beautiful creations on Instagram and Pinterest, so be sure to tag me there as well!
Print
Best Vegan Chocolate Thumbprint Cookies Recipe
- Prep Time: 10
- 45 minutes, chill time:
- Cook Time: 12
- Total Time: 22 minutes
- Yield: 15 1x
- Category: Dessert
- Method: Baking
- Cuisine: American
- Diet: Vegan
Description
Secretly vegan chocolate thumbprint cookies are rich and decadent, and undetectably dairy free and eggless! Filled with a chocolate ganache for a deliciously chocolatey twist on the classic holiday cookie!
Ingredients
- 1 cup all purpose flour or gluten free 1:1 baking flour
- 1/2 cup cocoa powder
- 1 tbsp arrowroot starch
- 1 tsp baking powder
- 1/4 tsp baking soda
- 1/2 cup vegan butter
- 3/4 cup granulated sugar
- 1/4 cup granulated sugar, for coating
- 1/4 cup unsweetened applesauce or dairy free yogurt, room temperature
- 1 batch vegan chocolate ganache or vegan nutella
Instructions
- Please read through all instructions before beginning.
- Prep: Measure out all ingredients before beginning. Line two baking sheets with parchment paper.
- Whisk the dry ingredients: In a medium bowl, whisk together the flour, cocoa powder, arrowroot, baking powder, and baking soda. Set aside.
- Make the dough: In a large bowl with a hand mixer or a stand mixer with paddle attachment, cream together the vegan butter and sugar until light and fluffy, about 3 minutes. Then add in the applesauce, and mix again until combined. Sift in the dry ingredients, and use a silicone spatula to fold the dry ingredients into the wet just until mixed.
- Shape the thumbprint cookies: Scoop the cookie dough into 1 1/2 tbsp sized balls and roll into the granulated sugar for coating. Place about 2″ apart onto your cookie sheet and repeat for all of the dough. You should yield about 15 cookies.
- Chill the dough: Place the cookie sheets into the fridge to chill for 45 minutes. While the cookie dough are chilling, preheat the oven to 350F.
- Bake the cookies: Place the cookie sheets into the oven and bake for 12-14 minutes, or until the edges have slightly spread.
- Immediately create the “thumbprint:” Press the handle end of a silicone spatula or handle end of a wooden spoon into the middle of each cookie gently, creating the thumbprint shape. Allow the cookies to set for 10 minutes on the baking sheet.
- Fill the thumbprint cookies: prepare the vegan chocolate ganache or Nutella if you haven’t already. Add about 1 teaspoon of ganache or Nutella into each cookie. Allow the chocolate to set for 15 minutes.
- Enjoy! Serve the cookies and enjoy! Store any leftovers in an airtight container in the fridge for up to 6 days or in the freezer for up to 3 months!
Notes
Gluten free: Use Bob’s Red Mill 1:1 Gluten Free Baking Flour in the blue bag for gluten free!


I have always loved everything the Banana Diaries does and these are divine. I modify the flour all the time so it’s autoimmune protocol diet compliant for me. These are a chocolate dream, almost like a brownie to me. I chose to create homemade vegan peppermint kisses with chocolate liquor, food grade peppermint oil, and crushed candy canes from Yum Earth. Always a win in my book!
Omgsh!! I love this!! Thank you so much for this review AND for writing your modifications! What a delicious twist, I’ll have to try that myself, thank you! Enjoy 🙂
These cookies are fantastic. They’re a staple around the holidays in my home, and people always ask for the recipe when I bring them to share. Perfectly chocolatey and chewy 😍