How to make a Watercolor Cake (with natural colors!)
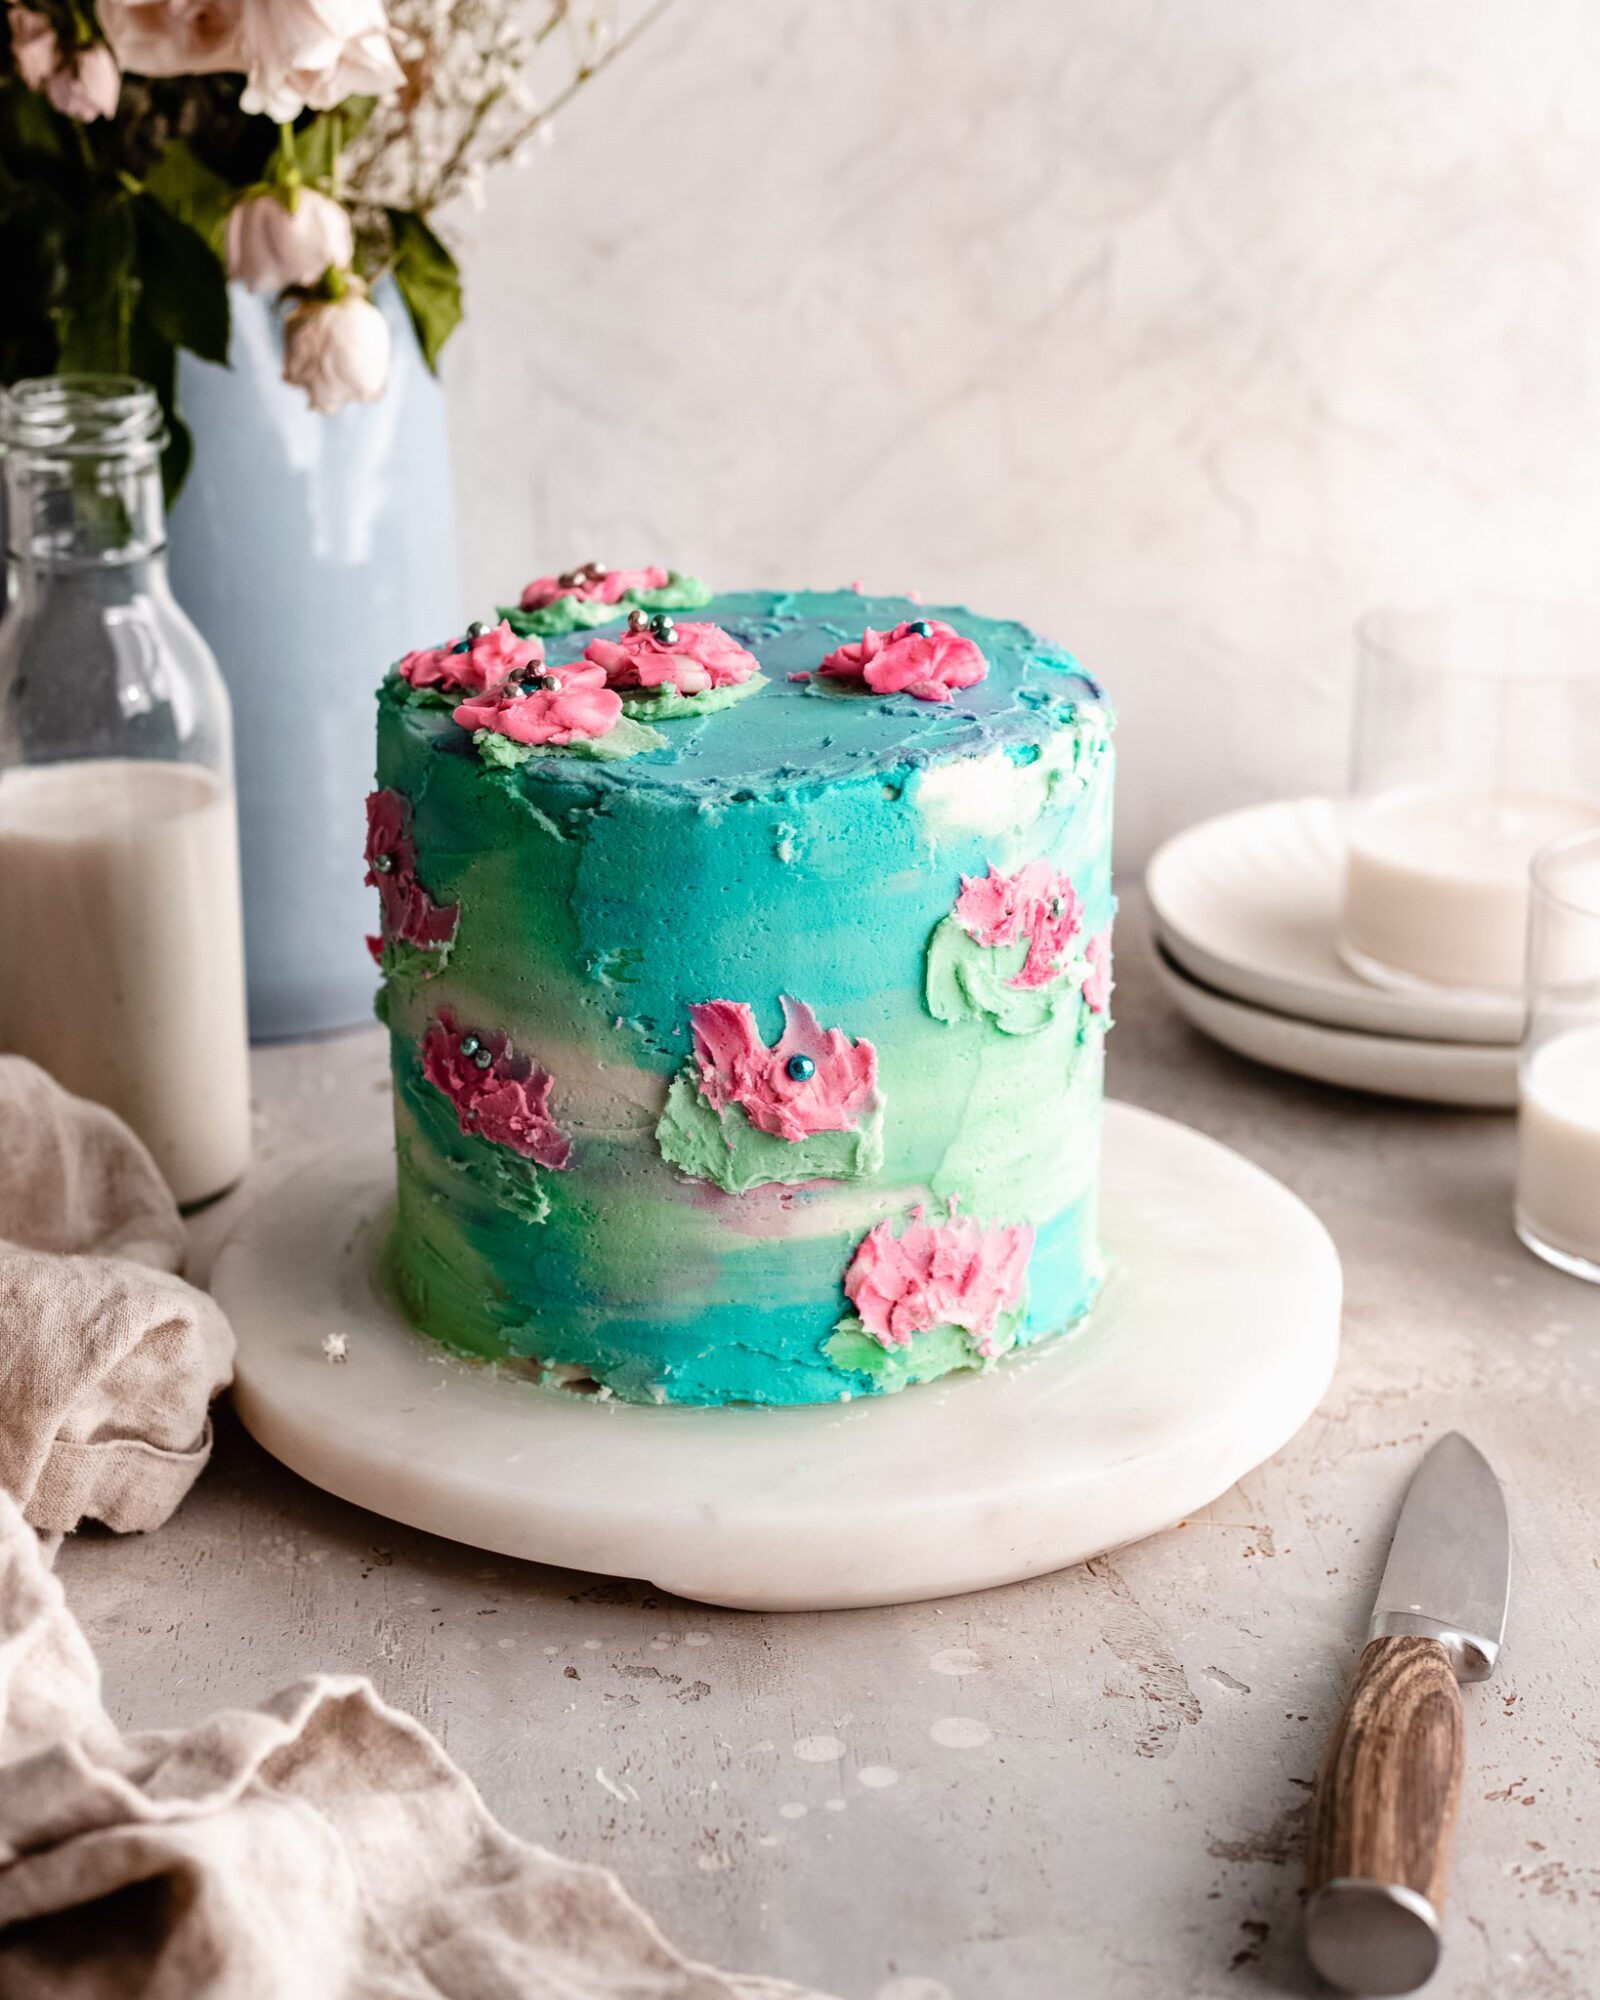
Learn how to make a watercolor cake in the EASIEST way possible, yet still achieve that beautiful and elegant look! With step by step instructions and picture tutorials, you’re going to love making a watercolor cake!
The vegan buttercream
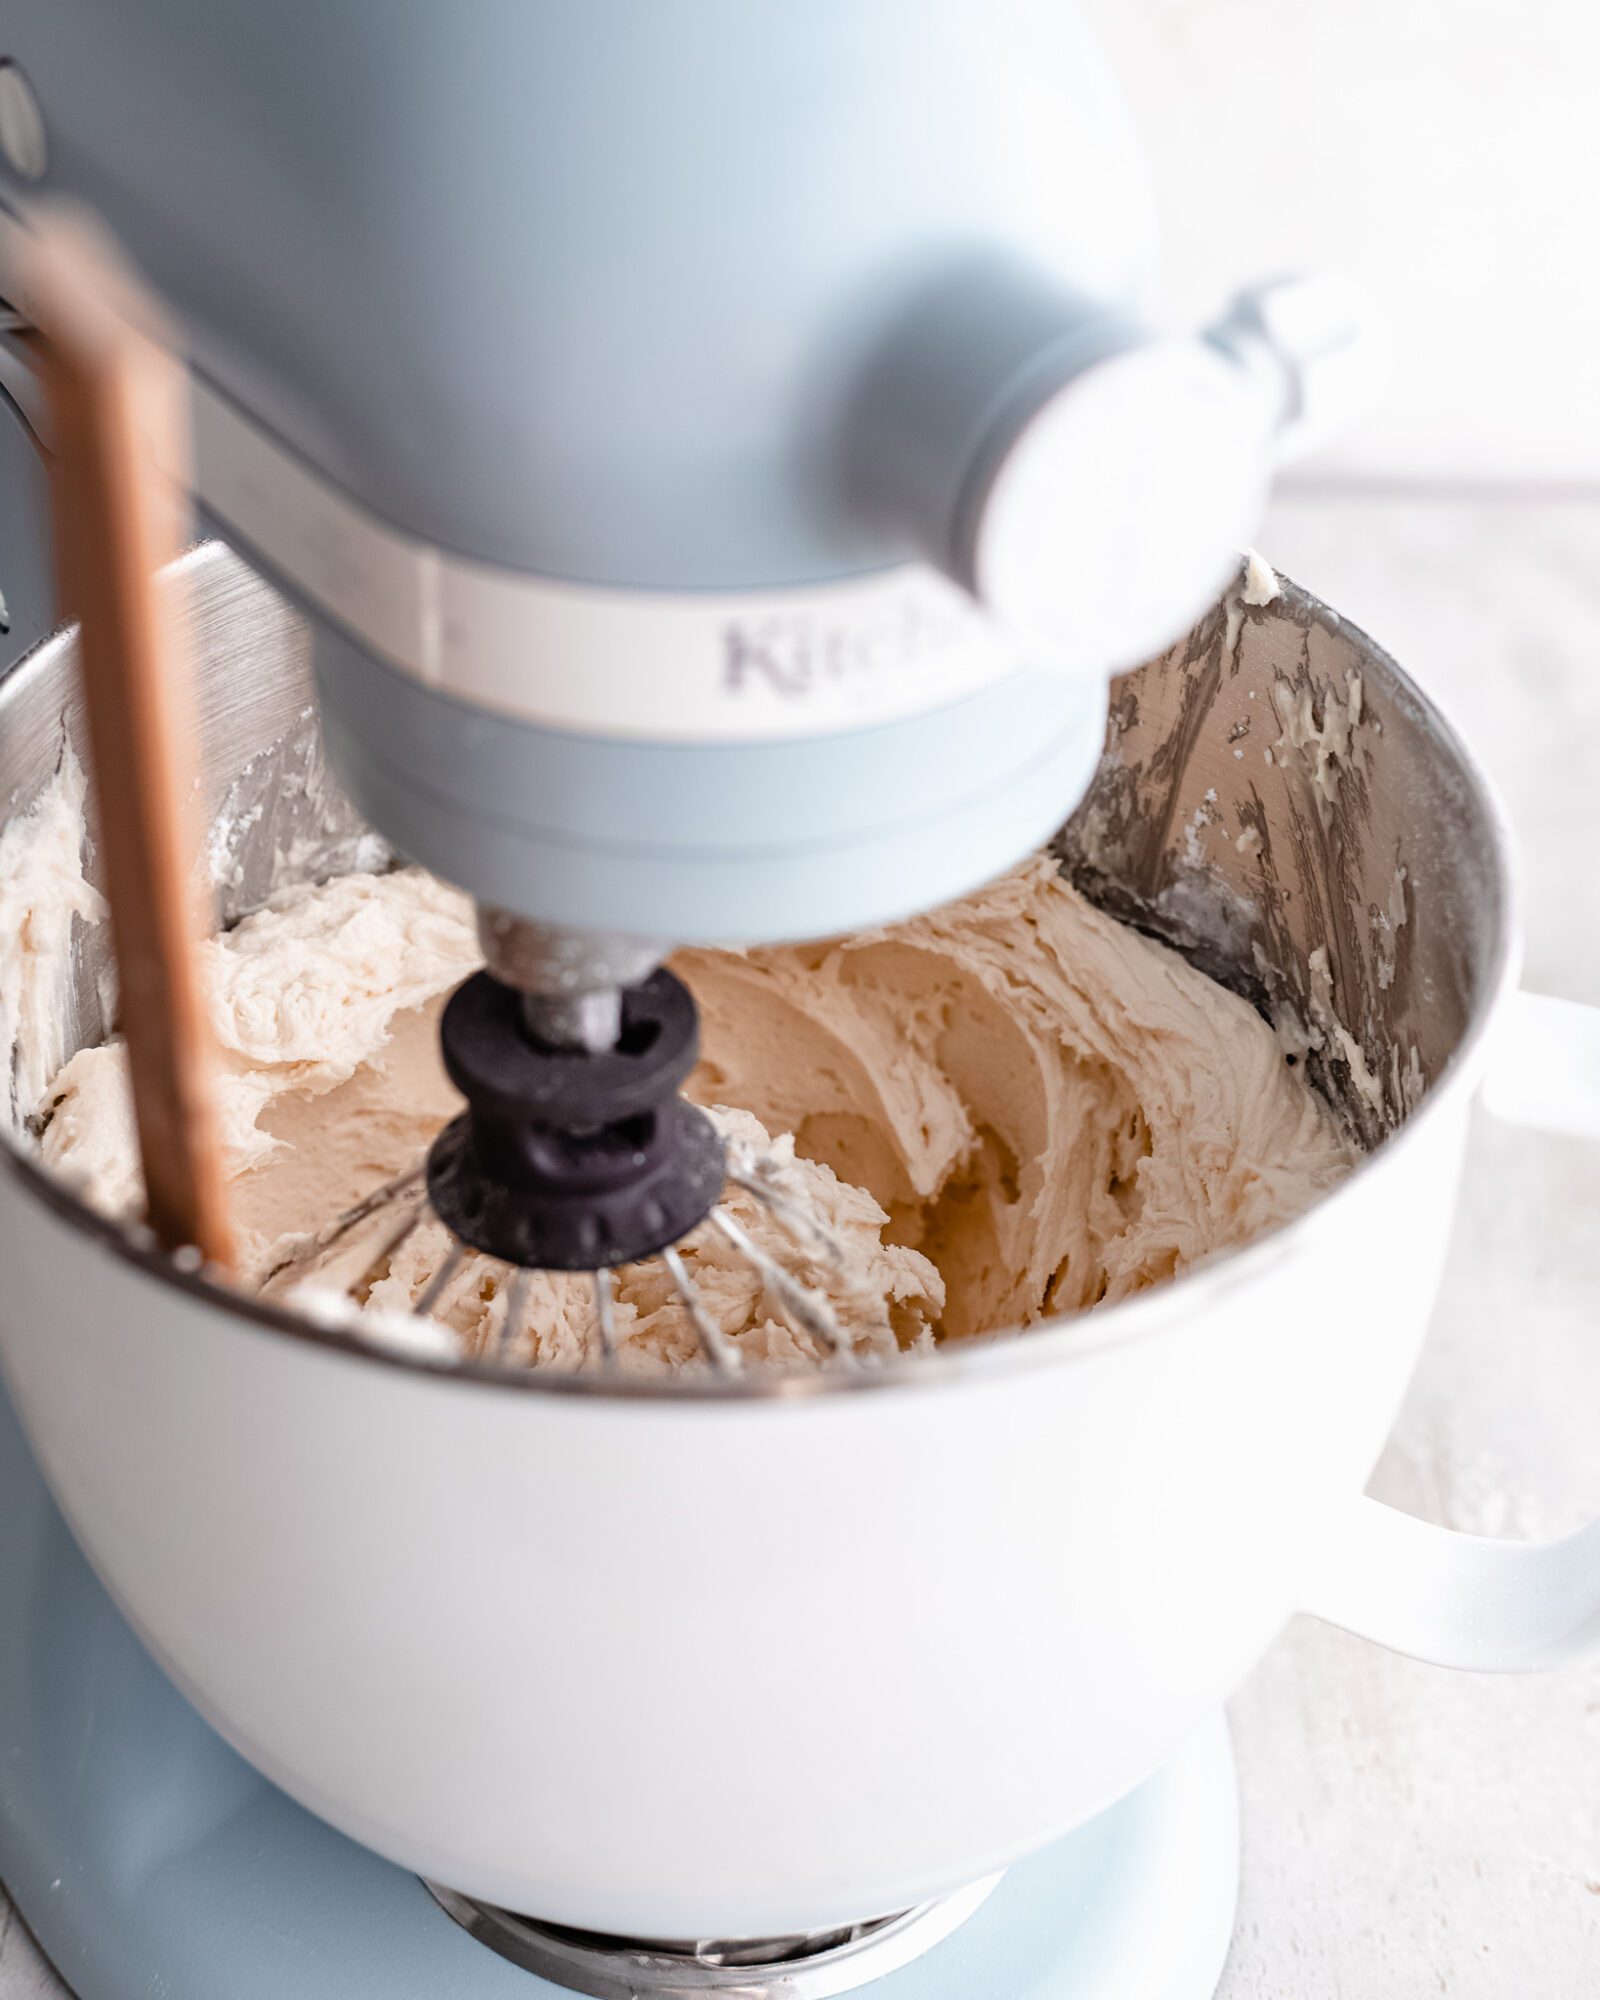
For this watercolor cake, I’m using my vegan buttercream recipe. But don’t worry, even non-vegan cake eaters absolutely LOVE this buttercream recipe. In fact, my mom claims it’s her favorite (which is always pretty cool to me!).
We’ll be using a lot of buttercream here, as we’re making the crumb coat and then coloring the frosting.
The full recipe for my dairy free buttercream is found down below in the recipe card. However, you can use your favorite buttercream recipe if you have one (doesn’t have to be vegan if you don’t want it to be!).
Vegan food colors
You can use your favorite food colors, but seeing as this is a vegan dessert blog, and many of my readers want natural colors, I wanted to let you know my favorite suggestions!
I’ve been buying and testing loads of vegan food colors, and I’ve finally found my favorites. Many vegan food colors tend to fade when baked, and sometimes they just don’t look as vibrant, depending on the brand.
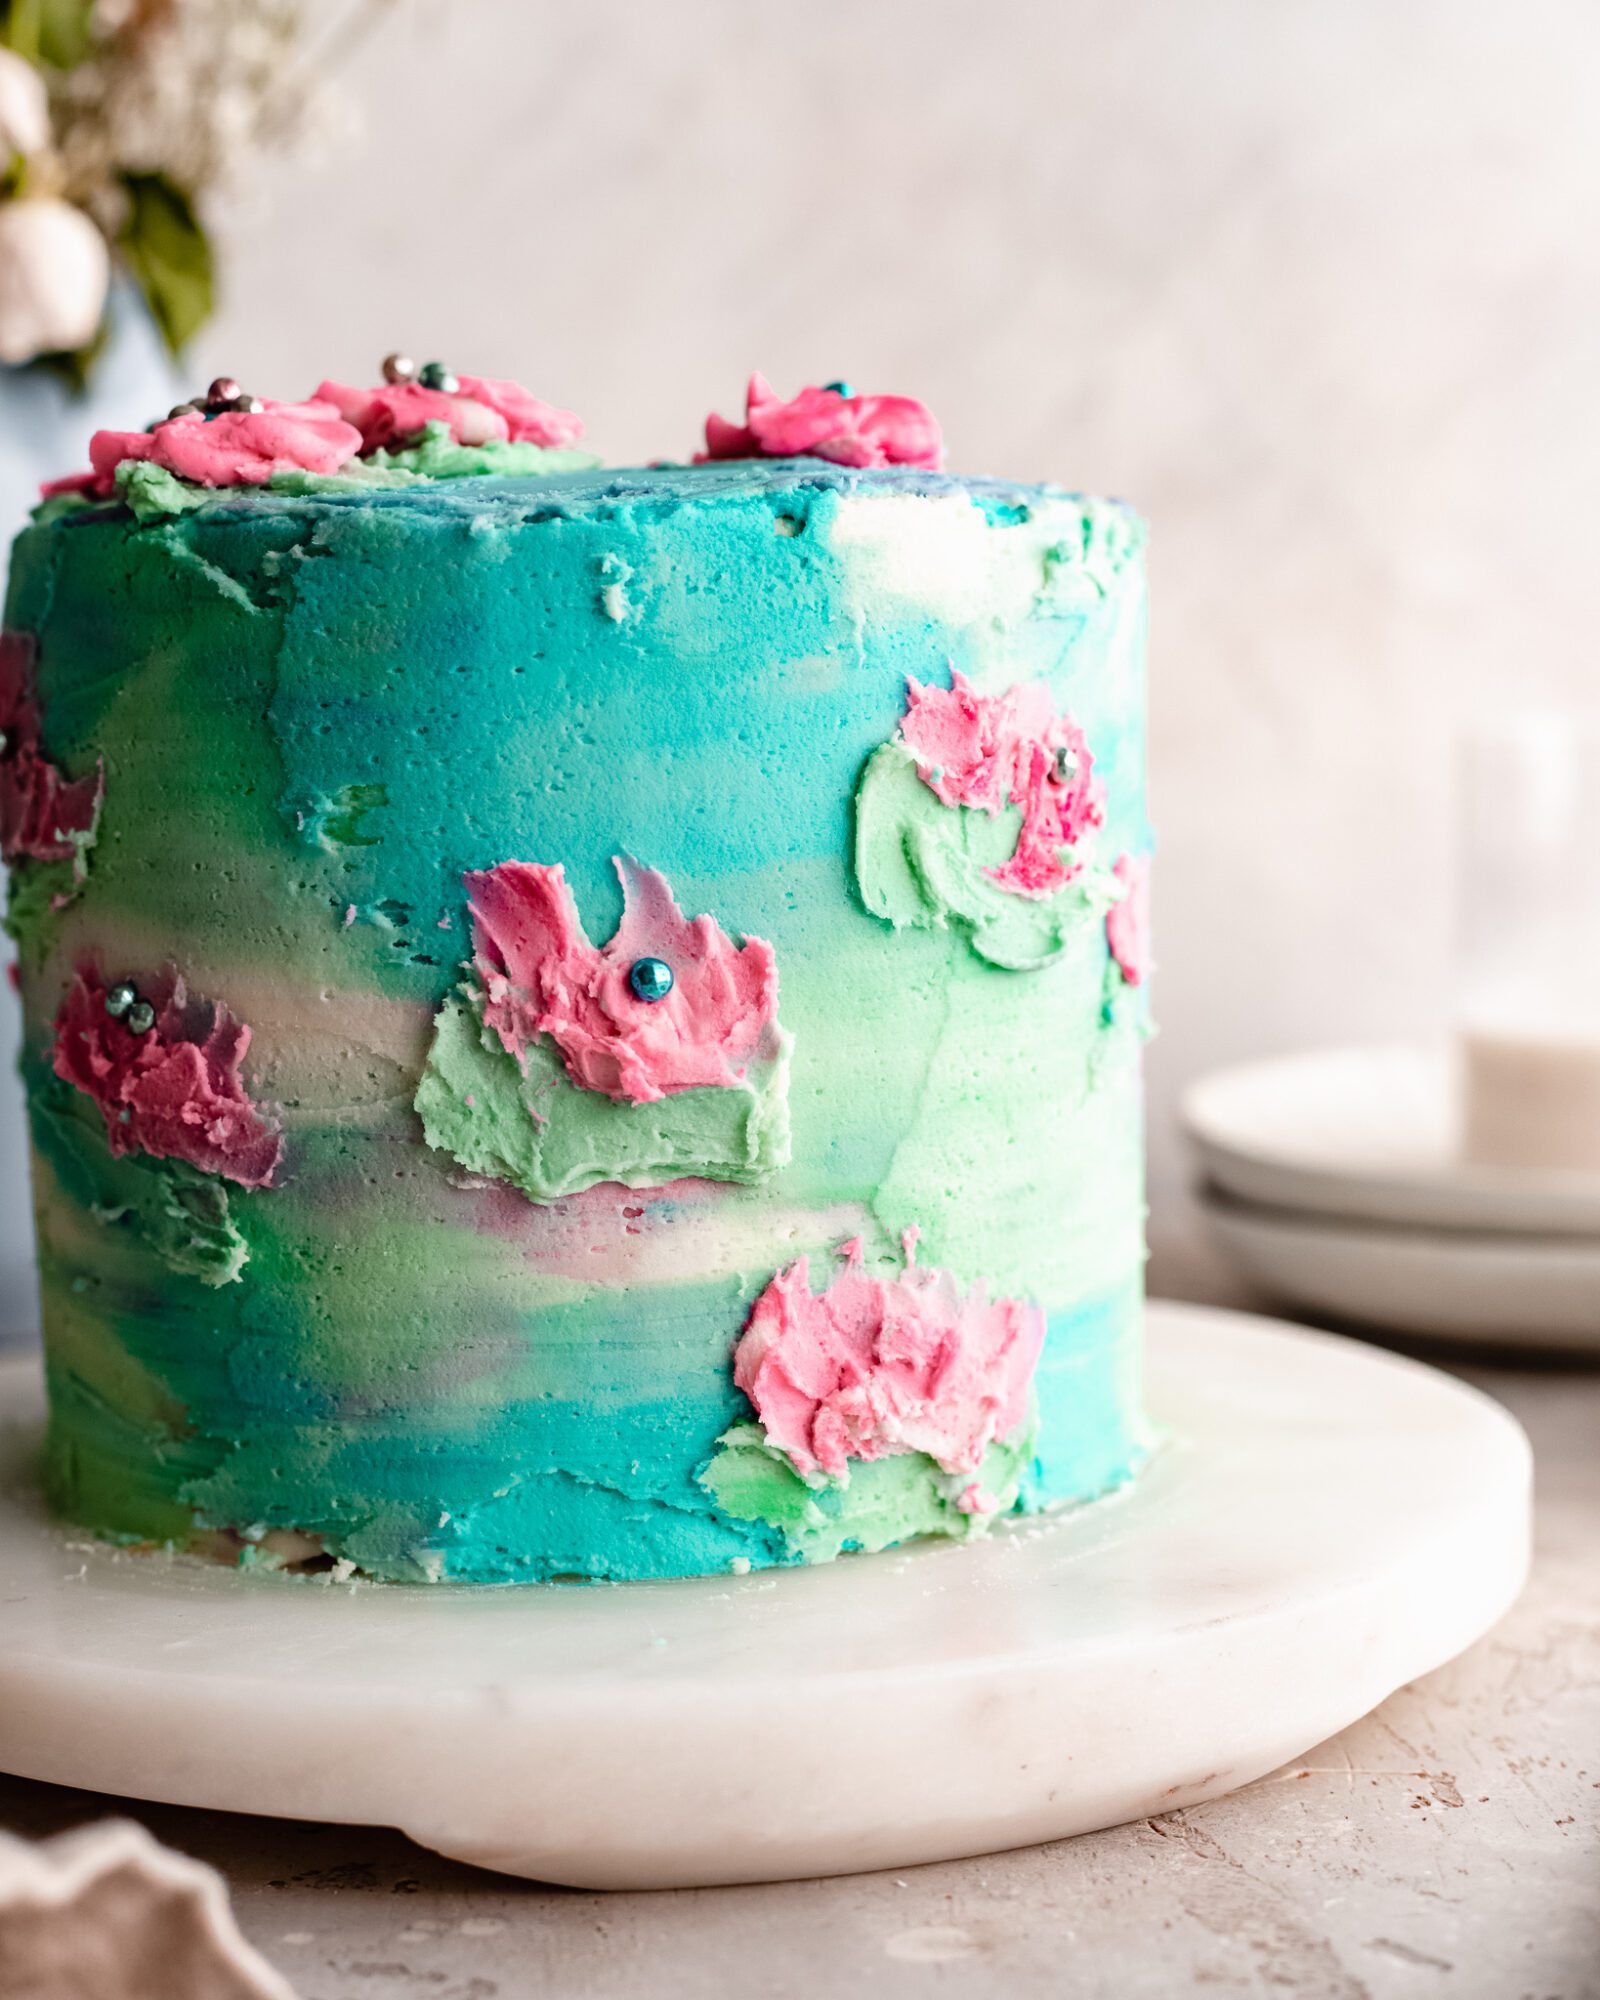
I’ve finally found some food colors that will make your watercolor cake look absolutely gorgeous, like a Monet painting (if you haven’t noticed, I kinda styled my watercolor cake after Monet’s Water Lilies ha!).
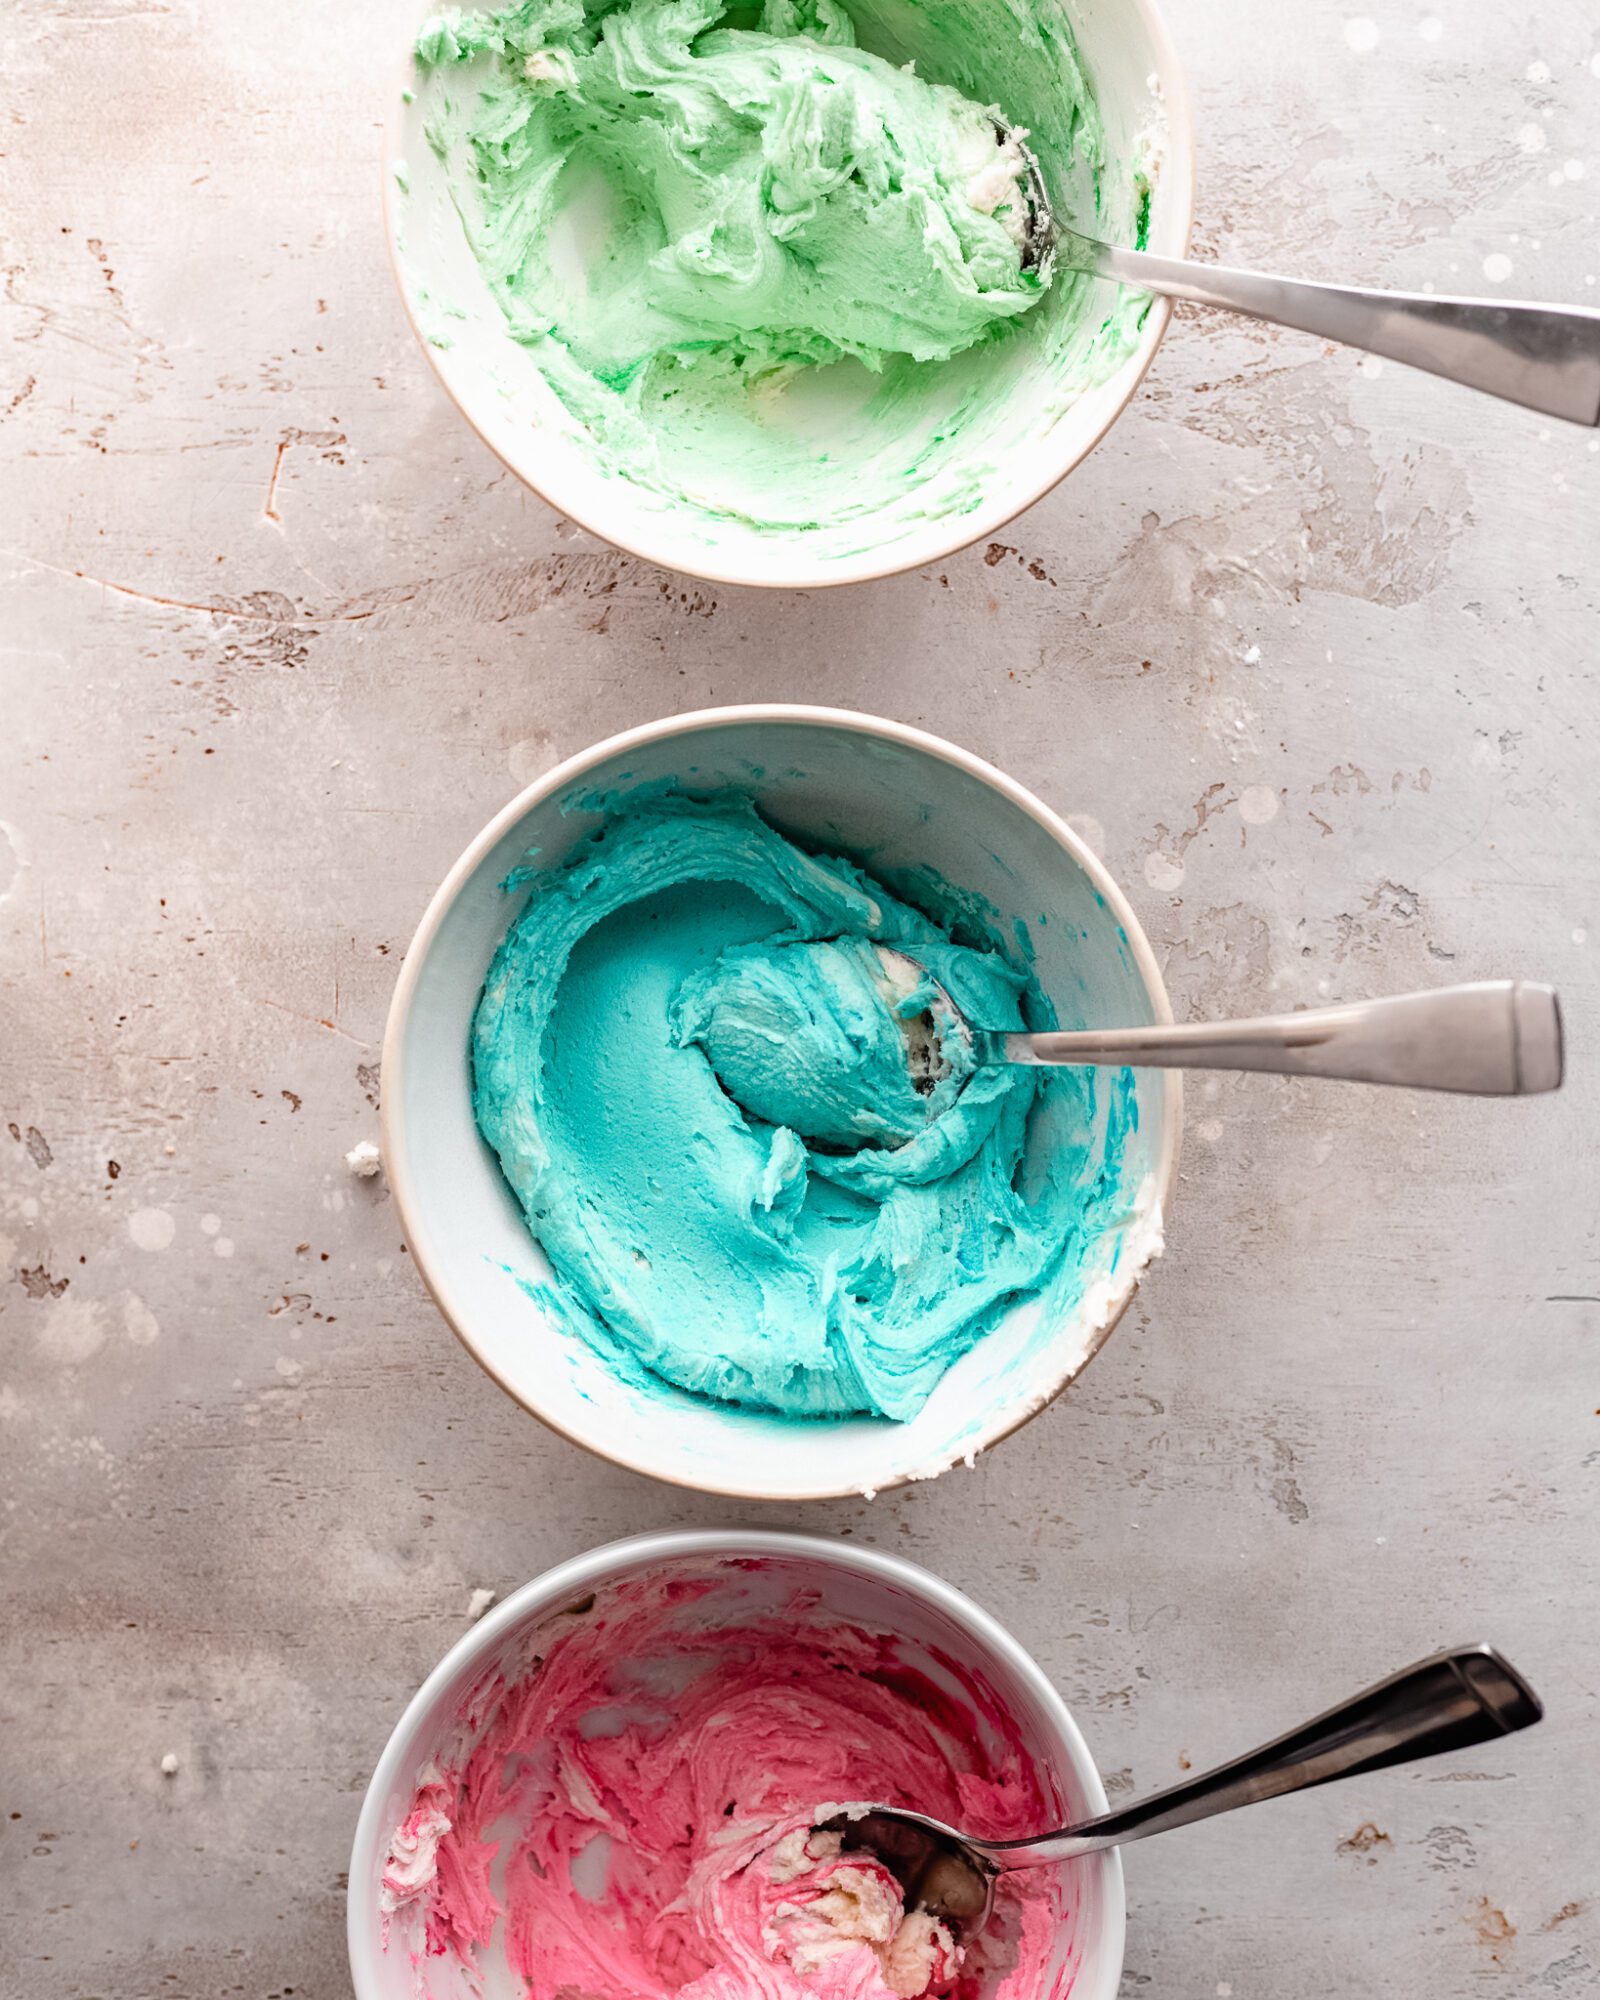
For liquid colors, I really love Nomeca food colors, but for our purposes of just coloring frosting, Whole Foods 365 brand works well here too.
For powdered colors, which I actually love using (they give a really beautiful richness), I absolutely love Suncore Foods. I’ve used their pitaya powder, blue butterfly pea flower powder, and sweet potato powder. They’re hands down my favorite powdered food coloring brand. Keep in mind you can also use beet powder, turmeric powder, and matcha for the primary colors and mix from there!
How to make a watercolor cake
Before we begin, you’ll need to map out what colors you’d like to use for your watercolor cake. A basic understanding of color mixing, primary colors, complementary colors, and how to make the secondary colors is key too if you plan on making your own colors.
I absolutely love Canva’s color combination palette for choosing your colors. This is just a color palette article that gives you some basic suggestions, and they’re so helpful.
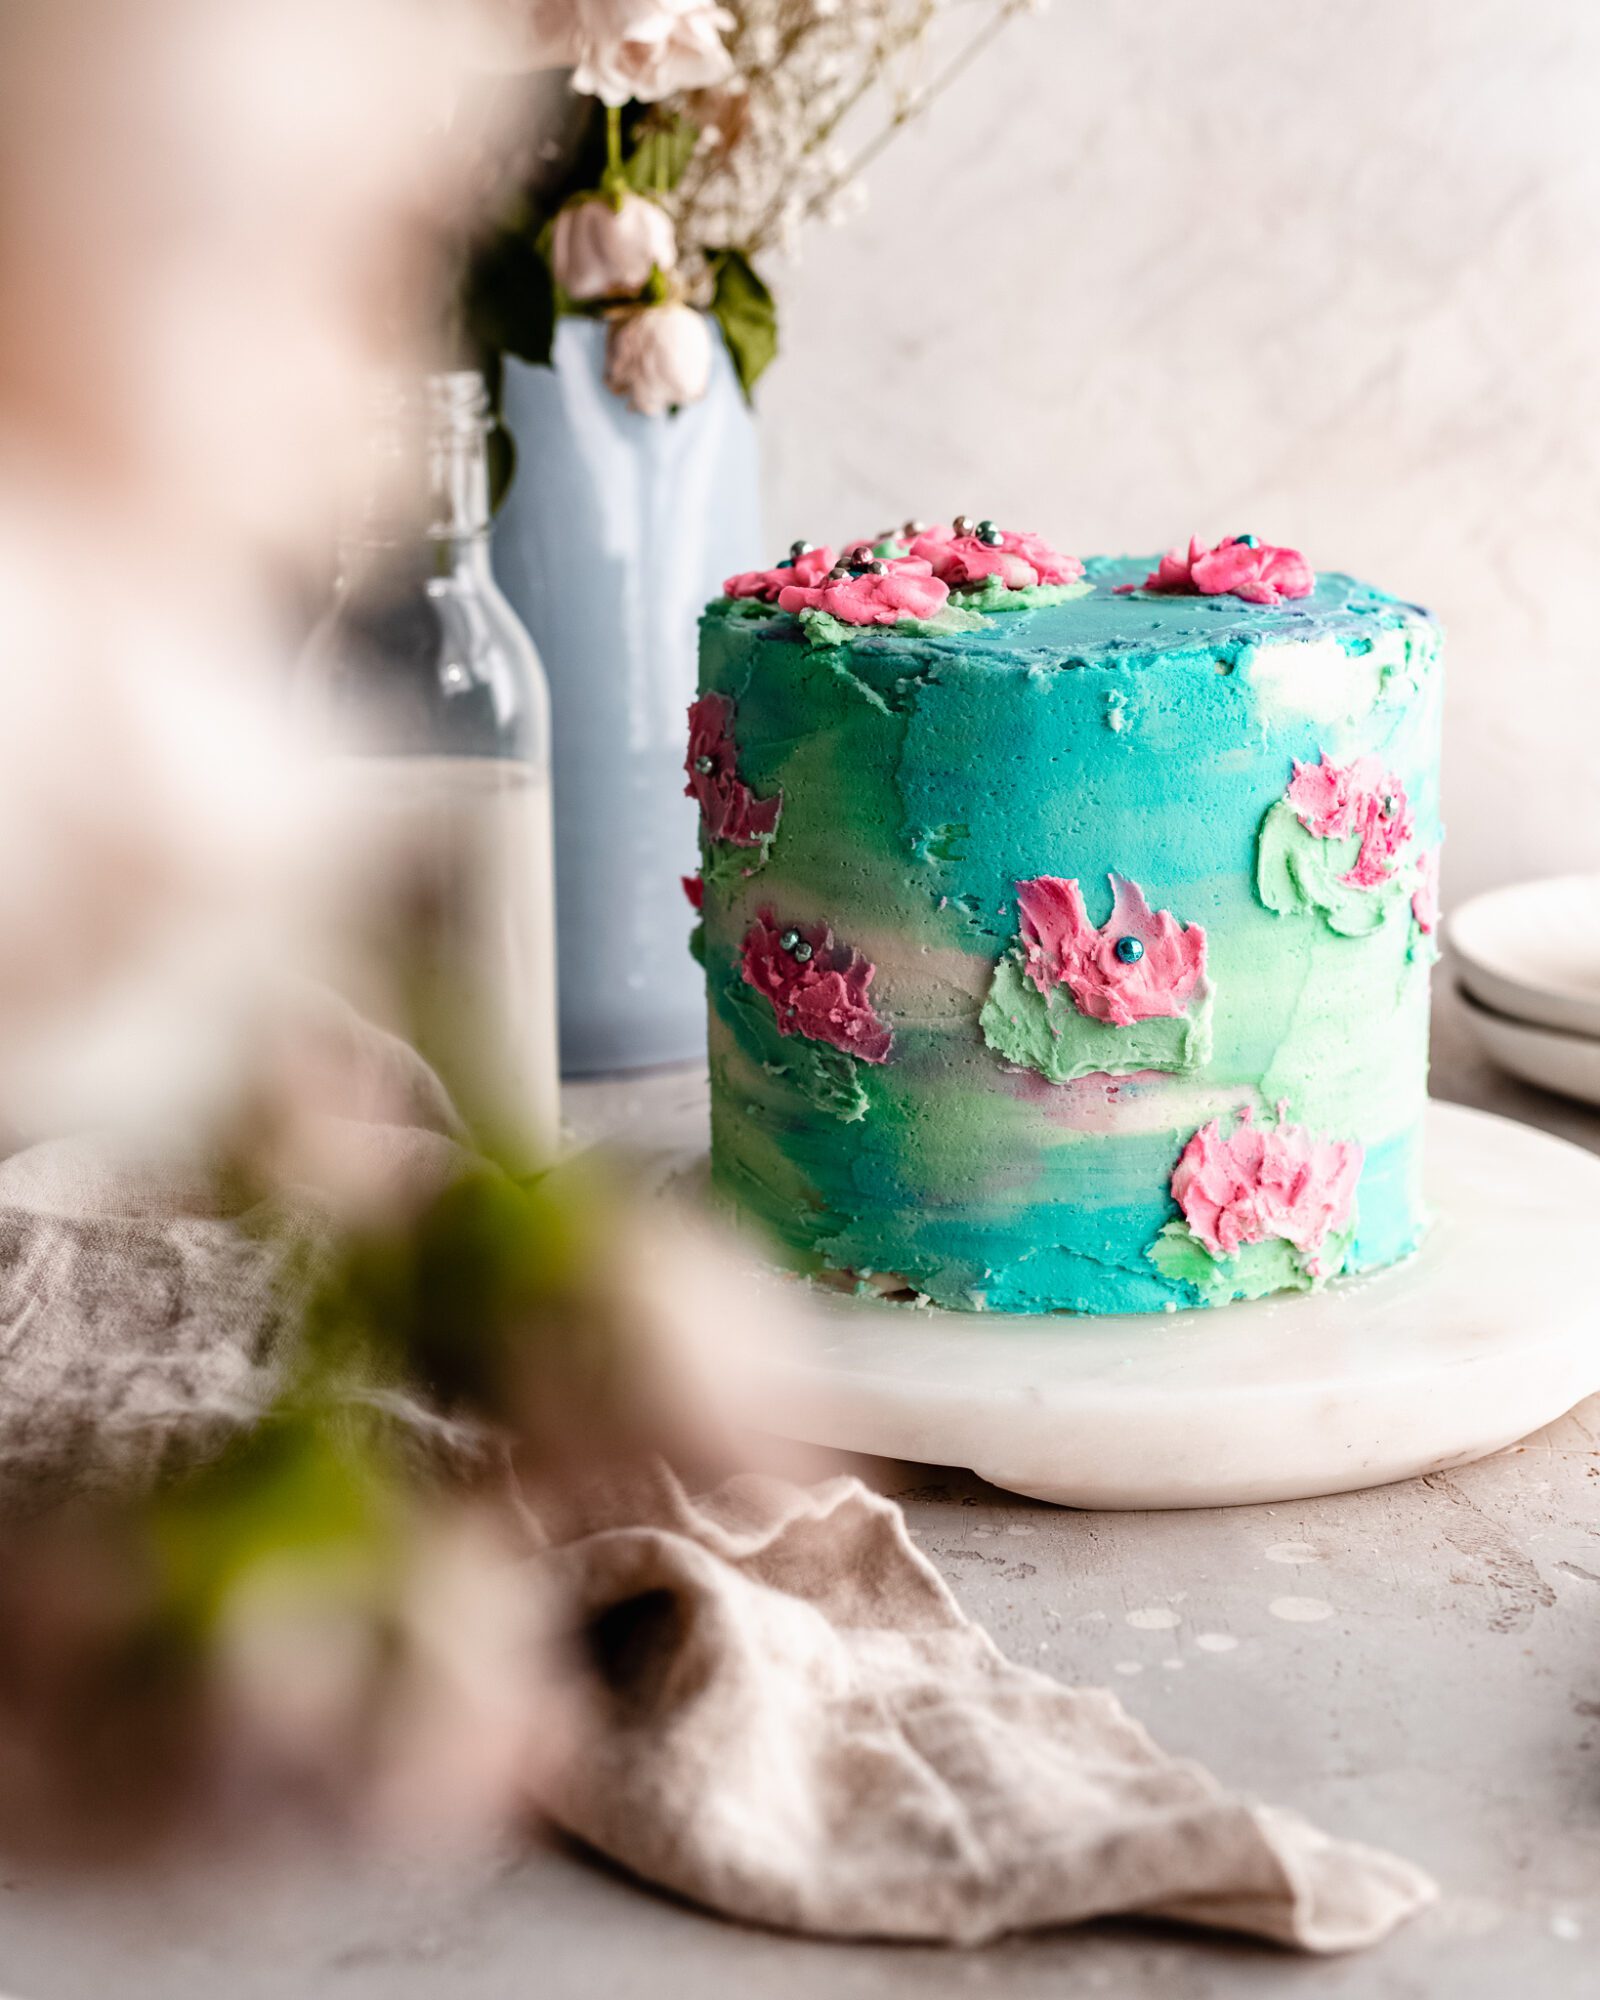
I went with almost a triadic color combination (but I was really basing it off of Monet’s Water Lilies, so my palette was sort of chosen for me!).
- Bake your favorite cake. We can’t make a watercolor cake and paint it if we don’t have a cake! I have many cake recipes on the blog, so be sure to check these out for some suggestions.
2. Prepare the buttercream. I’ll be sharing a full blow written article on how to achieve the perfect vegan buttercream shortly so stay tuned! But for now, please see the recipe card below for instructions.
3. Crumb coat the cake. This is essentially creating a base layer of frosting for your cake, frosting the layers. The technique here is similar to what you’ll do when it comes to make the watercolor part of the cake. You’ll need a bench scraper to help you achieve those super smooth outer edges. Then you’ll simply place the cake in the fridge to chill for about 20 minutes. This makes applying the next layer super easy (and less messy).


4. Paint the cake with your colors. You won’t use all of the frosting for the crumb coat layer (only about half!). This will leave some frosting leftover for your colors. Depending on how many colors you’d like to use and how much of each color, you’ll mix your colors accordingly. Then gently place one color at a time around the cake using your offset spatula. This is the easiest tool to use for getting the color frosting onto the sides of the cake. Don’t forget to coat the top of the cake too!
5. Smooth the colors using a bench scraper. Remember that LESS IS MORE here. You don’t want to over blend the colors. Use the bench scraper to smooth just enough, and reapply frosting to any gaps that you see, scraping again.


6. Finishing touches. Make sure any areas that the color needs to be fixed (it was over blended, there’s a gap, etc.) are addressed by applying a bit more frosting, and cleaning up any edges. To achieve a crisp top, simply pull the offset spatula towards you from the edge of the cake in. This will create that “fondant” look that most people like.
7.Add decorations! This is my favorite part. You can decorate the remainder of your watercolor cake any way that you like! Add piping to the top, bottom, paint flowers onto the sides (like I did- see the next section!), etc. This is YOUR cake, so make it as you see fit!
How to paint a cake
Don’t let the idea of painting a cake make you fret! It’s actually easier than it sounds, and is almost like regular painting, just with buttercream!
I like to use an offset spatula to easily place the color where I want it to go. You can think of this almost like palette painting in traditional art.
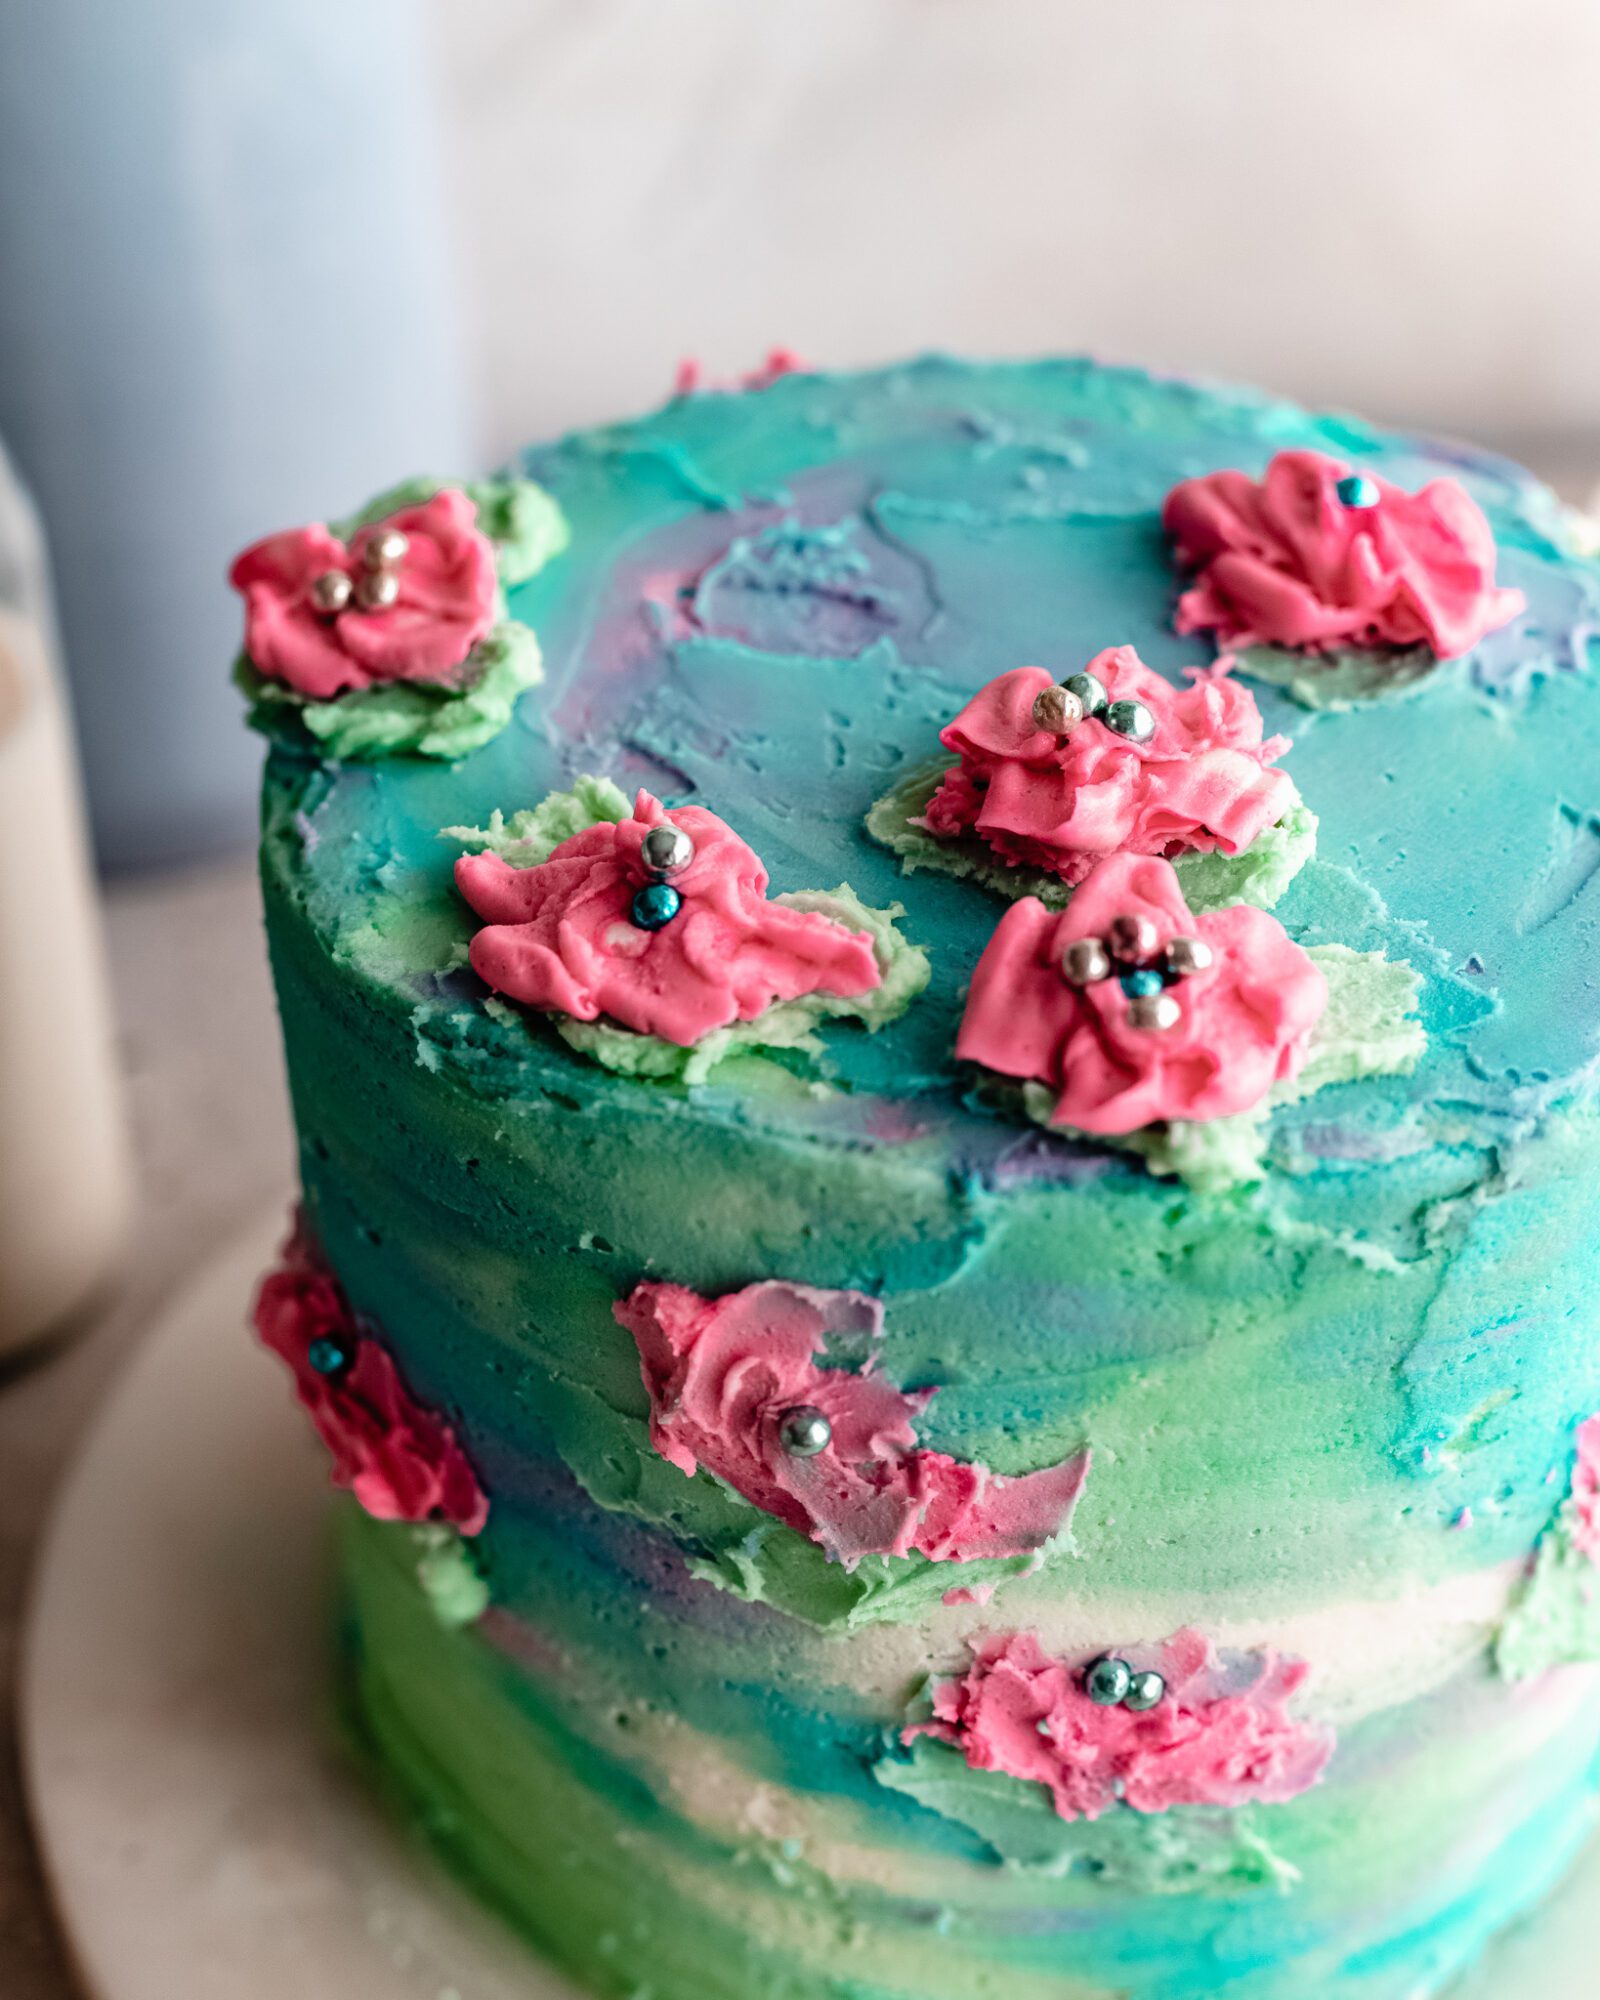
Another tip is to know what you’re going to paint and where before you start. Of course, it’s fun to wing it, but having a plan outlined will help your painted cake look more cohesive!
Some cake painting ideas include flowers, sun, plants, rainbows, or abstract shapes!
Cake painting tips & tricks
Be aware of what colors you’re choosing to mix together. A great way to figure out some color ideas is by looking at a color wheel. You’ll learn which colors are complementary, which colors don’t work together, how to mix which colors to achieve your palette, etc.
Make sure you don’t over-mix the colors! Just a few smooths of the frosting, and you should be good. If you’ve found that you’ve over-mixed your colors, you can simply apply more frosting if you have it, and bench scrape again.
When painting a cake: a tip that helped me in my general painting was paint the strokes as if you were feeling their form. So for example, a big petal of the water lily usually starts from the bottom and pulls up, so that should be the gesture of your stroke.
Have fun with your decorating! As you can tell, I immediately thought “Monet’s Water Lilies” when I was making this cake, so that’s what I did! But you can decorate this cake as you see fit, and choose whichever colors you’d like!

I hope you absolutely have a BLAST making your own watercolor cake! It’s seriously so much fun and suprisingly easy, yet you get the most elegant cake.
If you make this watercolor cake, be sure to let me know how it went for you by leaving a comment down below, as well as a rating ⭐️⭐️⭐️⭐️⭐️ so that others may find this recipe!
As always, I absolutely love to see your beautiful creations on Instagram and Pinterest, so be sure to tag me there!
Happy watercolor cake decorating!
More vegan cake recipes:
Vegan Brownie Cookie Dough Cake
Want to save this recipe for later? Add it to your favorite recipe board on Pinterest!

This post contains affiliate links. This means that when you make a purchase from these links, I receive a small commission at no additional cost to you. All recommendations are based on my personal experience and preference! Thank you for supporting The Banana Diaries!
Print
How to make a Watercolor Cake (with natural colors!)
- Prep Time: 25
- Total Time: 25 minutes
- Yield: 16
- Category: Dessert
- Method: Baking
- Cuisine: American
- Diet: Vegan
Description
Learn how to make a watercolor cake in the EASIEST way possible, yet still achieve that beautiful and elegant look! With step by step instructions and picture tutorials, you’re going to love making a watercolor cake!
Ingredients
- Your favorite vegan cake recipe (I suggest this vegan vanilla cake or this vegan chocolate cake)
- 2 cups vegan butter, room temperature
- 4 cups powdered sugar, sifted
- 2–3 tbsp dairy free milk
- Vegan food colors (see notes)
Equipment:
- Cake turntable
- Offset spatula
- Bench scraper
- Piping bags and tips
Instructions
- Prepare the cake according to instructions. You can make either cakes I suggested above into 6″ cakes or 8″ cakes. You will be able to get three layers out of both (just the 8″ layers will be not as thick).
- Cool the cakes entirely before beginning. This is crucial, as you don’t want your cakes to slip onto the ground. There must be absolutely no warmth coming from any of the cakes, top or bottom.
- Vegan Buttercream Recipe: Once the cakes are cool, place the vegan butter into the stand mixer or a large bowl with a hand mixer, and cream the butter until light and fluffy, about 2-3 minutes.
- Sift in 1 cup fo powdered sugar at a time, mixing between each cup. If the powdered sugar isn’t combining, you can add in a tablespoon or two of dairy free milk to help the mixture, always adding only a little at a time to ensure you don’t add too much.
- Use the stand mixer or hand mixer to beat the frosting until light and fluffy. The buttercream should be smooth and moveable, but not too soft, and not too stiff. If you’re having trouble with a very thick frosting, you can add an extra tablespoon of dairy free milk to the mixture and cream again until incorporated.
- Make the crumb coat. Place one layer of cake onto your cake turntable, applying a dab of frosting to the bottom of the cake to help it stay on the turntable. Apply about 1/3 cup frosting to the top of the first layer, and use your offset spatula to smooth the frosting to the edges of the cake (it can spill over a little- that will help with the crumb coat!). Place the second layer on top and repeat. Then place the third cake layer on top of the second, and apply about 1/4 cup of frosting to the top of the cake, smooth it until it reaches the edges (you will need more if it’s an 8″ cake).
- Use the remaining buttercream to frost the edges. Try to use just 1 1/2-2 cups, but you’ll end up removing a lot in the bench scraping process! Once the sides of the cake are coated, use the bench scraper and begin to carefully smooth the sides of the cake, going almost to the edge of the cake. Some of the layers might show through, and that’s okay. Keep smoothing and removing frosting until the sides are smooth and crisp. Then use your offset spatula to gently smooth the edges of the top of the cake, using the spatula to pull towards you from the edge of the cake in. Place the cake into the fridge to chill for 20 minutes.
- Right before you remove the cake, you can make the water color buttercream. You should have about 1 1/2-2 cups leftover, but you won’t need that much. I used about 2/3 cup frosting for the blue, 1/2 cup for the green, and 1/3 cup for the green. I left a bit leftover for the white, as I was trying to achieve Monet’s Water Lilies (and there’s a bit of white reflected in the water in his painting!).
- Once the cake is chilled, apply smears of blue to the outside of the cake, but not everywhere, just in spots here and there. Repeat for the green and then for the pink (or whatever colors you’re choosing!). Then apply a bit of frosting to the top (your color of choosing). I also filled in some gaps with white buttercream. Then take your bench scraper again and gently smooth the edges, applying more buttercream in gaps as needed. Be careful not to over smooth, as you’ll mix the colors too much. Less is more.
- If you have any leftover buttercream, you can make decorations like I did with the offset spatula! I made little lily pads and water lilies on the sides of the cake and tops.
- Serve and enjoy!
Notes
Vegan food colors:
Liquid Food Colors:
Powdered Vegan Food Colors:
- Suncore Foods
- Beet powder
- Turmeric powder
- Spirulina
- Blue spirulina
- Powdered purple sweet potato


