

BEST Vegan Vanilla Cake – Keeps Moist for 5 Days!
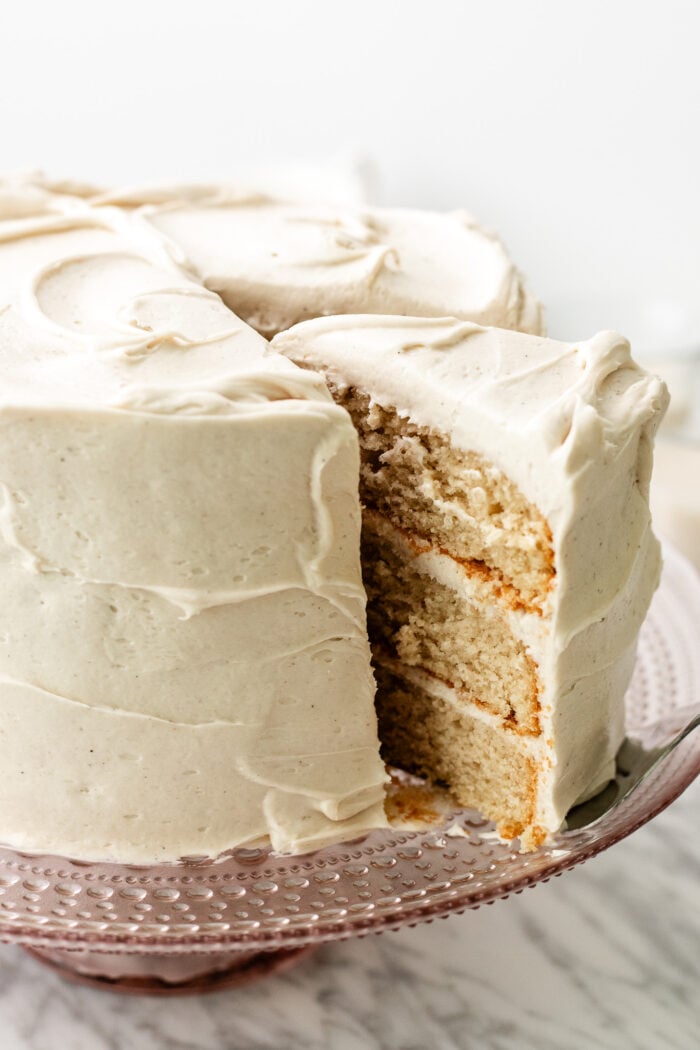
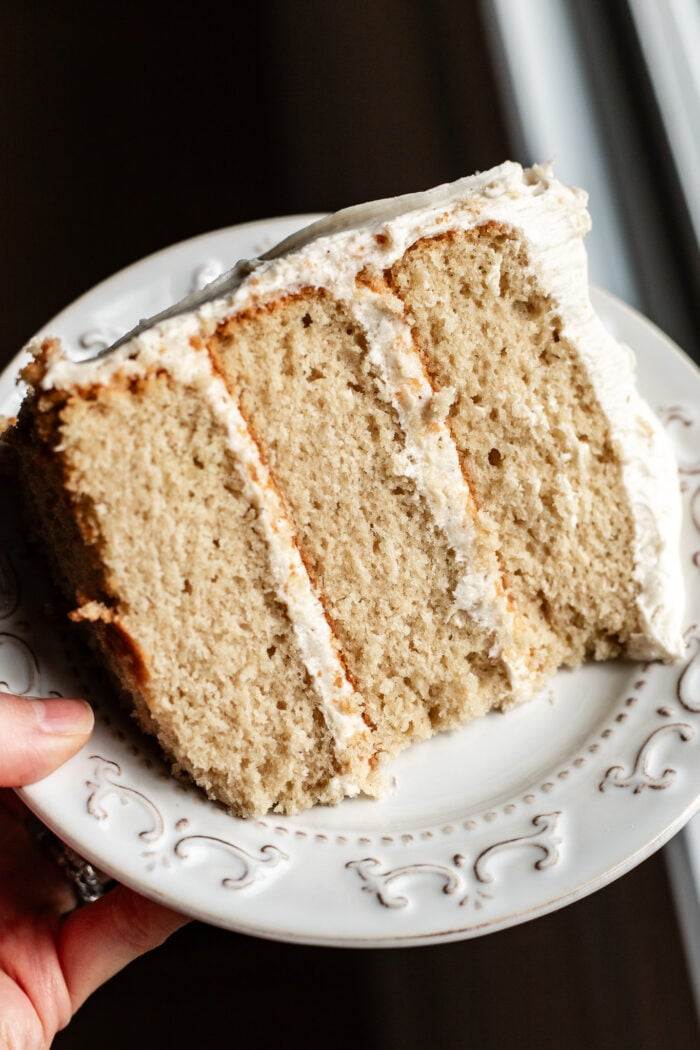
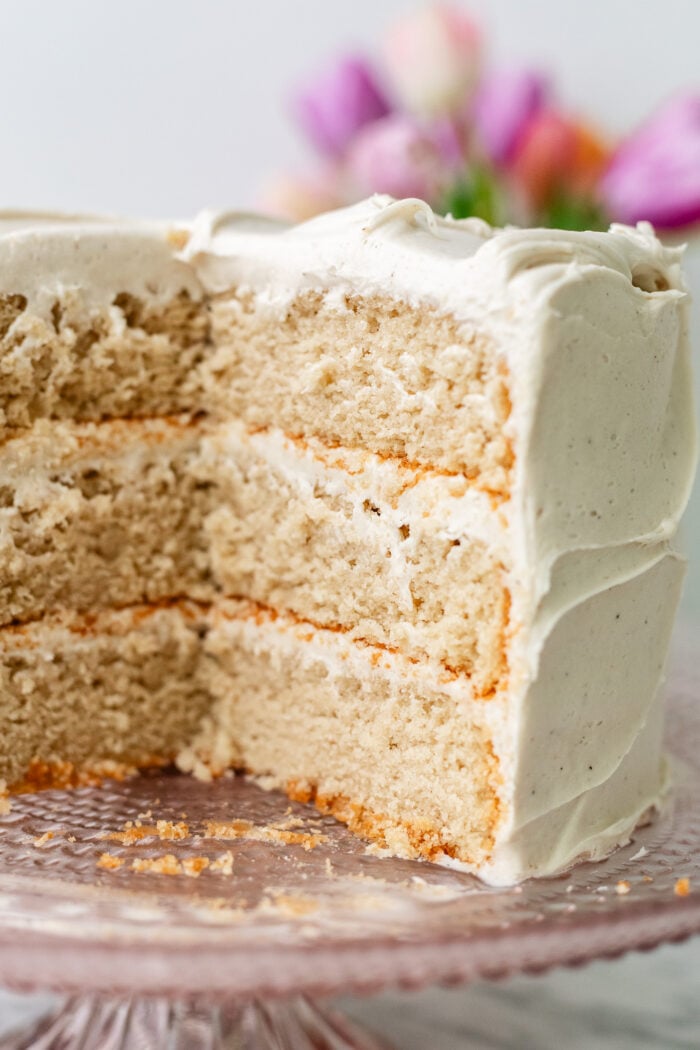
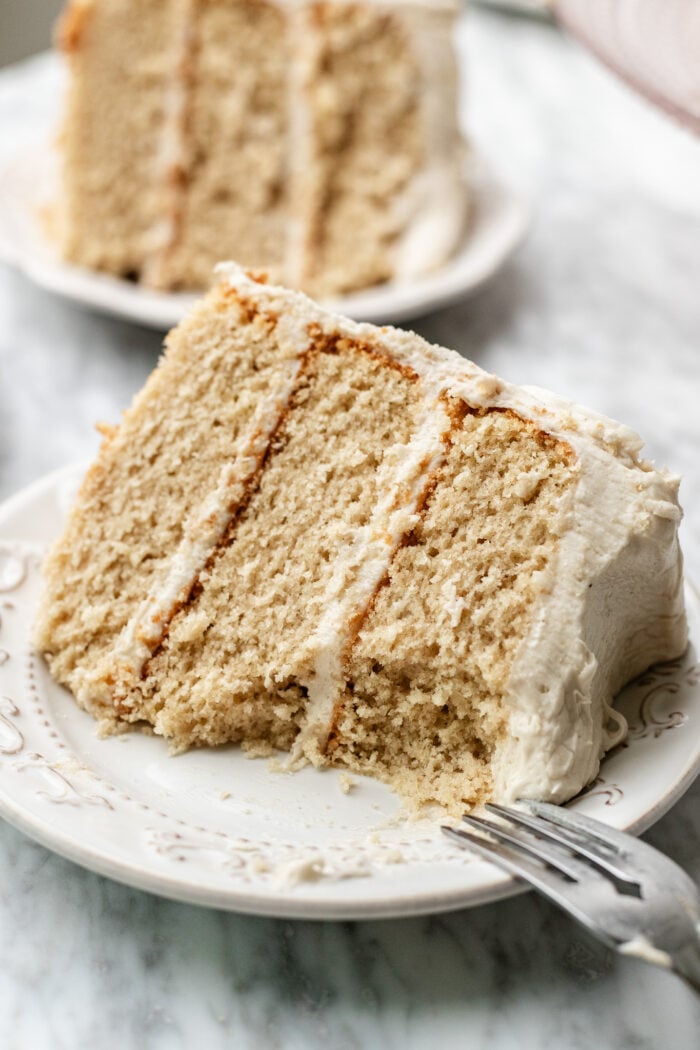
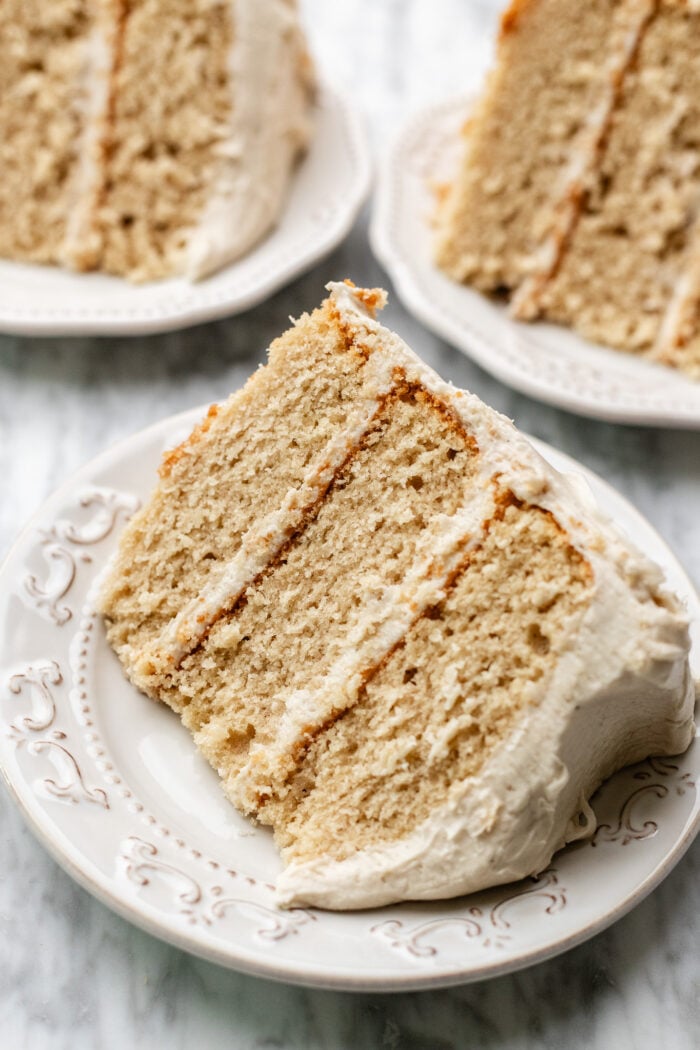
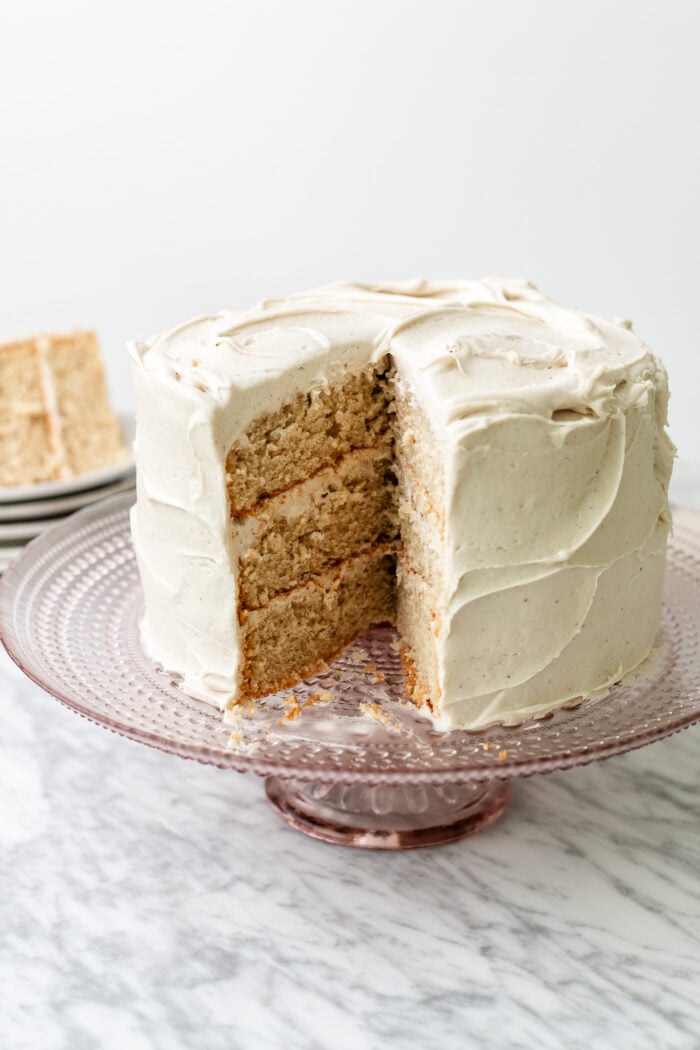
This is THE vegan vanilla cake that will put all vanilla cake recipes to shame. It’s incredibly soft, moist with a beautifully tight crumb and decadently sweet- yet, you’d never know it’s made entirely without eggs and dairy free. Slathered in a vanilla bean dairy free cream cheese frosting, absolutely everyone loves this vanilla cake recipe, vegan or not. It’s guaranteed to turn even the chocolate cake lovers into vanilla ones.
Reader’s Review:
Table of contents
- Reader’s Review:
- The key to the best vanilla cake, vegan or not:
- Ingredients needed:
- Overview: step-by-step how make a perfect vegan vanilla cake
- My two tricks for the silkiest frosting:
- Final reminders when baking this cake:
- If you love this cake recipe, try these:
- Want to save this recipe for later? Add it to your favorite recipe board on Pinterest!
The key to the best vanilla cake, vegan or not:
As someone who worked for several years in a bakery before going vegan, I’ve spent over 8 years perfecting this vegan vanilla cake to truly stand up as the best vanilla cake. And I can confidently tell you that you can now say goodbye to cake mixes, eggs, and dairy butter, because you’ll never go back to store-bought OR conventional vanilla cake again with a recipe this good and this easy.
Even the MOST resolute chocolate cake lovers (and I do have a fantastic vegan chocolate cake recipe) will attest- this cake is so good, you’ll be left thinking about it for a full day afterwards.
The breakthrough for finally figuring out the key to such a ridiculously good cake came while testing another entirely different cake in my new cookbook coming out in 2027.
I had been working on testing out the reverse creaming method with a pound cake, and I just fell to the floor with the texture it created. Soft, tender, beautifully tight crumb that was springy and bouncy and yet melted in your mouth of a punch of buttery vanilla flavor. So I thought, let’s try it on a layer cake.
Turns out, the reverse creaming method, along with very specific, key ingredients and the right ratios will yield a phenomenally gorgeous vanilla cake. And you will not believe it’s made without eggs and dairy. It honestly rivals my vegan red velvet cake in terms of moistness (and that cake is gorgeously soft!).
It’s so good, I’ve even used it for my friend’s wedding cake I made her!
🔑What is the reverse creaming method?
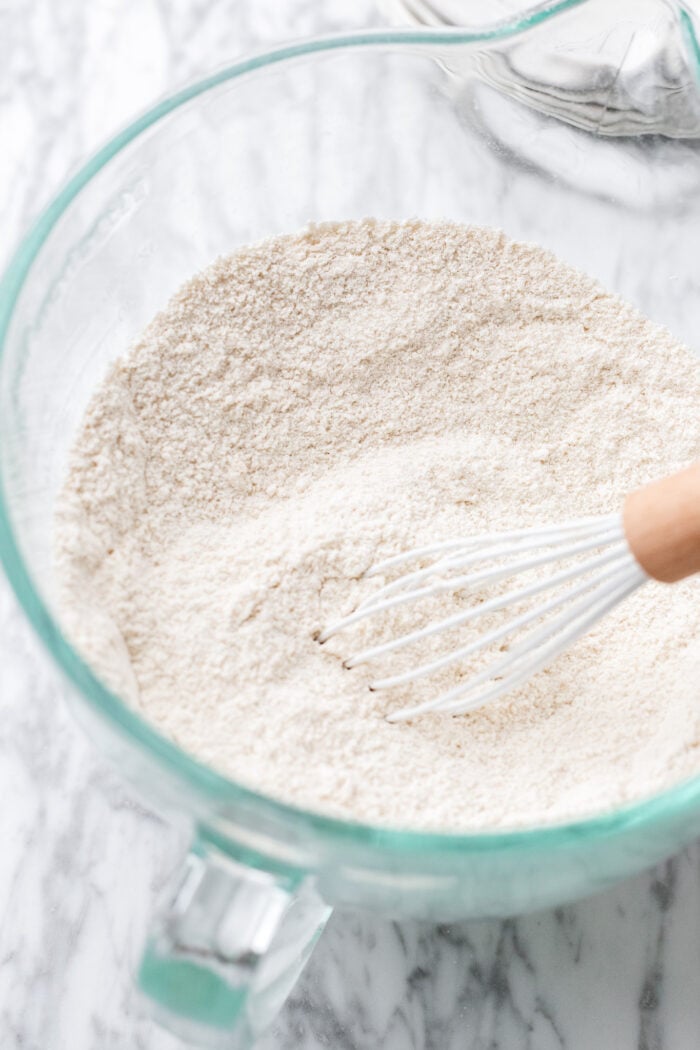
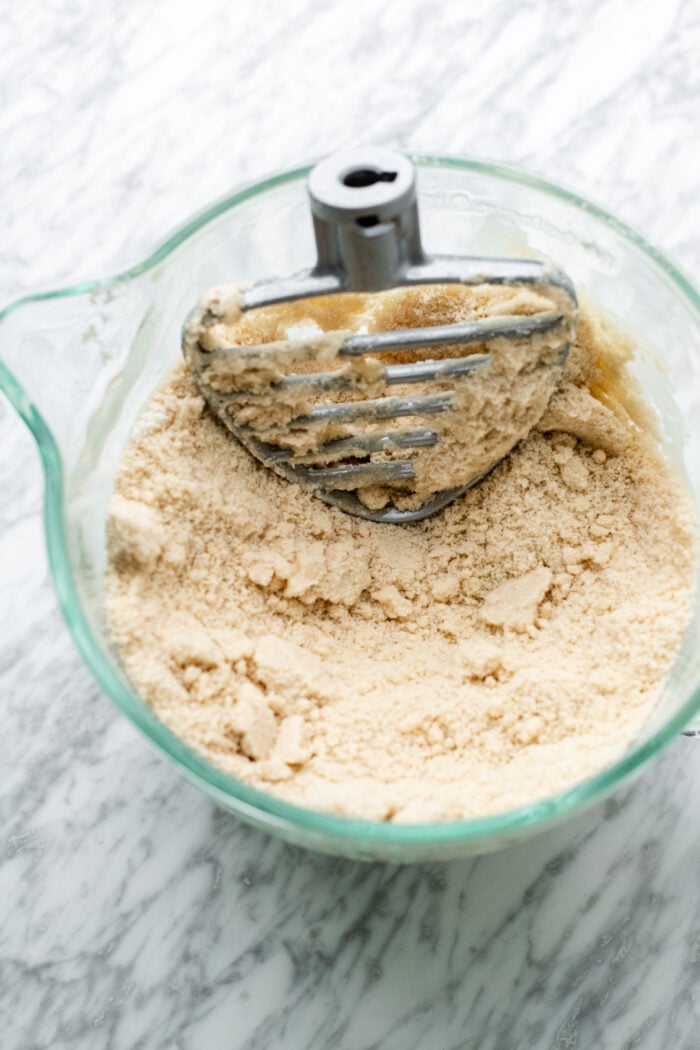
Traditionally, we whisk wet ingredients together separately from the dry, most commonly starting with butter and sugar being creamed together. With the reverse creaming method, we’re really doing the opposite. You’ll whisk the dry together, including the sugar. Then add in the room temperature butter into the flour and sugar mixture.
Ingredients needed:
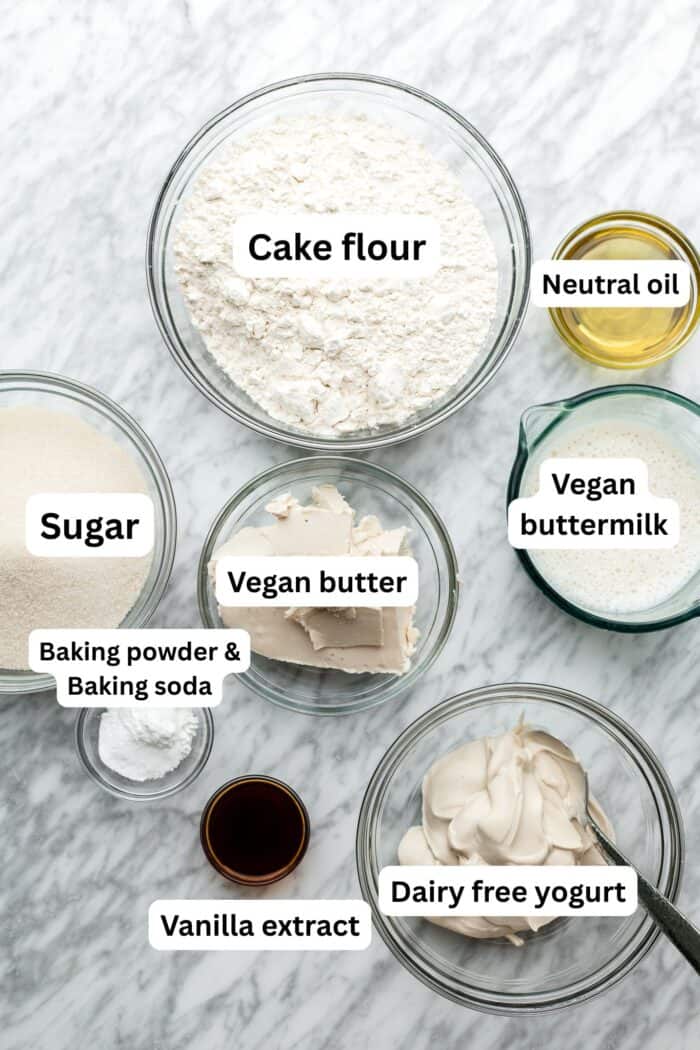
As I’ve mentioned earlier, this recipe took years to develop, so I’ve tried just about every combination of ingredients. Here’s where I landed to produce the best result for your vegan vanilla cake every single time.
For the cake:
- Cake flour: For a light, bouncy texture, this is key. I used to waffle back and forth about it because some say that cornstarch produces a dry cake. However, with the right ratio of wet ingredients (like with this cake recipe), you won’t have that problem. You can use all-purpose flour with this recipe, but you’ll need to add in cornstarch as well. The measurements are 450 grams all-purpose flour and 50 grams cornstarch.
- Sugar: A high amount of sugar is used here to really lock in moisture. So please don’t cut down the sugar quantity! It will drastically affect the level of moisture in your cake.
- Vegan Butter & Avocado Oil: With cupcakes, like my vegan vanilla cupcakes, I prefer to use just oil. The smaller volume dramatically affects the level of moisture remaining in the cupcake. But when it comes to cakes, the best combination is both butter and oil. Oil locks in more moisture than butter, and I speculate that it’s due to its liquid state of matter at room temperature. Then butter provides extra flavor and melt-in-your-mouth texture.
- Unsweetened dairy free yogurt: this basically acts as the “egg” that you’d typically find in other vanilla cakes. It’s the best out of all vegan egg replacements. I’ve tested this recipe with applesauce and flaxseed as well. They yielded okay results, but dairy-free yogurt really won by a landslide. I personally use a Greek-style, as there will be more protein, which helps give the cake a stronger structure.
- LOTS of Vanilla Extract: you’re going to need a lot of vanilla in here, including vanilla bean paste, but trust me, it’ll be worth it. This is the best vanilla cake recipe from scratch because of the vanilla. It’s amazing!
Overview: step-by-step how make a perfect vegan vanilla cake
For the full written instructions and ingredient measurements, see the bottom of this post in the recipe card. You can also hit the “jump to recipe” button at the top of this post! Here, we’ll go over a brief overview of the steps, along with providing visuals for a better understanding of the recipe.
The method I most prefer to make this cake with is the reverse creaming method in a stand mixer (or a hand mixer), which is what I describe below and as the main instructions for the recipe card.
That being said, I really want this recipe to be accessible to all levels of bakers. So I’ve also provided a method by hand (and that does NOT use the reverse creaming method). I have used this method as well, and the results are damn good, so don’t think you’re not getting a good cake here.
The difference really is between a wow cake and a “OMG you need to sell this in a bakery” cake.
Watch how to make this vanilla cake here:
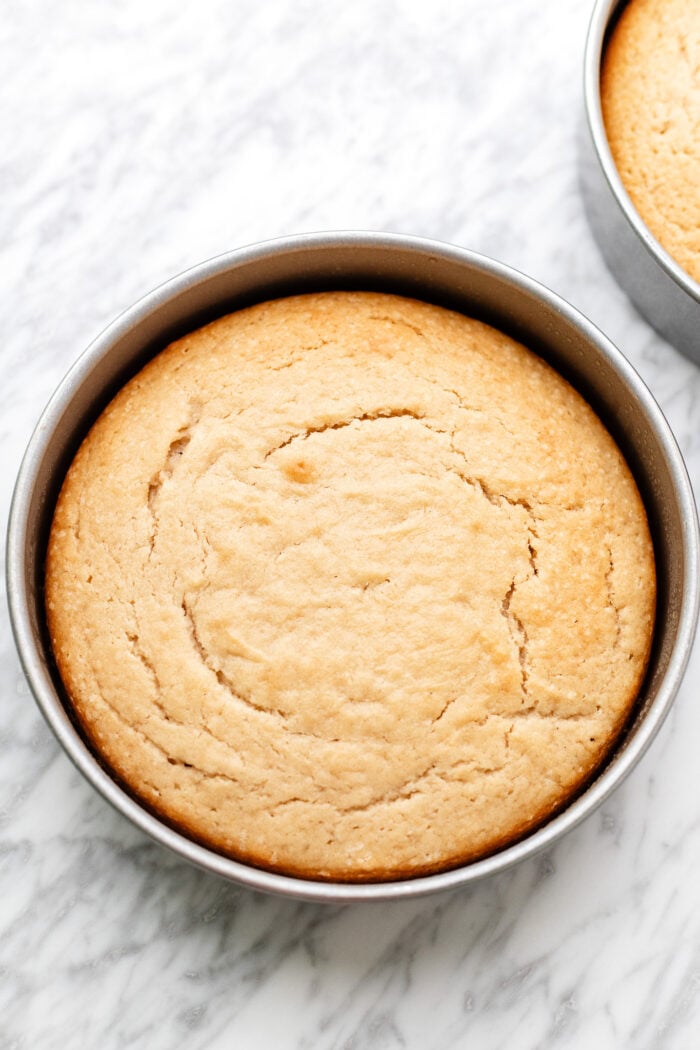
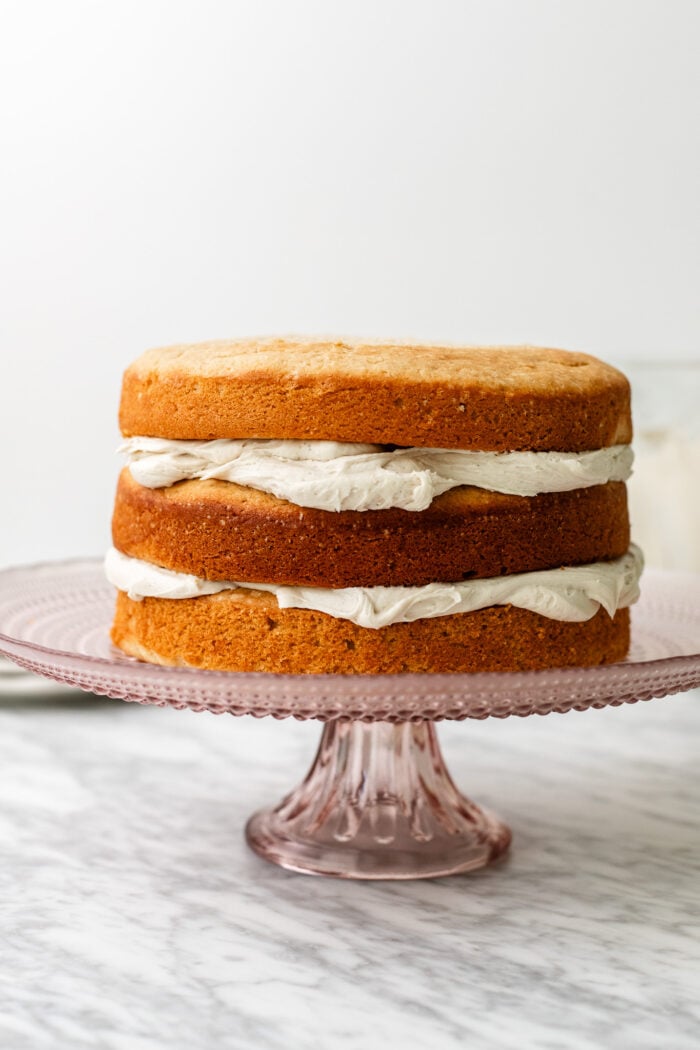
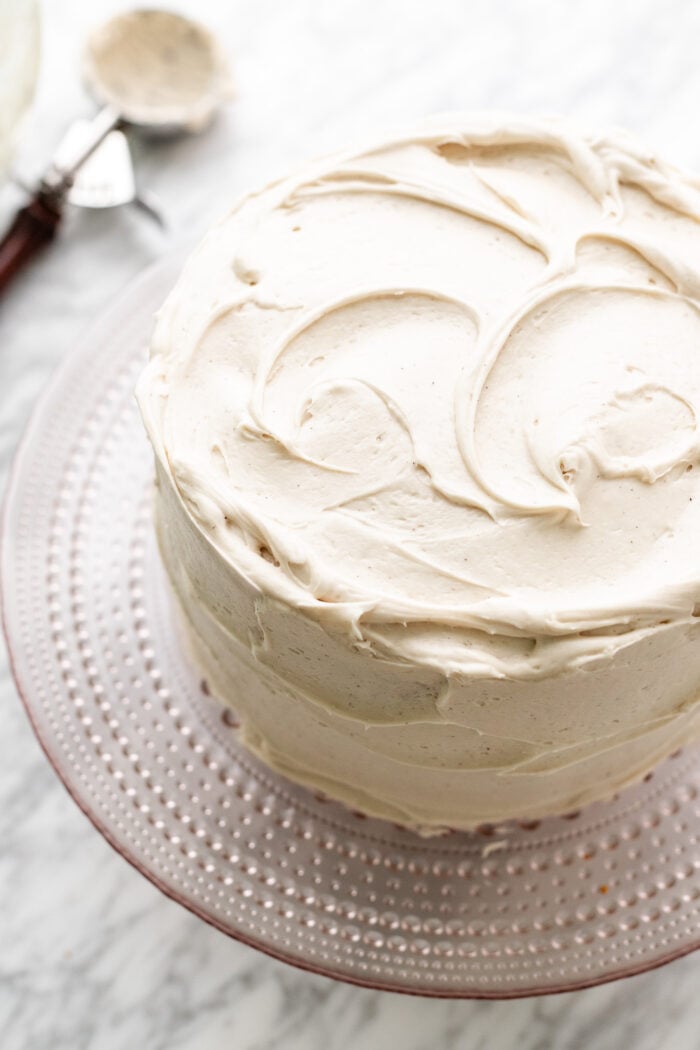
My two tricks for the silkiest frosting:
If you want that gorgeously glossy finish while also having a structurally in-tact cake that doesn’t have cake layers slipping and sliding around, then you need these tricks.
First tip: For years, I used the whisk attachment to make frosting, when I actually should have been using the cake beater attachment (the paddle). The frosting is so much smoother and glossier even just for the crumb coat.
Now for the second tip, and my favorite: You’ll start with my vegan vanilla bean cream cheese frosting as the base and assemble the cake through the crumb coating. Then place the cake in the fridge to chill for 20 minutes. The crumb coating layer will lock in moisture so no need to fret about cake layers drying out.
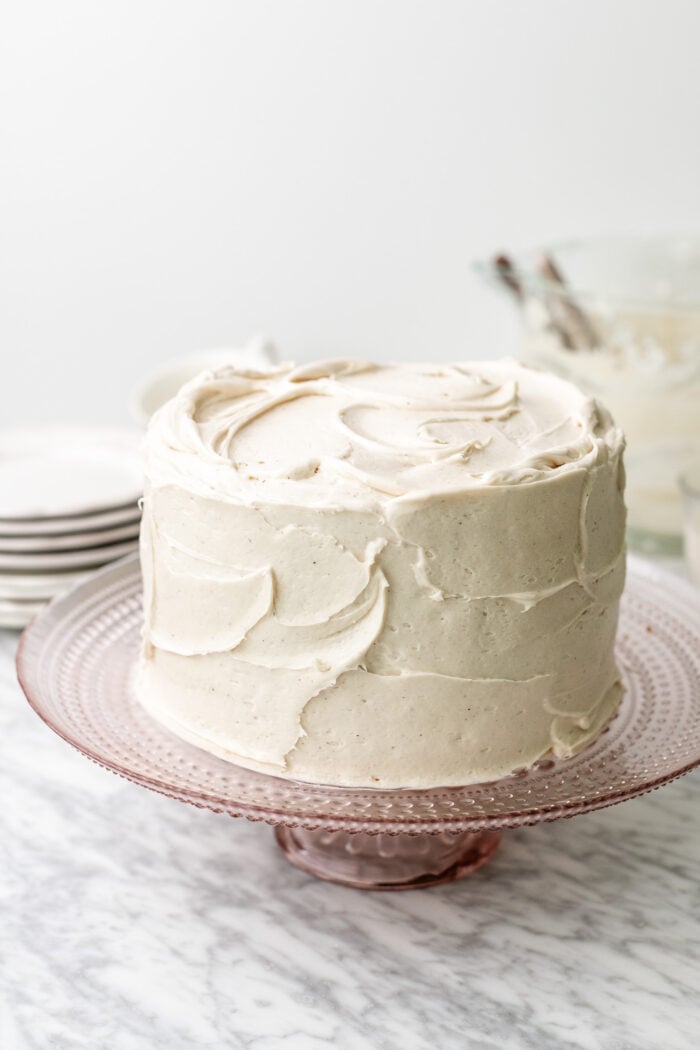
You’ll also still have a decent amount of frosting leftover for the final layer which is where things get different. I add in 1/4 cup (60 mL) vegan heavy cream to the remaining frosting, and mix on high-speed. This will get the heavy cream to whip up and thicken while creating a glossy finish to your frosting.
Then simply spread onto your crumb coated cake, slice and serve!
Final reminders when baking this cake:
- Make sure to line your cake pans and preheat the oven before beginning: Once the buttermilk combines with the baking soda and baking powder, the chemical reaction occurs that gives the vanilla cake its lift. There’s a short window of time that you have to capitalize that by getting your cakes in the oven. That’s why it’s so important that you make sure your cakes are lined and the oven is preheated before even beginning to measure out ingredients. To line the cake pans, I lightly grease them and cut a round piece of parchment paper to be placed at the base of the pan.
- Weighing the ingredients will give you a more accurate bake than using cups: With cup measurements, some people scoop the flour rather than spoon and level. This will lead to weigh more flour than you actually need. Even spooning and leveling the flour isn’t as precise! The best bet to ensure that this vegan vanilla cake turns out just like my results each time is to use the weighted measurements given in the recipe card below!
- Make sure your baking powder and baking soda aren’t expired: Baking powder only lasts about 6 months. Simply add a 1/2 tsp of either to a small jar or glass and drop of vinegar. If it foams, it’s still good but if it doesn’t, then it’s time to change!
If you love this cake recipe, try these:
Want to save this recipe for later? Add it to your favorite recipe board on Pinterest!
🌟MADE THIS RECIPE & LOVED IT?🌟I’d love it if you’d like a comment and a rating ⭐️⭐️⭐️⭐️⭐️ below! This helps others to find the recipes! As always, I absolutely love to see your beautiful creations on Instagram and Pinterest, so be sure to tag me there as well!
Print
BEST Vegan Vanilla Cake – Keeps Moist for 5 Days!
- Prep Time: 10
- Cook Time: 30
- Total Time: 40 minutes
- Yield: 18 1x
- Category: Dessert
- Method: Baking
- Cuisine: American
- Diet: Vegan
Description
This is THE vegan vanilla cake that will put all vanilla cake recipes to shame. It’s incredibly soft, moist with a beautifully tight crumb and decadently sweet- yet, you’d never know it’s made entirely without eggs and dairy free. Slathered in a vanilla bean dairy free cream cheese frosting, absolutely everyone loves this vanilla cake recipe, vegan or not. It’s guaranteed to turn even the chocolate cake lovers into vanilla ones.
Ingredients
Vegan Vanilla Cake:
- 1 1/4 cup (300 mL) vegan buttermilk
- 4 cups (500 g) cake flour (see notes for all-purpose flour or gluten free 1:1 baking flour)
- 3 tsp baking powder
- 1/2 tsp baking soda
- 1/4 tsp sea salt
- 2 1/4 cups (450 g) granulated sugar
- 1 cup (220 g) salted vegan butter, room temperature
- 1/4 cup (60 mL) neutral oil, such as avocado oil, olive oil, or sunflower oil
- 1 cup (240 g) dairy free yogurt, room temperature
- 2 tbsp vanilla extract (yes, 2 tablespoons!!)
- Optional (but recommended): 1/4 tsp vanilla bean paste
Frosting:
- 1 batch of either vegan vanilla cream cheese frosting (recommended) or vanilla buttercream frosting
- 1/4 cup (60 mL) cold vegan heavy cream
Instructions
- Prep: Preheat the oven to 350 F. Grease three 8″ cake pans with cooking oil, and line them with parchment paper. Set aside. For beginner bakers who want to simply whisking the ingredients together, see below for instructions.
- Prepare the vegan buttermilk: Combine the dairy free milk with the apple cider vinegar, and set aside to sit for 3-4 minutes. You can weigh and measure the remaining ingredients during this time.
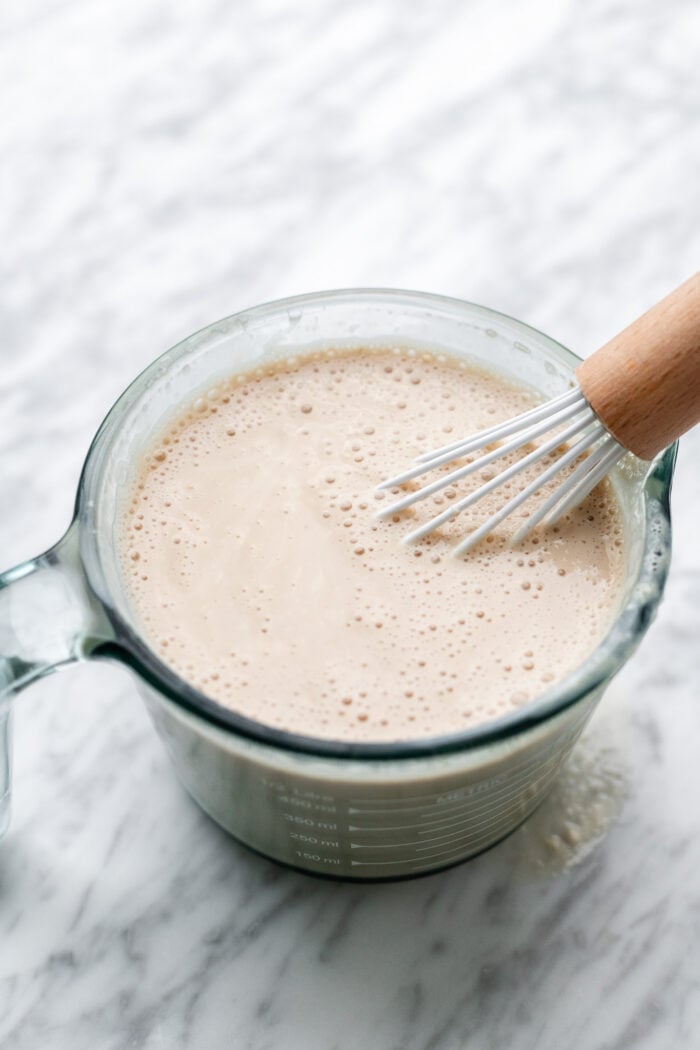
- Whisk: In a large liquid measuring cup, whisk together the vegan buttermilk, dairy-free yogurt, vanilla extract, and vanilla bean paste. Set aside.
- Mix the dry ingredients: In the bowl of your stand mixer, whisk together the flour, sugar, baking powder, baking soda, and sea salt.
- Mix in the butter: In a stand mixer with paddle attachment or a large bowl with hand mixer, add in the room temperature vegan butter and oil. Begin mixing on low speed, and as the butter incorporates into the flour, turn it up to medium speed. It will create a sandy texture in the flour mixture. There should be no clumps of butter left, just a wet sandy texture.
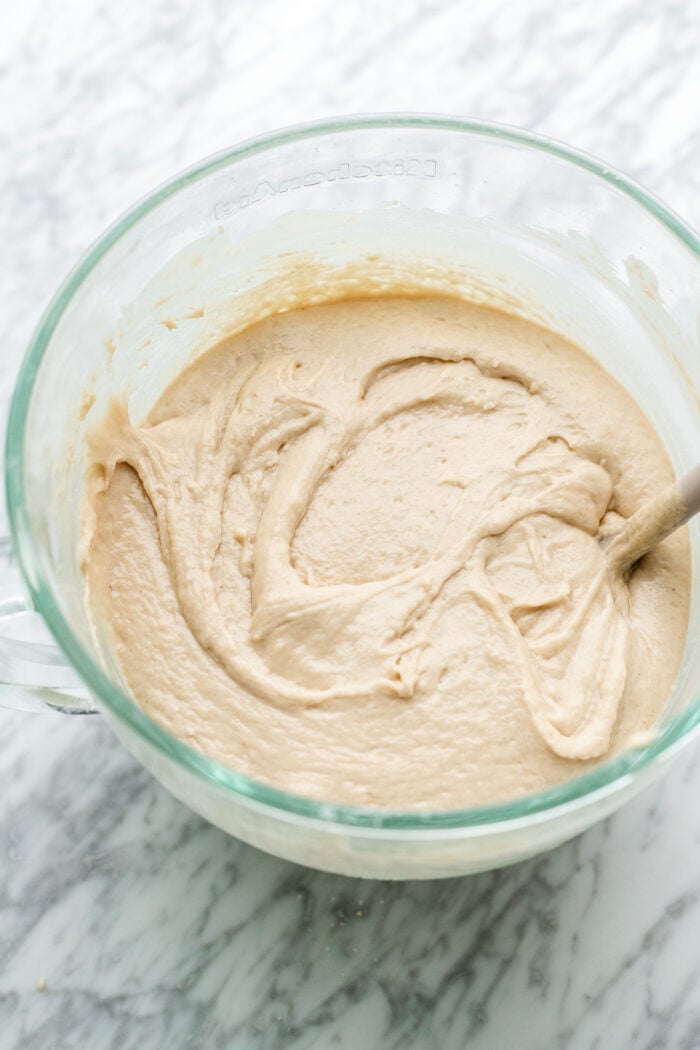
- Finish the batter: Then pour in the buttermilk/yogurt mixture. Carefully turn the stand mixer onto low speed again to slowly start to integrate the wet ingredients into the batter. Then mix on medium speed until you get a consistent and smooth batter, scraping down the sides and at the bottom of the bowl as needed. Be careful here NOT to over mix- just when you achieve the smooth or near smooth batter, stop. You want to make sure the flour is FULLY incorporated into the wet or the cake won’t bake right- the ingredients will look slightly split, which means you need to keep gently mixing until you get a consistent batter.
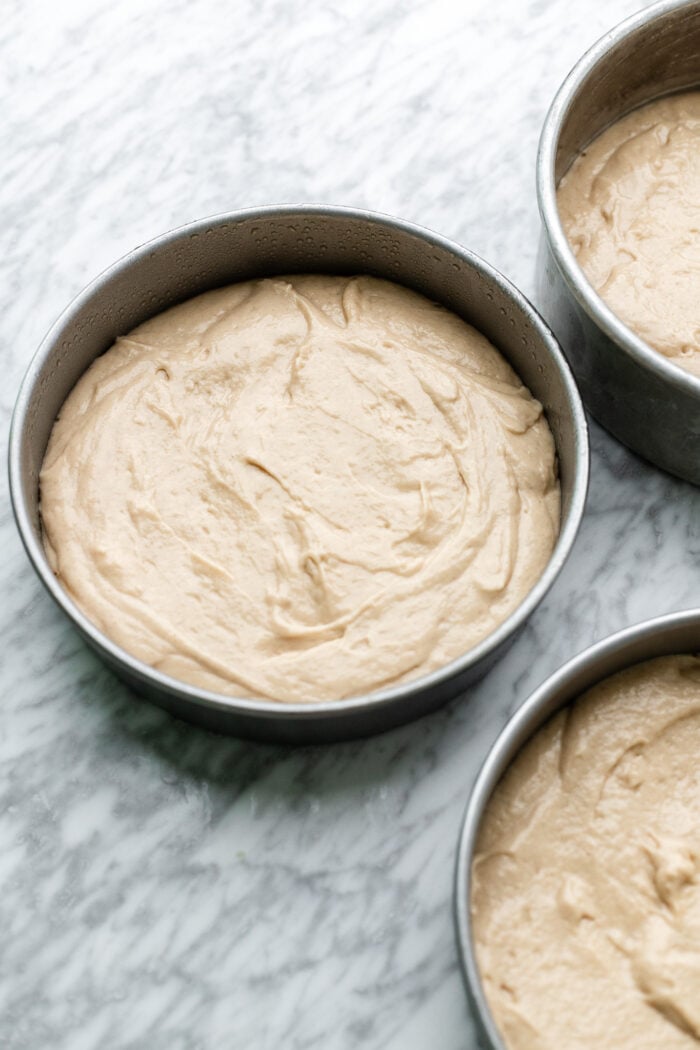
- Bake: Divide the batter between the three cake pans evenly, and bake for 28-30 minutes in 8″ cake pans, or until the toothpick comes out nearly clean with a few crumbs on.
- Cool: Remove from the oven and allow the cakes to cool in their pans for 10 minutes, then transfer them to a cooling rack to cool completely. Once cooled completely (there is absolutely no warmth to the touch!), then you can prepare your buttercream.
- Make the frosting. When ready to frost the cakes, follow the instructions for making the frosting of your choice.
- Crumb coat: Apply about 1/2 cup of frosting between each layer, and a thin layer of frosting on the outside of the entire cake, sealing in the crumbs. Place the cake into the fridge to chill for 20-30 minutes.
- Make the finishing frosting: While the cake is chilling, mix the vegan heavy cream on high-speed into the remaining frosting, whipping it until it’s thick, fluffy, and glossy.
- Finish the frosting: Remove the cake from the fridge, and apply the glossy frosting on top, piping as desired. Then chill before serving or slice and serve immediately!
Notes
PLEASE NOTE: This recipe does NOT work with self-raising flour (either gluten-free or plain). Please do NOT swap in self-raising flour in this recipe!
Flour alternatives: You can use all-purpose flour or gluten-free baking flour. For gluten-free, I recommend King Arthur Measure-for-Measure gluten free flour. Whatever GF mix you use, it must contain xanthan gum. For the measurements, you will use 450g (3 2/3 cup) flour with 50 g (5 tbsp) cornstarch or arrowroot starch.
Simply whisked method: Instead of creaming together the butter, we’ll melt the butter until liquid, and whisk together with the sugar, dairy free yogurt, and vanilla extract and paste. Then add in the dry ingredients, and pour in the vegan buttermilk as you gently whisk JUST until the dry ingredients are incorporated (it doesn’t have to be a super smooth batter- DONT over mix). Then proceed onto the baking step!
Make sure that you add in a tablespoon of arrowroot powder or cornstarch if using gluten free flour. This will give the flour more like a cake flour texture when baked- very tender and moist!
If you use coconut sugar, your cake will be slightly tanner in color- but still delicious!!
Storage: Any leftovers you have can be sliced and then stored in an airtight container in the fridge for up to 4 days. Additionally, you can freeze the cake, and let it thaw in the fridge for 4 hours when you’re ready to enjoy again! You can also leave this cake at room temperature for up to a day if covered and stored in an airtight container.
Be sure to read the full post for all of my tips and suggestions!
For a vegan vanilla cake made with just oat flour, check out my vegan gluten free vanilla cake recipe.
Nutrition
- Serving Size: 1 slice
- Calories: 349
- Sugar: 26 g
- Sodium: 88.7 mg
- Fat: 14.8 g
- Saturated Fat: 7.3 g
- Carbohydrates: 51.1 g
- Fiber: 0.6 g
- Protein: 3.1 g
- Cholesterol: 29.8 mg


Hi, can you reduce amount of sugar for the cake batter? Will it affect the integrity and texture of the cake? I was thinking of reducing it by half.
Hi Sarah! So it definitely will impact the flavor and texture- I wouldn’t reduce by anymore than 1/4 cup!
I do NOT recommend using all coconut sugar with this recipe!! It didn’t taste like a vanilla cake- more like a caramel cake. It was far too sweet & dense for my liking and I think the ground vanilla added an odd flavor as well. I will try it next time using a lower amount of cane sugar and omit the vanilla powder.
I am making this recipe. My ingredients were all room temperature and measured because it was the first time making it – so I was meticulous about doing everything as listed. The batter is very thick. Is it supposed to be so? There isn’t any mention of this. Can you comment, please? Thank you.
Hi Gwen! The batter is thick, but not so thick that it’s not pourable! If yours is, the baking powder might just be activating quite quickly which can sometimes happen and produce a thick batter. But it still should bake alright! My only other note would be if you used cups vs a scale- then there might have been too much flour, but I’m guessing this might have been baking powder thickening up the batter!
Hi!
I’m not a baker, whatsoever, but I decided I wanted to make my son’s cake for his 2nd birthday. He is allergic to dairy and eggs so I searched and found this recipe. I was so excited to try it. I did a trial run this evening but didn’t make it past the cake as I found it had a very unpleasant taste. I know that it’s 100% because of the vegan butter I used. The cake basically tasted like the butter (with a hint of delicious cake). I’m going to try it again with a different vegan butter. The one I used was salted with a coconut oil base. My son is also allergic to cashews so that limits some options.
My question is: do you think I’d get a better/more natural taste if I used an unsalted vegan butter that doesn’t have a coconut oil base? I honestly don’t know if it’s the coconut oil base or that fact that it’s salted. But that specific butter is definitely the problem. I appreciate your input. I’m eager to try this again!
Hi Chiara! First, I love your name 🙂 One of my best friends from childhood’s name is Chiara! I’m so sorry to hear about the flavor! It’s definitely the vegan butter- a high quality vegan butter is super important here because vegan butters do have a strong taste! Did you happen to use Earth balance? I recommend Miyoko’s unsalted if you can find it- otherwise, Violife is also good! I’ve stopped using Earth Balance, even though it’s nut free and coconut free for allergies- I just really don’t like the taste of it! Miyoko’s though, uses cultures to create the flavor, and I find it’s an overall better flavor profile when used in baking! I hope that helps!
OMG!!!! How much is a cup of butter, how on earth do you measure that!
Hi Tania! It will say so on the packaging, but 1 cup of butter is 226 g. I hope that helps!
Can the frosting be made a day in advance?
Absolutely! Just allow it to sit at room temp for a little then just do a minute of fluffing with the hand mixer 🙂
Brittany I have been a professional pastry chef for over 30 years and doing vegan for 27 I must say this cake structurally is perfect I don’t really find too many recipes online but when I saw your video I thought I would give it a try I am very happy with the results I used applesauce and all the traditional ingredients there isn’t too many great vegan vanilla cakes out of there this one hit it out of the park
Oh my goodness!! You made my WEEK!! Thank you so much for this, you have no idea how much this means to me! This recipe is my pride and joy, literally, I’ve been through so many rounds of it to just be a great vanilla cake (vegan or not) and I’m just so grateful to hear you agree!! Thanks so much for these words, and enjoy!!
Hi! I am making this cake for my neighbor who is a diabetic. I am thinking of replacing the granulated sugar with Stevia in the Raw, do you think that would work? Thanks!!
Hi Nora! So I’ve had mixed experiences using zero sugar sweeteners in my recipes. The best one I’ve tried is granulated allulose, but even then I thought it was a bit too different. I’ve never baked with stevia in the raw, so maybe if you’ve found it to work in the past and it’s granulated, it might work, but I can’t guarantee anything! I’m so sorry!
So soft! So fluffy! So easy!! Make it!!!
So happy to hear this!! Thank you for your kind words 🙂 Enjoy!
Made this cake vegan and gluten free. I added a raspberry palais to cut the sweetness of the icing. As well, I add lemon zeste in the icing. It turned out really good. Thank you for sharing this recipe.
Aw that sounds just wonderful!! Love the sound of the raspberry Palais 🙂 Enjoy, and thanks for the review!
Love this recipe and cant wait to try it for my lil ones birthday next month! Wanna do a trial run and was wondering if I could scale down the measurement and layers? If I just wanted to make it in a 8 inch dish what adjustments would need to be made? Can’t wait to try it! 🙂
Hi Silvana!
Oh how wonderful!! Absolutely, you an do that! To just fill an 8″ cake pan (just as one layer) the measurements would be:
1/3 cup (100 mL) vegan buttermilk
1 1/4 cup (150 g) all-purpose flour (or gluten free 1:1 baking flour + 1 tbsp arrowroot or cornstarch)
2/3 tsp baking powder
1/3 tsp baking soda
2/3 cup (115 g) granulated sugar
1/3 cup (75 g) salted vegan butter (I recommend Miyoko’s or Flora Plant butter), room temperature
1/3 cup (80 g) unsweetened applesauce or dairy free yogurt, room temperature*
2/3 tbsp vanilla extract (yes, 2 tablespoons!!)
Optional (but recommended): 1/4 tsp vanilla powder
Frosting:
2/3 cup (150 g) salted vegan butter, room temperature
1 1/3 cup (213 g) organic powdered sugar
1/3 tsp vanilla extract
2–4 tbsp unsweetened dairy free milk
Enjoy!
This recipe was amazing. I made it for my daughter’s 1st birthday smash cake. I did tweek it though. I cut the recipe in half to make two, 6″ layers. I used coconut oil instead of butter and I did not do the creaming method. I just gave it a mix. I also used gluten free flour and did not add the arrowroot. I was not sure it would work, but it was the best gluten free cake I’ve made and I’m a professional baker and gluten free for 13 years. So thank you for this absolutely delicious recipe. I owe you one!
Omgsh!! This is wonderful!! First of all, happy first birthday to your baby!! How sweet! Thank you so much for trusting me with your ingredients and time 🙂 So glad to hear you all loved it! Thank you for coming back to review! Enjoy!
Hi, is there any way I can make this cake lemon flavour. I’m a cake maker and have been asked to make a gluten free, vegan lemon cake. TIA Sheila
Hi Sheila! I actually have a gluten free vegan lemon cake already 🙂 You can check it out here! https://thebananadiaries.com/vegan-lemon-cake-with-raspberry-buttercream/ However, if you wanted to make this one into a lemon cake, you can add 2 tsp of lemon extract, and swap in lemon juice instead of apple cider vinegar for the vegan buttermilk. A tablespoon or two of fresh lemon zest would work as well!
Hello! I’m excited to bake this cake. Before I do I was wondering, how long will it last at on the counter at room temperature? Thanks!!
Hi Megan! I would recommend leaving the cake out no longer than 2 hours or so, because vegan butter is very soft, even at room temperature, and won’t necessarily hold up well after a while. It’s best to keep it in the fridge afterwards!
I made this for my friends bday! I always make a cake as my gift for friends. I mirrored you ingredients to a T and the consistency was perfect! Flavor 10 out of 10. She is the only vegan in the group so finding a vegan recipe that everyone enjoys can be hard! Not with this! Highly recommend!
Omgsh this is so wonderful!! Thank you so much for leaving this review!! So so happy everyone loved it 🙂 Enjoy!!